REVIEW · SKJOLDEN
Glacier Hiking and Kayaking Tour on Nigardsbreen Glacier
Book on Viator →Operated by ICETROLL - Glacier Hiking & Kayaking · Bookable on Viator
Glaciers feel huge until you’re walking on them. This Nigardsbreen glacier hiking and kayaking tour mixes a calm 30-minute kayak, a guided walk to the ice, and about two hours on the glacier with crampons and rope. I especially like the way the day has both stillness and action: you get aqua-blue water views first, then you switch to real glacier terrain. I also like that the guides build in safety and teach you what you’re seeing, not just where to stand for photos. One thing to plan for: you’ll be on cold, slippery ground, and warm layers/gloves/hat are not included.
Because the group is capped at 9 travelers, this day doesn’t feel like a conveyor belt. That small size matters on mixed-age groups and on uneven glacier surfaces, where you want time and attention. The other thing I’d flag is that the tour depends on good weather, so a plan B date (or patience) helps.
In This Review
- Key things to know before you go
- A Two-Worlds Day: Kayak First, Then Nigardsbreen Crampons
- Getting There from LABBEN and the 90kr National Reserve Toll
- Thirty Minutes on the Glacial Lake: What the Kayak Adds
- The Walk Up to Nigardsbreen: Learning Glaciers While You Climb
- Two Hours Exploring the Glacier: Crampons, Rope, and Real Safety
- What to Wear and Pack (So the Cold Doesn’t Steal Your Day)
- Who This Tour Fits: Families, First-Timers, and Mixed Groups
- Timing by Season: May/June Nigardsbreen vs. July Styggevatnet
- Price and Value: Is $161.52 a Good Deal?
- When to Book This: My Practical Decision Guide
- FAQ
- How long is the glacier hiking and kayaking tour?
- Where do I meet for the tour?
- What time does the tour start?
- What’s included in the tour price?
- What should I bring since it is not included?
- Is there a toll on the way to the lake?
- What kind of fitness level is needed?
- How big is the group?
Key things to know before you go
- Small group size (max 9) means more personal safety checks on ice and better pacing.
- Two different kinds of movement: 30 minutes of kayaking, then a crampon-and-rope glacier walk.
- Guides teach as you go, including how glaciers work and local history on the way up.
- You’re responsible for warmth: hat, gloves, and rain/warm clothing aren’t included.
- A 90kr toll applies for the route into the National Reserve area, payable after if needed.
- Seasonal timing: this combo runs in May/June, then typically shifts to Styggevatnet in July with a half-day option.
A Two-Worlds Day: Kayak First, Then Nigardsbreen Crampons
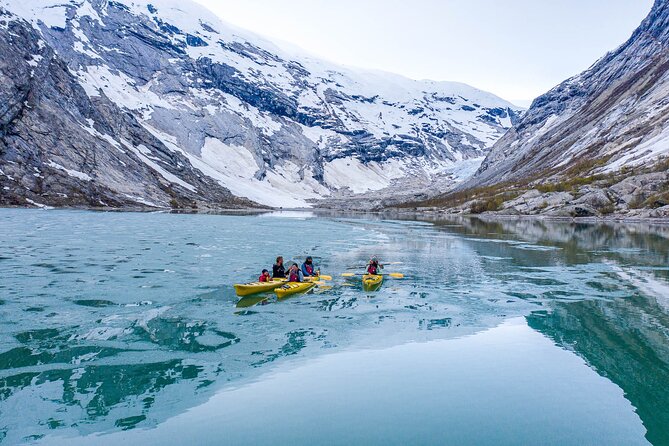
This is one of those rare Norway days where you don’t just look at a glacier from a distance. You start on water—smooth, bright, and glacially tinted—and then you move right onto the ice.
The flow is simple. You begin with a short kayak trip (30 minutes) on a nearby lake. After that, you cross over to the glacier side and do a walk up to the ice (about 45 minutes) while your guide explains what you’re seeing: how glaciers move, where the glacier has been over time, and some local context. Once you reach the glacier, you put on crampons and rope and then spend around two hours exploring at a comfortable pace.
The best part is how the gear changes your day. Kayaking lets you experience the lake quietly and get great photos. Then crampons and rope turn the glacier hike from scary-in-theory into controlled, guided movement—exactly what you want when the surface can be uneven and cold.
Getting There from LABBEN and the 90kr National Reserve Toll
You meet at LABBEN (The LabJostedalsvegen 2889, 6871 Jostedal, Norway), and the activity starts at 10:00am. You’ll follow an Icetroll vehicle to the lake area, which helps the day stay focused on the glacier rather than long transfers.
On the way, there’s a 90kr toll connected to the National Reserve route. The key practical detail: you can pay it online up to 48 hours after the trip using the website shown on the sign at the entrance. That’s useful if you prefer to travel light and keep the day moving.
Also note the tour is listed as near public transportation, which is helpful if you’re using regional buses or connecting through the area rather than driving everywhere yourself.
Thirty Minutes on the Glacial Lake: What the Kayak Adds
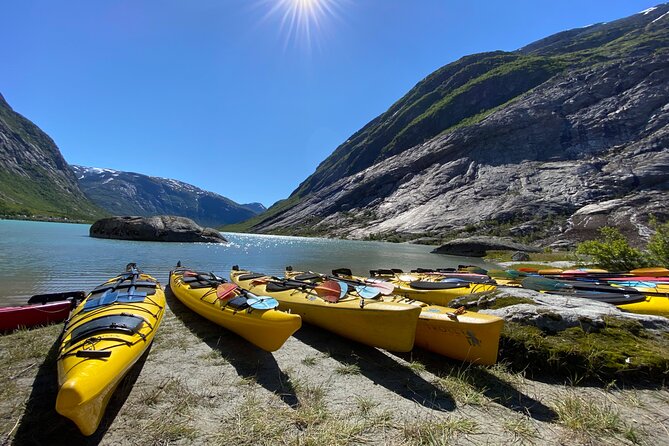
The kayak segment is short on purpose. Thirty minutes is enough time to feel the boat, get your bearings, and enjoy the views without turning the morning into a long workout.
In real terms, this first step matters for two reasons:
- You get the photo and color moment early. The lake sits in a glacial setting, and the water looks strikingly bright—one reason this portion gets remembered.
- It sets expectations for the day. If you’re unsure about moving on ice later, kayaking helps you relax into the guided rhythm.
If you’ve never kayaked before, you’re not alone—this is the kind of activity that works best when you’re not rushing. The guides provide the kayak equipment, and the tone stays practical.
One small consideration: your feet and lower body may already feel chilly by the time you switch from water to walking. Bring the warm layers the company lists you should bring if you can, and keep gloves/hat ready to go.
The Walk Up to Nigardsbreen: Learning Glaciers While You Climb
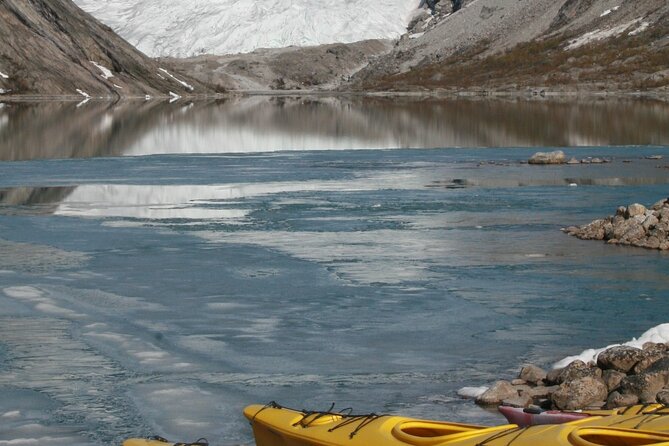
After the lake crossing, you start the 45-minute walk to the ice. This isn’t just a trail hike; it’s part classroom, part pre-game.
The guide covers how glaciers operate—where they’ve been, and what it means to hike on something that’s constantly moving (even if the movement is slow and not obvious to your eyes). You also get local history tied to the glacier area, which helps the day feel less like a random nature stop and more like a place with a story.
This walk also functions as your transition time. You move from the stable feeling of a guided lake paddle into uneven ground. It’s a good window to ask questions, adjust layers, and mentally shift from scenery mode to safety-and-surface mode.
If you have moderate physical fitness, this part is manageable—but it does require attention. The ground isn’t carpet-smooth, and weather can add slipperiness. You’ll appreciate taking the pace the guide sets, especially if you’re hiking with kids or anyone who needs a slower rhythm.
Two Hours Exploring the Glacier: Crampons, Rope, and Real Safety
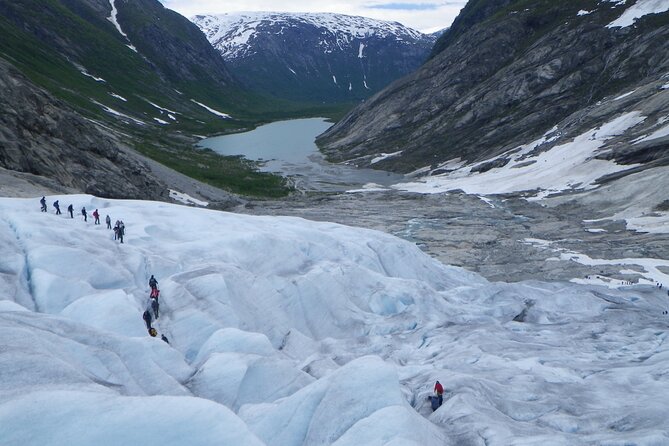
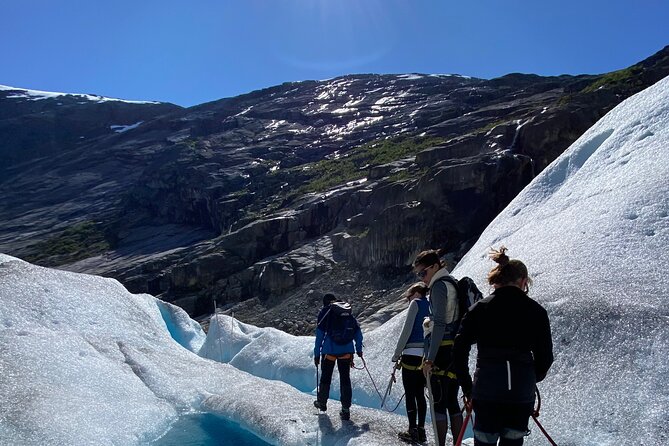
Once you reach the glacier, you’re fitted with glacier equipment, including crampons and rope, and you spend about two hours exploring. This is the heart of the tour.
From what people emphasize, the safety approach isn’t vague or generic. Guides focus on how to walk with crampons, how to keep spacing, and how to move on slippery boulders and ice surfaces. That matters because the glacier isn’t one flat sheet—it can be rockier, uneven, and visually confusing at ground level.
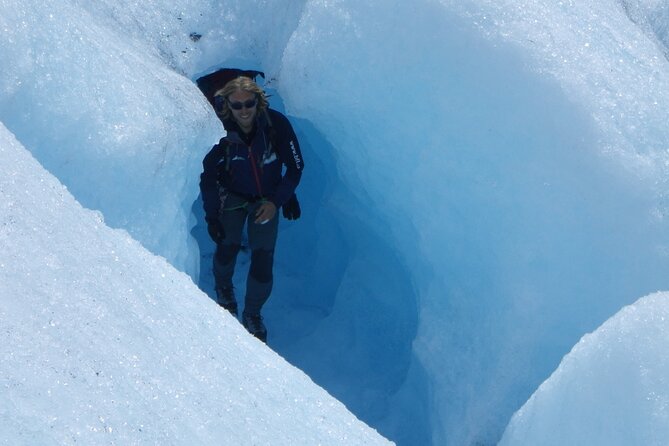
You’ll likely get some of the most memorable views here. One group called out an ice cave as a fabulous highlight led by Bjørnar, which shows how the guides use the terrain to share features when conditions allow. Even if you don’t get a specific feature like that, the experience is still about being on the glacier itself—standing close, looking up, and understanding the scale.
This section also helps with the emotional side of glacier hiking. If glacier walking feels intimidating, you’ll want to know that the guides manage mixed comfort levels well—one highlight was a guide carefully supporting someone who felt anxious about the hike. That kind of attention makes a big difference when you’re standing on something that looks powerful and dangerous.
One other practical point: glacier conditions can still feel brutally cold even if the walk up doesn’t. Plan for it. The tour notes that warm clothing, rain protection, and gloves/hat are not included.
What to Wear and Pack (So the Cold Doesn’t Steal Your Day)
This is the part I take seriously because glacier weather is sneaky. You’re on the move, then you stop and look around, then you’re on ice again. Temperature swings and wind can make you feel colder than you expect.
Here’s what the tour specifically calls out as not included, plus smart add-ons based on the day’s structure:
- Warm hat and gloves (not included)
- Warm clothing, including a rain jacket (not included)
- Good shoes: running shoes might work, but they’re not as comfortable on glacier terrain
- Sunglasses (glacier glare can be real)
- Water / water bottle
- If possible: woolen under layers, waterproof trousers, sun hat
- Extra snacks are a good idea if you get hungry during the walk or wait for breaks
If you want one simple rule: dress for cold and wet, not for comfort. You’ll enjoy the views more when you’re not trying to fight numb fingers.
Also, consider your hands. If gloves are too thin, you’ll feel it on crampons and rope adjustments. If they’re too bulky, you may move slower. Aim for warm and practical.
Who This Tour Fits: Families, First-Timers, and Mixed Groups
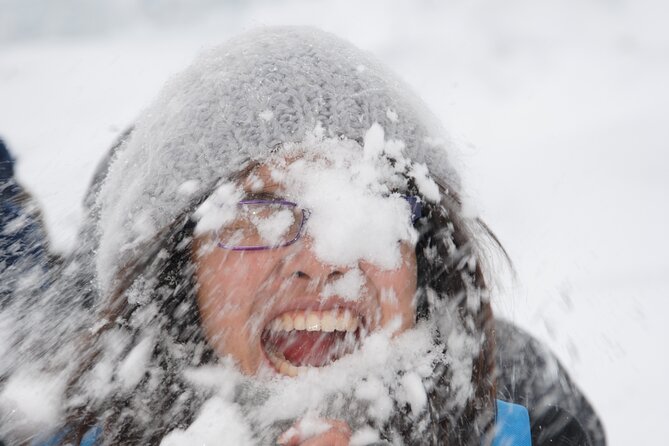
This combo works well for families, and it’s designed for a range of ages. One strong theme from guidance and group management is patience—especially when kids, older visitors, and mixed fitness levels share the same tour.
The tour also says it’s for moderate physical fitness. That’s a helpful phrase: you don’t need to be an athlete, but you should be able to walk on uneven ground for a while and stand/walk carefully on ice.
It’s also capped at 9 travelers, which means your guide can slow down when needed. Reviews highlighted guides successfully keeping everyone safe even under bad weather and with visitors who were older and out of shape—so the team seems practiced at adapting pace.
If you’re worried about a health condition, the provider gives a clear call option (+47 970 14 370) so you can match your needs to a tour that works for you. And they mention accessible trips too, also via that number.
Timing by Season: May/June Nigardsbreen vs. July Styggevatnet
If you’re planning a trip by month, pay attention to this seasonal shift.
This kayak-and-glacier hike tour is positioned for May/June when tours run on Nigardsbreen Glacier. Then in July, the program shifts to Styggevatnet, and you may have the option to choose a Glacier Half Day Tour there.
So if Nigardsbreen is on your list because it’s the glacier you researched, lock in your dates in May or June. If you’re traveling in July, you’ll still be doing glacier hiking, but it’ll likely be a different glacier experience.
Price and Value: Is $161.52 a Good Deal?
At $161.52 per person, you’re paying for a full half-day of guided, gear-heavy activities in a remote glacier zone. The value isn’t just that you get to see ice; you get to use equipment for safe glacier movement and to enjoy two distinct experiences in one day:
- 30 minutes kayaking with kayak equipment included
- A guided walk to the glacier with glacier explanations included
- About two hours on the glacier with crampons/rope gear and glacier info included
That matters because glacier activities usually cost more than simple sightseeing—equipment, staff time, and safety planning all add up. Here, you get all of that bundled into one start time with return to the meeting point.
What you should factor into the true cost: items not included (warm clothing/gloves/hat, good shoes, sunglasses, water), plus the 90kr toll. If you show up prepared, the day still feels like a fair spend because the guide-led portion is long enough to justify the expertise and equipment.
When to Book This: My Practical Decision Guide
If you want a glacier experience that feels active (not just a bus-stop viewpoint), this is a strong choice. Book it if:
- You want the combo: kayak + glacier hike, not just one of them
- You’re okay dressing for cold and wet conditions
- You like a structured day with clear gear and guided safety
- You’re traveling with kids, older family members, or a mixed group and want a team that manages different comfort levels
Skip or reconsider if:
- You’re not comfortable with cold, slippery conditions even with crampons
- You can’t manage a moderate walk on uneven ground
- You’re hoping for a warm, easy stroll with no glacier gear involved (this tour is gear-based for a reason)
If you’re on the fence, send a quick question to the provider line listed for health/accessibility fit. A good glacier day is about matching expectations to the terrain—and the team clearly takes that part seriously.
FAQ
How long is the glacier hiking and kayaking tour?
It runs about 6 hours.
Where do I meet for the tour?
You meet at LABBEN (The LabJostedalsvegen 2889, 6871 Jostedal, Norway). The tour ends back at the meeting point.
What time does the tour start?
The start time is 10:00am.
What’s included in the tour price?
The tour includes kayak equipment, glacier equipment, and glacier information.
What should I bring since it is not included?
You should plan to bring warm hat and gloves, warm clothing including a rain jacket, good shoes, and sunglasses. The tour also suggests bringing water/water bottle and recommends extra snacks.
Is there a toll on the way to the lake?
Yes. There is a 90kr toll for the route into the National Reserve area. You can pay it up to 48 hours after the trip using the website shown on the sign.
What kind of fitness level is needed?
The tour says travelers should have moderate physical fitness.
How big is the group?
The tour has a maximum of 9 travelers.