REVIEW · HVOLSVOLLUR
Glacier Hike Experience on Sólheimajökull – Meet on location
Book on GetYourGuide →Operated by Glaciers and Waterfalls ehf · Bookable on GetYourGuide
Walking on live glacier ice is gripping. A Sólheimajökull glacier hike turns a stop on the South Coast into a hands-on lesson with real gear and real terrain. You get to explore glacial formations up close and learn how they form, not just admire from a distance.
I especially like how physical but manageable this is for the time you’re out there. The pace is built around short walking segments, with about an hour of time on crampons, so you get the thrill without feeling like you’re signing up for a full trek.
The other big plus is the guide experience. You’ll get a safety briefing and clear instruction using certified equipment, and guests have praised guides like Tomasz for bringing real passion to the ice. One thing to consider: it’s outdoors for about 2.5 hours on uneven ground, and it’s not suitable for everyone, including kids under 10, wheelchair users, and people with heart problems.
In This Review
- Key things to know before you go
- Meet at Sólheimajökull: What the start feels like
- The 35-minute walk onto the ice: Your first taste of glacier terrain
- Safety briefing first, thrills second (and that order is good)
- The 1-hour glacier hike: Formations you can see up close
- The return walk: Staying steady after the fun
- What gear you really need (and what you can leave at home)
- Difficulty level: Easy hike, real conditions
- Price and value: What $105 buys you in the real world
- The guide matters: Why the narration makes the ice click
- Photography and timing: How to get good shots without slowing everyone down
- Who this Sólheimajökull hike is best for
- Should you book the Sólheimajökull glacier hike?
- FAQ
- Where do I meet for the Sólheimajökull glacier hike?
- How long is the glacier hike experience?
- Is crampons use included, and do I need to bring my own safety gear?
- What should I bring with me?
- Is this tour suitable for children or wheelchair users?
- What is the cancellation window?
Key things to know before you go
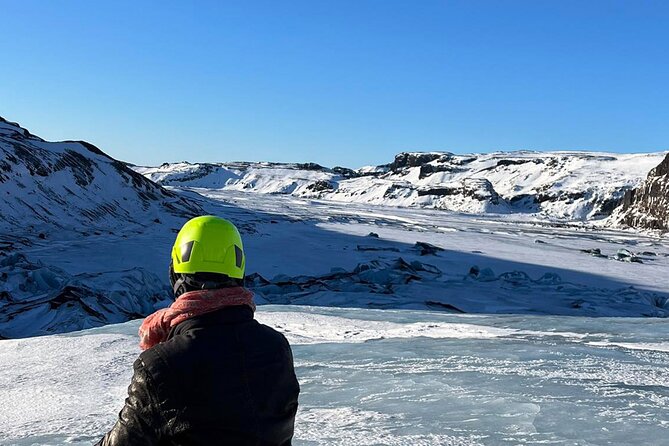
- On-location start at the Sólheimajökull car park, easy to find with one main parking area
- Crampons, ice pick, and helmet provided, so you’re not hunting for gear
- About 1 hour on crampons inside a total 2.5-hour experience
- A guided safety briefing that sets you up to walk with confidence
- Glacial formations and creation stories tied to what you’re seeing right there
- Small-group feel guided by an English speaking certified glacier guide
Meet at Sólheimajökull: What the start feels like
This is one of those hikes where the location does half the work for you. You meet at the Sólheimajökull glacier parking lot, where there’s only one car park, so you’re not wasting time figuring out where “the meeting point” really is.
Look for the car/mini bus marked Glaciers and Waterfalls. Once you’re with the group, you’ll get geared up on-site. The tour style is practical: crampons on, helmet on, then step onto the ice and start moving. That immediate transition is part of what makes the experience feel authentic. You’re not watching from a viewpoint behind glass.
If you’re driving yourself (or renting a car), this is also a nice fit. It’s not “meet us somewhere in Reykjavik and bus it for hours.” You’re already in the glacier zone. That matters when Iceland weather changes fast.
The 35-minute walk onto the ice: Your first taste of glacier terrain
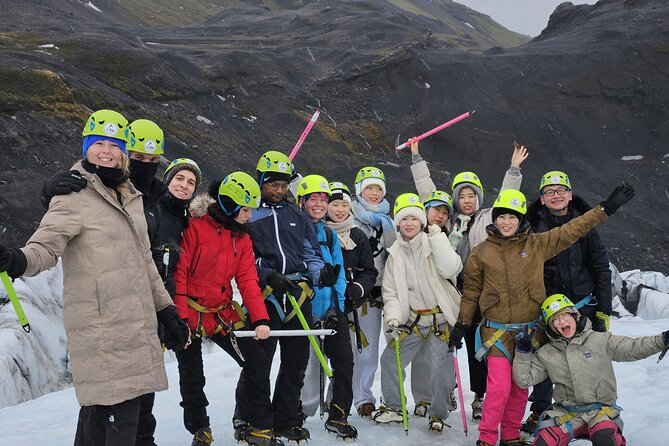
Right after meeting, the day begins with a walk segment (about 35 minutes). For many people, this is the moment where the hike stops being theoretical.
Expect uneven ice and real footing. With crampons on, you’ll feel the traction, but your balance still has to stay active. Even if you don’t consider yourself a hiker, you don’t need a training plan. You do need to be ready to pay attention to your steps and keep up with the group.
This first section also sets the tempo for the rest of the tour. It’s long enough to start reading the terrain, but not so long that you’re exhausted before the safety briefing.
Quick tip: wear gloves you feel comfortable moving in. You’ll use your hands more than you expect when you’re learning how your body reacts on icy ground.
Safety briefing first, thrills second (and that order is good)
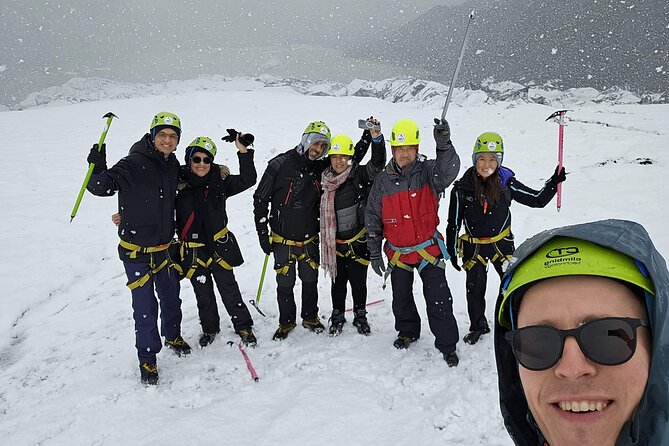
Next comes a 20-minute safety briefing. This is not the kind of lecture you can zone out of. It’s meant to help you walk safely with crampons and handle the tools you’re given, including an ice pick.
You’ll cover the basics that matter for this kind of hiking: staying aware of your footing, moving carefully on uneven ice, and following guide instructions so everyone stays together. The real value here is confidence. When you understand how to move, the ice stops feeling intimidating and starts feeling fascinating.
Guests have specifically praised guides for professionalism and for explaining things in a way that connects with the scenery. One reviewer even highlighted how a guide like Tomasz shared his passion while keeping the experience organized. That blend of safety + wonder is exactly what you want on a glacier.
The 1-hour glacier hike: Formations you can see up close
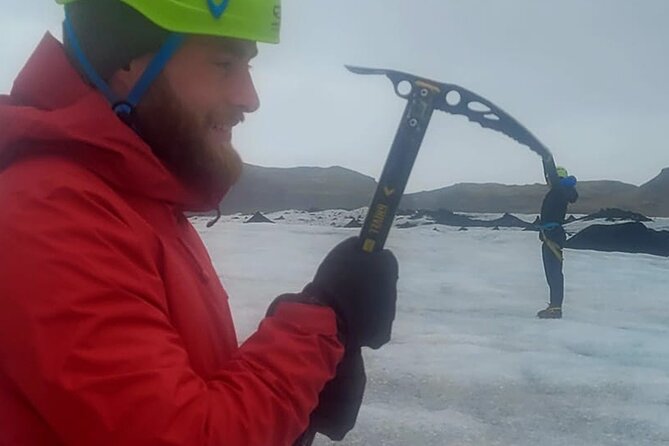
After the briefing, the core hiking time kicks in (about 1 hour). This is where the Sólheimajökull story becomes visible.
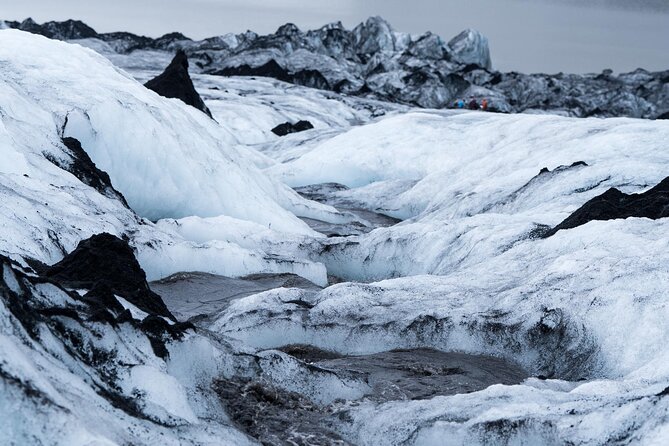
You’ll explore glacial formations and learn what they are and how they form. The guide helps you connect the visual details to glacier behavior: ice changes, water shapes surfaces, and the landscape evolves over time. Even if you’ve never thought about glaciers before, you’ll leave with a clearer sense of how dynamic this ice actually is.
The experience also has that “you’re standing on something other people only talk about” feeling. That’s the thrill part. Crampons let you get onto the surface instead of staying behind a fence or at a distance.
And yes, the views can be stunning when the weather is cooperative. One past guest said sunny weather made the whole thing feel extra special, and it’s easy to see why. Light on ice can turn everything sharper—cracks, textures, and the overall geometry of the glacier become easier to appreciate.
The return walk: Staying steady after the fun
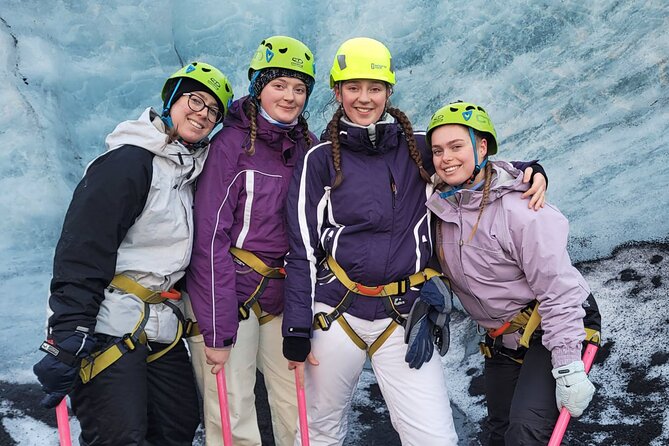
Then it’s back to walking (about 35 minutes). Returning often sounds easy on paper. In practice, it’s when good pacing matters.
Your legs may feel fine, but your attention can drift after the highlight. This is why the guide’s role stays important through the end. You’ll keep moving steadily, staying aware of traction and step placement.
If you’re the type who loves photos, this is also a good time to slow down briefly only when your guide says it’s okay. The ice is active and uneven, so you’ll want to avoid stopping in the wrong spot.
What gear you really need (and what you can leave at home)
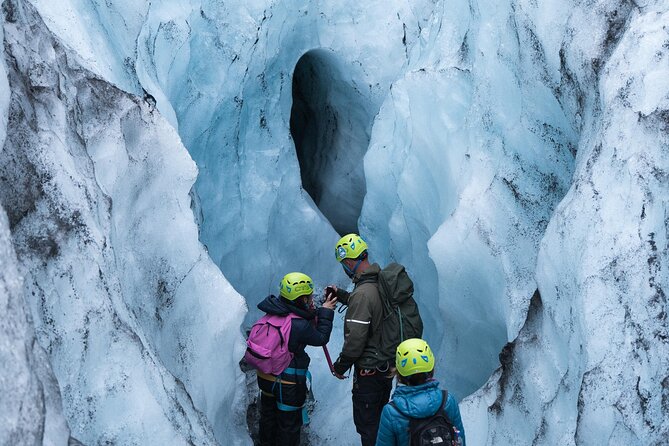
You’re provided with all required safety equipment, including crampons, an ice pick, and a helmet. That’s a major value piece. It reduces hassle and makes the hike more accessible—especially if you’re traveling without specialized winter gear.
Still, you need to bring the clothing and footwear that keep you comfortable for about 2.5 hours outside. The tour suggests bringing:
- Hiking shoes
- Gloves
- Hat
- Outdoor clothing
- Camera
Here’s how I’d think about it practically:
- Your shoes matter because you’ll walk on uneven ground while wearing crampons.
- Gloves are non-negotiable for comfort and control.
- Layers are usually the smart move in Iceland-style weather, even if you’re not told explicitly to layer. The key is outdoor clothing you can move in and that handles wind.
Also pay attention to the rules: pets aren’t allowed, baby strollers aren’t allowed, and alcohol or drugs aren’t allowed. Glacier hiking is already demanding enough. These restrictions keep everyone safe and focused.
Difficulty level: Easy hike, real conditions
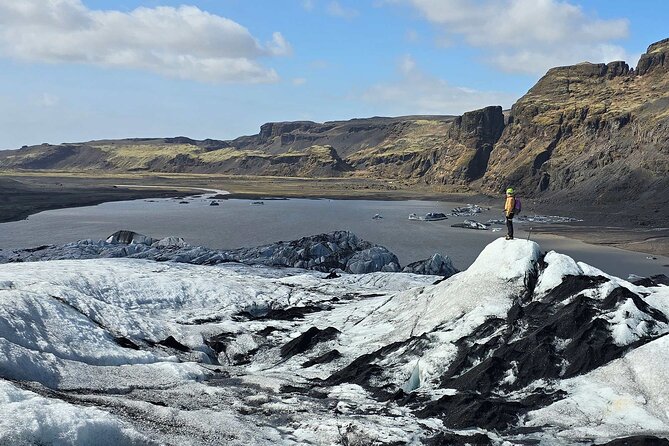
This isn’t described as a technical mountaineering challenge. It’s a guided hike designed to be accessible, and one guest specifically noted the hike felt quite easy and didn’t require a lot of experience.
But here’s the honest balancing act: the conditions are still glacier conditions. You’ll be on uneven ground and wearing crampons for roughly an hour. That means your body needs to react quickly if your footing changes.
The tour is not suitable for:
- Children under 10
- People with heart problems
- Wheelchair users
- People over 209 lbs (95 kg)
If you’re unsure, treat it as a safety-first outing. If your doctor has ever put limits on exertion or balance-related concerns, this is the kind of experience where you should ask directly before going.
Price and value: What $105 buys you in the real world
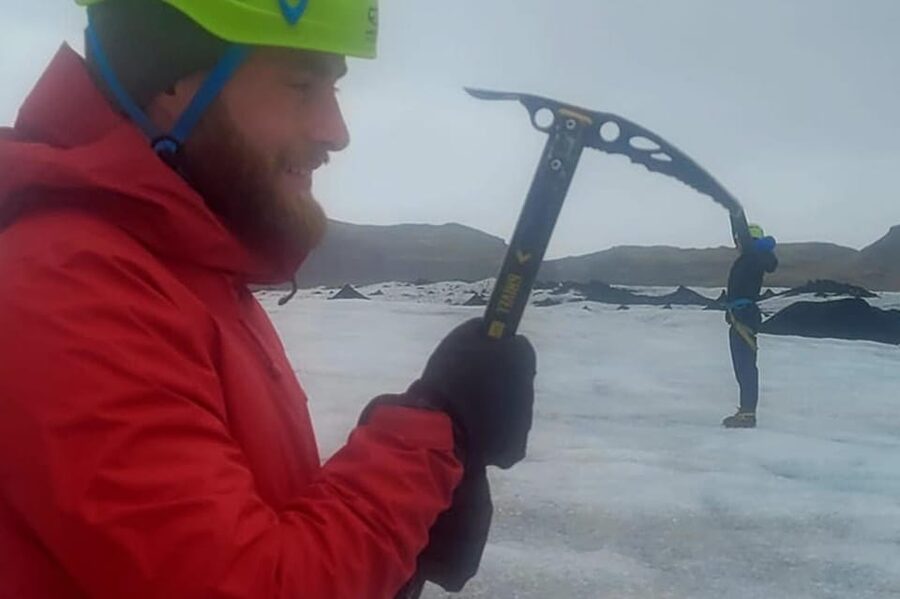
At $105 per person for about 2.5 hours, this hike sits in the “pay for the gear and safety” category rather than the “DIY-style sightseeing” category.
Here’s what you get that justifies the price:
- An English speaking certified glacier guide
- All required safety equipment
- On-ice access to Sólheimajökull with instruction, not just a walk-by viewpoint
You’re also buying time efficiency. Because you meet on location and gear up at the glacier, the experience is focused. You’re not spending half your day commuting just to reach a starting point.
Meals aren’t included, so plan a snack or meal before or after if you need it. That’s the main practical cost outside the ticket.
Is it “cheap”? No. Is it good value? For a guided crampon walk with safety equipment included, it’s a solid deal, especially if glacier hikes are not something you can easily do on your own.
The guide matters: Why the narration makes the ice click
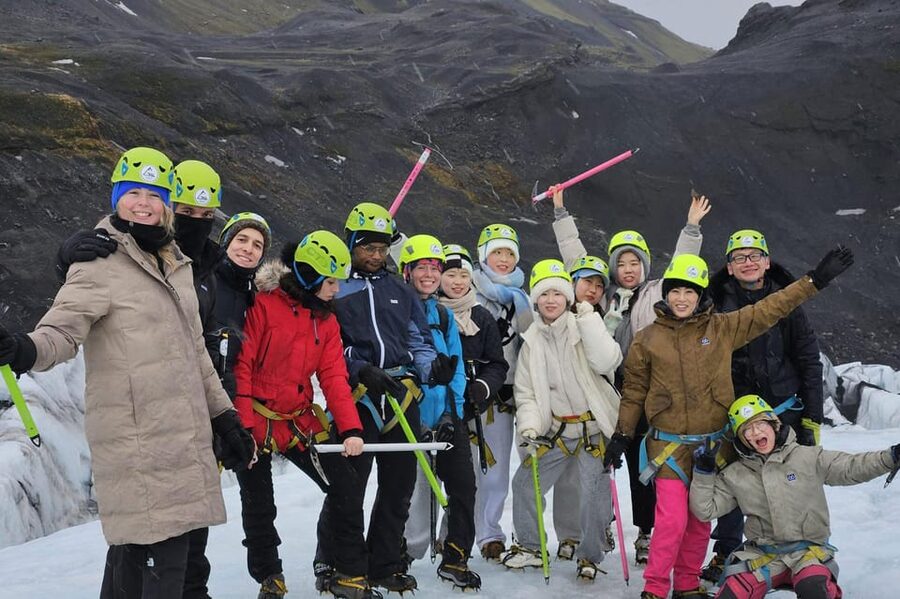
Glaciers can be visually impressive but emotionally flat if nobody connects the dots. The guide experience here is meant to prevent that.
From guest feedback, the guides like Tomasz come across as both professional and passionate, bringing explanations that match what you’re looking at. That means you’re not just walking around in gear. You’re learning the glacier’s logic: how formations appear, how ice behavior ties into the visible surface.
That changes how you remember the hike. Afterward, you’re not only thinking about the thrill. You’re also thinking about what you saw and why it looks that way.
Photography and timing: How to get good shots without slowing everyone down
A camera is on the bring list, and you’ll likely want it. Ice texture, cracks, and the overall glacier shape are photo-friendly, especially when light hits the surface.
The trick is timing. You’ll be walking and moving most of the time. If you stop, do it briefly and only when your guide allows it. Keep your hands warm while handling your camera. Cold fingers plus crampons is not a fun combo.
If weather is clear, you’ll get a sharper look at formations. If it’s windy or hazy, focus on close-up details and guide-led explanations instead of trying to chase long-distance views.
Who this Sólheimajökull hike is best for
This is a strong fit if you want:
- A hands-on glacier experience in a short time window
- Guided instruction plus safety equipment
- A hike that feels manageable even if you’re not an expert outdoor person
- An English speaking guide who explains what you’re seeing
It’s not a good fit if you:
- Need wheelchair-friendly access
- Have health constraints that limit exertion or balance
- Are traveling with kids under 10
- Have weight limits beyond the stated maximum
If you’re doing Iceland’s South Coast and want a “real Iceland” moment that goes beyond waterfalls and black sand beaches, this adds a different kind of wow: ice under your boots.
Should you book the Sólheimajökull glacier hike?
Book it if you want a guided crampon hike that’s built around safety, real time on the glacier surface, and explanations that make the ice understandable. The on-location meeting helps a lot if you’re driving, and the included equipment saves you from logistics headaches.
Skip it (or choose a different activity) if the idea of 2.5 hours outside on uneven ground sounds uncomfortable, or if you fall into the stated non-suitable categories like heart problems or mobility limitations.
If you can meet the physical requirements and you’re curious about how glaciers form and change, this is the kind of activity that sticks with you long after the photos are done.
FAQ
Where do I meet for the Sólheimajökull glacier hike?
You meet at the car park at Sólheimajökull. There is one car park there, and you should look for the car/mini bus marked Glaciers and Waterfalls.
How long is the glacier hike experience?
The total duration is about 2.5 hours.
Is crampons use included, and do I need to bring my own safety gear?
All required safety equipment is included, including crampons. An ice pick and helmet are also part of what you use during the hike.
What should I bring with me?
Bring a hat, camera, hiking shoes, gloves, and outdoor clothing. You’ll also be outside for roughly 2.5 hours.
Is this tour suitable for children or wheelchair users?
No. It is not suitable for children under 10, wheelchair users, or people with heart problems.
What is the cancellation window?
You can cancel up to 24 hours in advance for a full refund.