REVIEW · SEMBALUN
Sembalun/Senaru: Mt. Rinjani Summit 2-Day Trekking Tour
Book on GetYourGuide →Operated by uji trekking · Bookable on GetYourGuide
Rinjani is the kind of climb that starts in the dark and pays off at the top. This 2-day Mt. Rinjani summit trekking tour takes you from the Sembalun/Senaru pickup area to the crater rim, then pushes up to the summit for sunrise over Bali, Lombok, the Gilis, and beyond. I especially like how the plan builds in rests at set points, and how the porters handle the heavy load so you can focus on your footing. One consideration: the final summit push is tough, with sand and gravel, and you’ll be trekking in darkness—so you’ll need a flashlight and sensible pacing.
I also love that you camp at the Sembalun Crater Rim, where the views of Segara Anak and the sunset feel like part of the hike, not a bonus. Guides keep you moving and help with the steep, tiring sections, and the group setup works well for solo travelers and couples who want structure without the stress of organizing everything. If weather is cloudy, sunrise views can fade, so plan for the fact that Rinjani’s big payoff depends on conditions.
Key takeaways before you go
- Sunrise timing at 1:30 a.m. means you’ll hike in the dark for the summit section
- Crater-rim camping gives you a real night on the volcano, not just a day pass
- Porter support for camping gear and cooking keeps the climb more manageable
- Sand and gravel on the summit push is the hardest part, so shoes and gloves matter
- Guide-led pacing helps you survive the tiring sections and still reach the top
In This Review
- Mt. Rinjani in 2 days: why this itinerary works
- Pickup options in Senaru or Sembalun: matching the start to your comfort
- Day 1: from registration to crater rim sunset over Segara Anak
- What “camp at the crater rim” really means for your comfort
- Day 2: 1:30 a.m. wake-up and the summit in the dark
- Guides and porters: where the tour really earns its 4.8 rating
- Price and value: $141 plus the park fee reality check
- What to bring so you don’t suffer more than necessary
- Fitness and safety: who this trek suits and who should pass
- Weather and the sunrise question
- Should you book the Sembalun/Senaru 2-day Rinjani summit trek?
- FAQ
- Is hotel pickup and drop-off included?
- Where does the trek start from: Sembalun or Senaru?
- How long does the summit climb take?
- Do I need a flashlight or headlamp for the summit?
- What’s included for food, water, and camping gear?
- What entrance fees are not included?
- What should I pack for the hike?
- What’s the group style?
- Who is the tour not suitable for?
Mt. Rinjani in 2 days: why this itinerary works
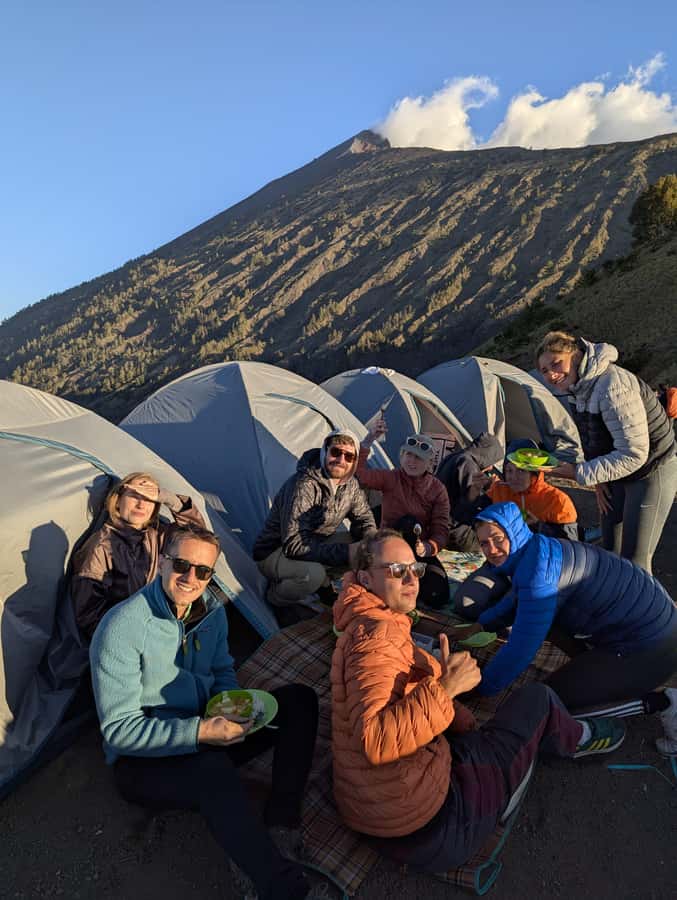
If you want Mt. Rinjani on a tight schedule, this 2-day plan makes the most sense. You’re not trying to “see everything.” You’re building the day around the two moments that define the mountain: sunset at the crater rim and sunrise from the summit. The result is a trek that feels focused, even though it’s physically demanding.
The route also gives you a sense of height as you go. Day 1 climbs through several numbered stops (POS-1, POS-2, POS-3) before reaching the Sembalun Crater Rim at 2,639 meters. Day 2 starts with an early push from that rim to the summit (3,726 meters). That structure helps you break the hike into chunks instead of one endless climb.
At the same time, it’s not a cakewalk. The summit section is described as sand-and-gravel heavy and among the most tiring parts. That’s where your preparation matters most: footwear that grips, long pants, gloves for dust and friction, and a flashlight so you’re not guessing your steps in the dark.
Pickup options in Senaru or Sembalun: matching the start to your comfort
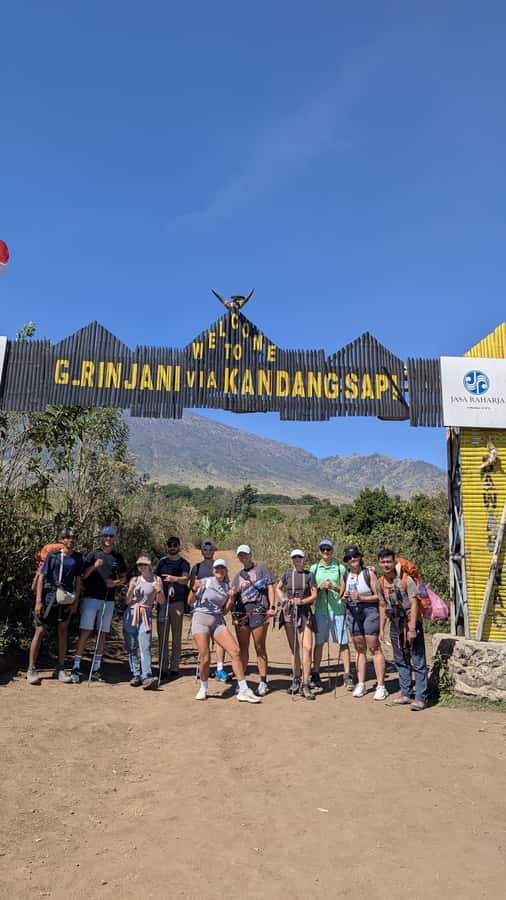
This trek runs with two pickup options: Senaru and Sembalun, with matching drop-offs at the end. That matters because the start of the trek sets the tone for everything that follows. You’re picked up from your hotel, then driven to Sembalun Village for registration.
From there, the itinerary described focuses on the Sembalun route up. If you’re staying in Senaru, the transfer simply shifts your morning logistics, not your commitment level. Either way, you’ll be doing the climb’s real work on foot, so choose based on where you’re already sleeping and how much driving you can handle before your legs are even warm.
Day 1: from registration to crater rim sunset over Segara Anak
Day 1 begins with pickup and breakfast, then about a one-hour drive to Sembalun Village. The first “important human step” is registering at the Rinjani Information Center (RIC). It’s a reminder you’re entering a managed protected area, and it keeps the day grounded in official procedures instead of guesswork.
Once you start trekking, the climb is broken into a steady rhythm:
- POS-1 (1,300 m): roughly a 2-hour walk after starting
- POS-2 (1,500 m): about 1 more hour, with a short rest in between
- POS-3 (1,800 m): around 1 more hour, then a longer pause
You’ll take short breaks along the way, and you’ll also get a proper rest at POS-3. This is where the tour’s value shows: the schedule isn’t just “walk until you collapse.” It’s built for pacing. After lunch at POS-3, you’ll have a hot drink option like tea, coffee, hot chocolate, or lemon tea. That warm break can feel like a reset when the air is thinning and your body is working hard.
After lunch and resting, you continue toward the Sembalun Crater Rim (2,639 m) for about 3 hours. The last stretch to the rim tends to feel like it’s testing your will more than your fitness. Then you’re done for the day—at least with the major climbing—because you’ll spend the night at the rim.
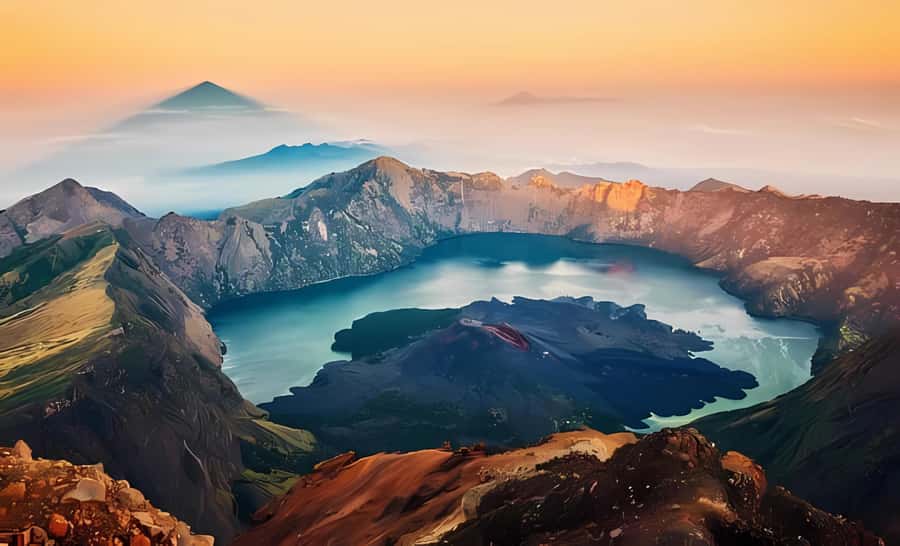
That night is the payoff. The crater rim setup is all about views: sunset, Segara Anak, and a wide sweep toward North Lombok Island. Even if you’re tired, the timing makes you stop. You look out, you breathe, and the volcano suddenly feels close in a way photos can’t capture.
What “camp at the crater rim” really means for your comfort
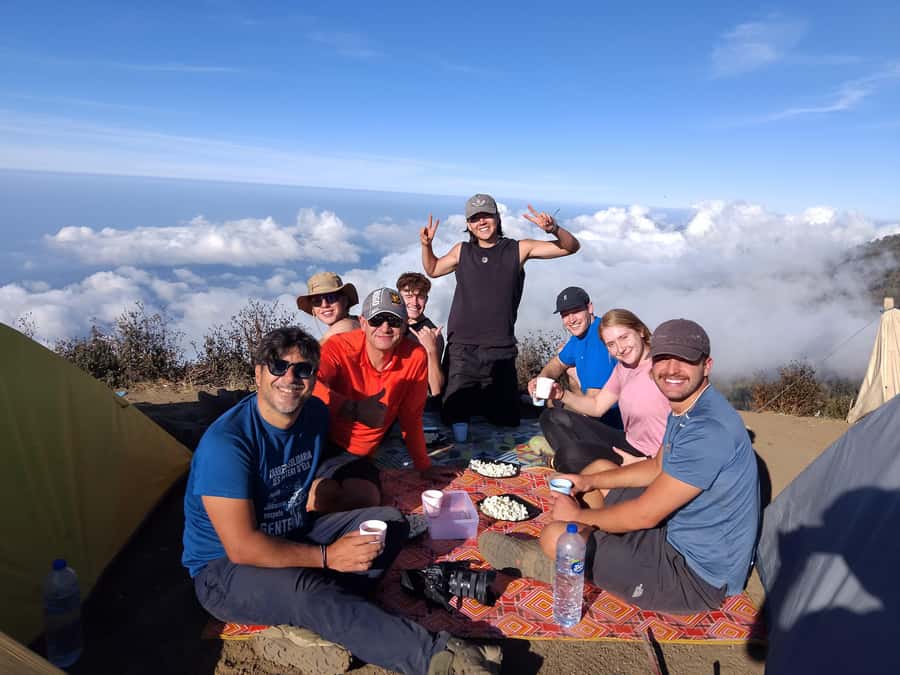
You sleep at the crater rim campsite, not back at a hotel. The included gear list is practical:
- tent and toilet tent
- sleeping bag and mattress
- toilet paper
So you won’t be scrambling to rent camping equipment at the last minute. The part you still control is what you wear and how you manage the cold and dust. At these elevations, night can feel chilly. You’ll want layers, and you’ll appreciate the fact that the tour provides sleeping insulation (sleeping bags and mattress), even though it doesn’t mention liners or extra blankets.
Also note what is not included: headlamp/flashlight and backpacks. The summit section uses darkness, so plan to bring your own light equipment even if it’s not technically listed as required equipment for the day. You’ll want hands-free lighting for footing and balance.
Day 2: 1:30 a.m. wake-up and the summit in the dark
Day 2 starts early—wake-up around 1:30 a.m.—with coffee or tea and a light breakfast. The timing is built around reaching the summit for sunrise. It’s also built around the reality that this is a moving goal: you need enough daylight at the top for views, photos, and a safe return.
The summit trek itself normally takes around 3 hours, depending on your pace. This is also the section you should respect. The tour notes that you’ll be trekking in the dark, and that the trail includes sand and gravel sections that can be among the most tiring parts of the whole trek. That means more slip risk and more energy burn than you might expect.
Guides are with you the whole way during this critical push, which matters. On difficult terrain, having someone who keeps you moving and helps you choose safer steps is the difference between “hard but manageable” and “panic and slow down too much.”
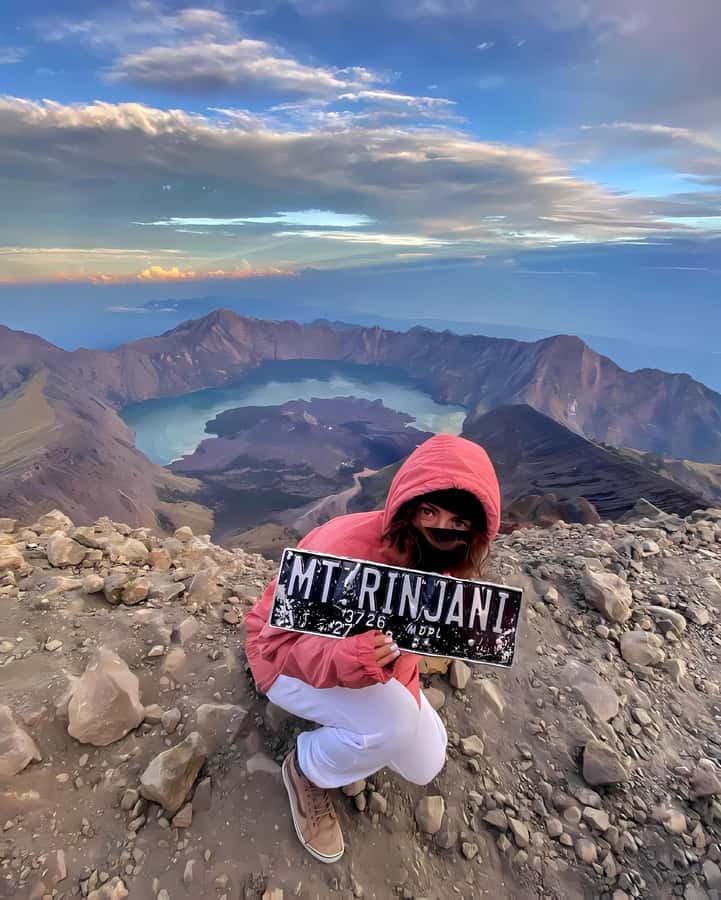
Once you reach the summit at 3,726 meters, you get a short break for photos. The view described is big: Bali, Sumbawa, all of Lombok, and the Gilis. That’s not just bragging—it’s your reward for the early wake-up and the dark climb. Then you return to the crater rim campsite.
Back at camp, your porters will have breakfast prepared. After that, you hike back down to Sembalun Village. Day 2 is “less exciting” than sunrise from a scenery standpoint, but it’s still mentally important. You’re tired, the trail can be uneven, and you’ll want to stay focused until you reach the drop-off area.
Guides and porters: where the tour really earns its 4.8 rating
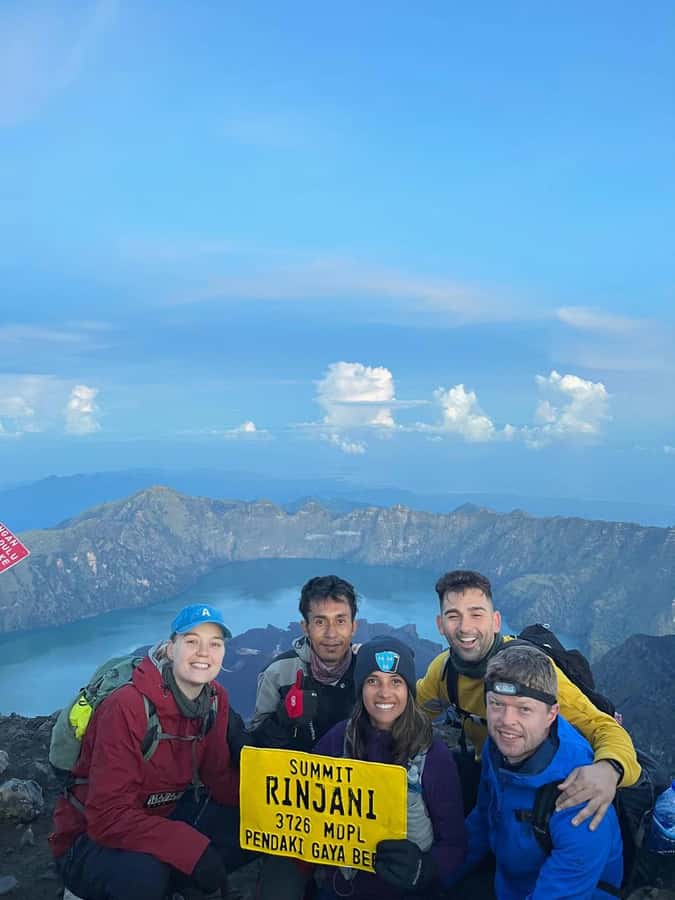
The best thing about this kind of Rinjani tour is not the view (though you absolutely get them). It’s the human system behind the view: guides and porters.
This trek includes:
- a trekking guide (English)
- porters to carry cooking gear and camping equipment
From past experiences with different Rinjani guides, the names that stand out are Cakra, Anji, Reno, and Djordan—and the common thread is clear. Good guides help you keep your pace in control, especially during the steep and sandy sections. They also keep the hike fun in the way that matters most at high effort: not by being loud, but by staying attentive and practical.
Porters earn their own respect here. You’ll likely notice how much they carry and how smoothly they handle the logistics of meals at altitude. In particular, the tour experience includes hot food and drinks, with big portions being part of the pattern. When you’re climbing, food stops being a “nice extra” and becomes fuel. It also feels reassuring to know your camp setup and cooking gear aren’t your job.
Price and value: $141 plus the park fee reality check
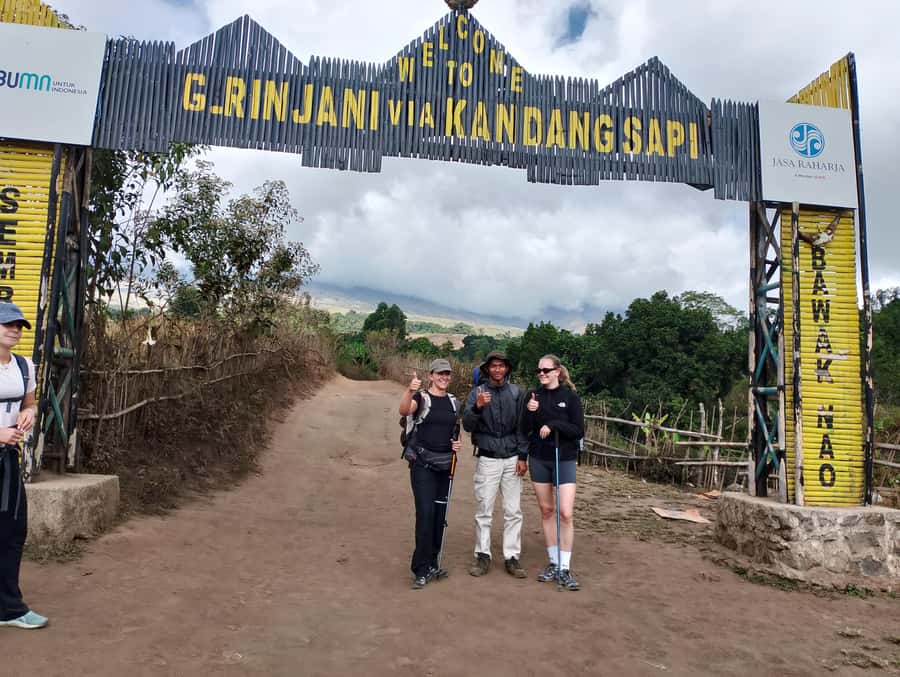
At $141 per person, the base price is solid for what’s included. You’re paying for more than a guide—you’re covering:
- hotel pickup and drop-off (Senaru and Sembalun)
- trekking guide
- porter support for camping and cooking
- tent, sleeping bag, and mattress
- drinking water on the trek (3 liters per day per person)
- meals and drinks during the trek (as part of the camp service)
The catch is the national park entrance fee, listed as IDR 200,000 per day per person, which is not included. Since the tour is 2 days, you should expect that cost to apply for both hiking days.
Also keep in mind what’s not included: headlamp/flashlight, backpacks, and your own trekking shoes and weather gear. You’ll need to budget for those if you don’t already have them.
In plain terms: this price makes sense if you want to show up with a small personal pack and let the team handle the heavy gear and camp setup. If you’re the type who likes renting cheap gear last minute, you might end up spending extra on the basics anyway.
What to bring so you don’t suffer more than necessary
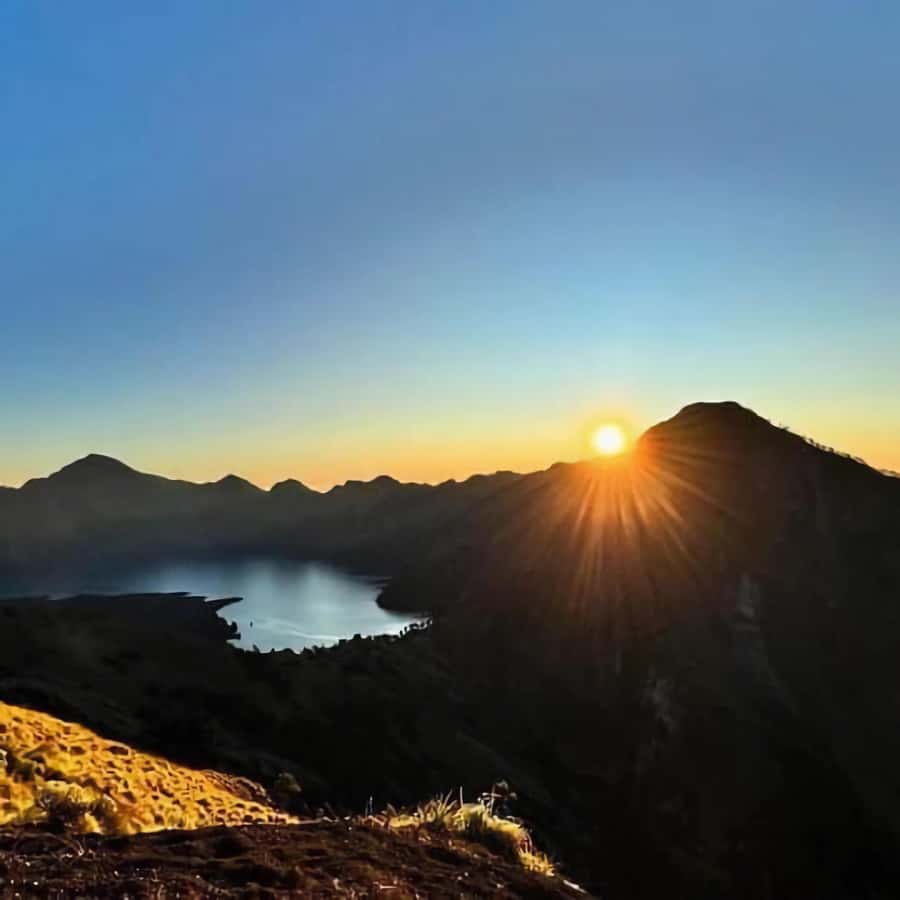
This trek’s biggest enemy is not just altitude. It’s friction, dust, and cold night conditions—plus the sand-and-gravel summit climb.
Bring:
- flashlight (the itinerary specifically calls out trekking in the dark)
- proper hiking shoes
- long pants and gloves (gloves are specifically helpful for dust and hand comfort)
- jacket and rain gear
- hat and camera
- power bank
- personal medication
- passport
One tip that fits the environment well: consider something for dust protection. The tour data doesn’t list a dust mask as included, but packing a mask can be a smart comfort move for dry, sandy sections.
Also bring spare batteries if you’re using a head torch or handheld light. Cold can shorten battery life, and you don’t want your light dying mid-ascent.
Fitness and safety: who this trek suits and who should pass
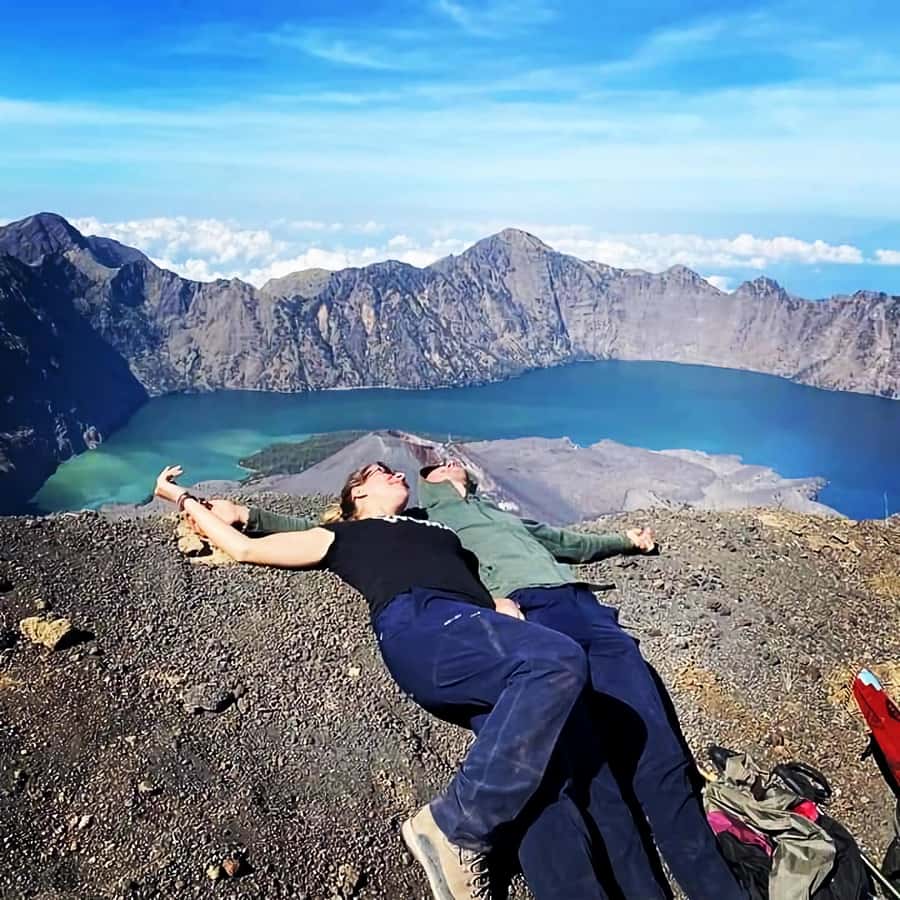
This is a demanding 2-day climb. It’s not listed as suitable for:
- pregnant women
- people with altitude sickness
- people over 70 years
You’ll also want to be honest about your walking comfort. The trek involves multiple hours of hiking each day, with early wake-up on Day 2 and tiring sand/gravel sections on the summit push. If you’re not trained for long, steady walking, you can still go, but you should expect it to be a true challenge.
Because the summit depends on timing and conditions, your pace matters. Guides will help, but the mountain still sets the clock.
Weather and the sunrise question
Your route includes sunrise from the summit. That’s the reason most people book this tour. But weather is outside anyone’s control. The tour’s description clearly frames the experience as dependent on what you can see from the summit and the crater rim.
What you can control:
- dress in layers
- bring reliable lighting
- keep your pace steady so you arrive when you need to
- accept that clouds might reduce what you see
Even when visibility isn’t perfect, the effort and the crater rim atmosphere still make the trek feel like a real volcano experience rather than a checklist hike.
Should you book the Sembalun/Senaru 2-day Rinjani summit trek?
Book it if you want the classic Rinjani arc: crater rim camping with Segara Anak sunset, then a tough early-morning climb to summit sunrise. You’ll get the value of a guided system, porter support for camp and cooking, and a schedule that builds in rests instead of rushing you.
Skip it if you’re looking for a relaxed hike, hate early starts, or aren’t comfortable with sand-and-gravel terrain in the dark. Also pass if any of the listed restrictions apply, especially altitude-related concerns.
If you’re traveling with basic hiking gear and you can handle a serious challenge, this is one of the more straightforward ways to do Mt. Rinjani in 2 days without turning your trip into logistics work.
FAQ
Is hotel pickup and drop-off included?
Yes. You’ll be picked up from your hotel and dropped off back in Senaru or Sembalun, depending on your selected options.
Where does the trek start from: Sembalun or Senaru?
The tour offers two pickup options, Senaru and Sembalun, and after pickup you register in Sembalun Village to start the trek.
How long does the summit climb take?
The trek from the crater rim to the summit typically takes around 3 hours, depending on your pace.
Do I need a flashlight or headlamp for the summit?
Yes. The summit trek happens in the dark, so you should bring a flashlight. Headlamp is specifically listed as not included.
What’s included for food, water, and camping gear?
Food and drinking water are included, with 3 liters of mineral water per day per person. Camping gear included is a tent, toilet tent, toilet paper, sleeping bags, and mattress.
What entrance fees are not included?
The national park entrance fee is not included and is listed as IDR 200,000 per day per person.
What should I pack for the hike?
You’ll want hiking shoes, long pants, gloves, rain gear, a jacket, a hat, passport, camera, flashlight, power bank, and personal medication.
What’s the group style?
The tour notes private or small groups are available, and the guide is English-speaking.
Who is the tour not suitable for?
It’s not suitable for pregnant women, people with altitude sickness, and people over 70 years.