REVIEW · SENARU
From Senaru: Mount Rinjani 2-Day Trek to Summit
Book on GetYourGuide →Operated by Rinjani Hero · Bookable on GetYourGuide
Mount Rinjani rewards early mornings. This 2-day summit trek from Senaru mixes hard climbing with the kind of crater views that make you forget your legs for a minute. I love how the itinerary builds in acclimatization stops (the posts and breaks feel timed, not random), and I also love the practical touch of having camp setup handled for you, including chairs, a table setup, and headlamps so you’re not fighting gear in the dark.
The main drawback is simple: this is a serious hike. The final climb can be steep and cold, and the trek operator is clear that you need strong fitness and the right clothing and accessories, or the mountain will feel unforgiving.
In This Review
- Key things I’d fix in your planning (and why)
- Permits and the 240-a-day rule: plan fast or you lose your day
- Senaru to Sembalun: your first altitude lessons at Post 1 and Post 2
- Day 1’s big moment: Lunch at Post 3, then Pelawangan Sembalun (2,639 m)
- Summit day: waking at 02:30 and climbing toward 3,672 m
- The descent back to Senaru: where fatigue turns into progress
- What’s included (and what you still need to pack)
- Guide and porter teamwork: safety, pace, and the “it’s handled” feeling
- Price and value: what your $183 is really buying
- Who should book this trek, and who should skip it
- Transfer and meeting point: easy when planned, annoying if you wander
- Should you book the Senaru Mount Rinjani 2-Day Trek to Summit?
- FAQ
- How early do you start the summit trek on Day 2?
- What is the permit situation for Mount Rinjani?
- How do I register for the Mount Rinjani national park permit?
- Is the national park entrance fee included in the price?
- What trekking and camping gear are included?
- What do I need to bring in my small backpack?
- What group size and languages are used?
Key things I’d fix in your planning (and why)
- The permit is the gatekeeper: you’re limited to 240 permits per day, so early registration matters.
- Cold is real at altitude: you’ll want very warm gloves and a windproof layer for the last stretch.
- Sembalun Crater Rim camping is the payoff: you sleep by the crater edge and wake up for sunrise views.
- The summit push starts at night: waking around 02:30 and starting the climb at 03:00 sets expectations.
- You get the comfort systems: headlamp, trekking poles, tents, sleeping bags, chairs, and mattresses are included.
- Transfer safety is worth checking: ask for a safer ride style for the trip to and from Senaru.
Permits and the 240-a-day rule: plan fast or you lose your day
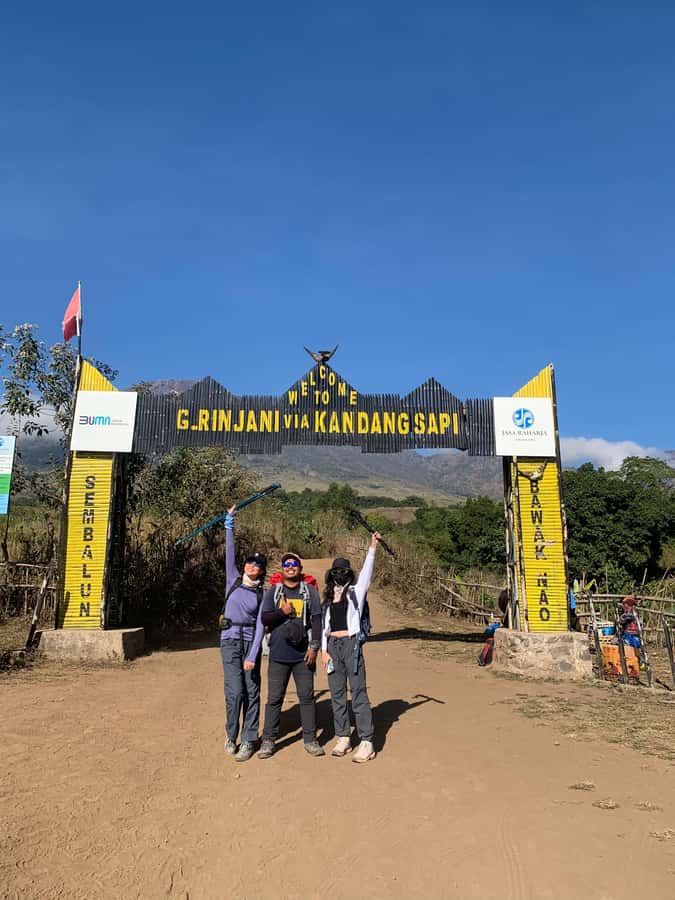
This trek is tied to a national park permit system, and that’s the part that can make or break your schedule. You’re limited to 240 permits per day. If registrations for a day are already used up, you can’t simply show up and walk onto the trail—you’ll need to reschedule.
So I strongly recommend you treat the permit as your first booking step, not an afterthought. Registration can be done through the ERinjani app, and you’ll need member details like passport number, full name, birthday, weight, height, and nationality. Then you pay by bank transfer to the government account listed for the permit fee.
The fee is RP 250K per person per day (for the national park permit requirement). If you’d rather not handle the app/payment steps alone, you can also contact the local guide to help with the registration, especially since the permit inventory is limited.
Two practical tips I’d follow:
- Save time by having your passport info ready exactly as it appears on the document.
- Don’t make other tight plans around the trek date until you’ve secured the permit for that specific day.
You can also read our reviews of more tours and experiences in Senaru.
Senaru to Sembalun: your first altitude lessons at Post 1 and Post 2
Day 1 starts with a transfer from Senaru to Sembalun village in a mountain vehicle. Expect about 45 minutes to 1 hour, with arrival around 8:00 a.m.. This matters because you’ll be starting your trek day with less chaos and fewer delays. It’s also the moment you’ll notice what you packed: shoes, gloves, and layers will either feel right—or you’ll start regretting them fast.
Registration happens at the Rinjani Information Center (RIC) around 1,051 m, then you begin trekking toward Post 1 (Monitoring Post) at 1,300 m, which takes roughly 2 hours. Plan for steady effort here. It’s not the steep part yet, but it’s where you start building rhythm.
At Post 1 you stop briefly (about 5–10 minutes). Then the route continues to Post 2 (Tengengean) at 1,500 m for around 1 hour, with another short break (again 5–10 minutes). After that comes Post 3 (Pada Balong) at 1,800 m for about 1 hour, followed by a longer rest of around 2 hours.
That long rest at Post 3 is one of the smartest choices in the plan. You’re not just killing time—you’re letting your body settle, giving your lungs and legs a breather, and giving the team time to set up lunch and hot drinks.
Day 1’s big moment: Lunch at Post 3, then Pelawangan Sembalun (2,639 m)
After the long Post 3 pause, the crew prepares lunch and hot drinks. You’ll get meals across the trek (breakfast, lunch, dinner), and safe drinking water is included. The hot drink step is more than comfort; it helps when you’re already working hard and the weather can shift.
Then comes the main Day 1 climb: from the Post 3 area to Sembalun Crater Rim (Pelawangan Sembalun) at 2,639 m. Plan around 3 hours of trekking, and yes—there’s a prolonged steep climb in that section.
This is where I’d expect two things:
1) You’ll feel it in your quads. Take it slow and don’t sprint your way through loose sections.
2) The temperature can drop. Even when you feel warm during the hike, the rim can bring wind and chill.
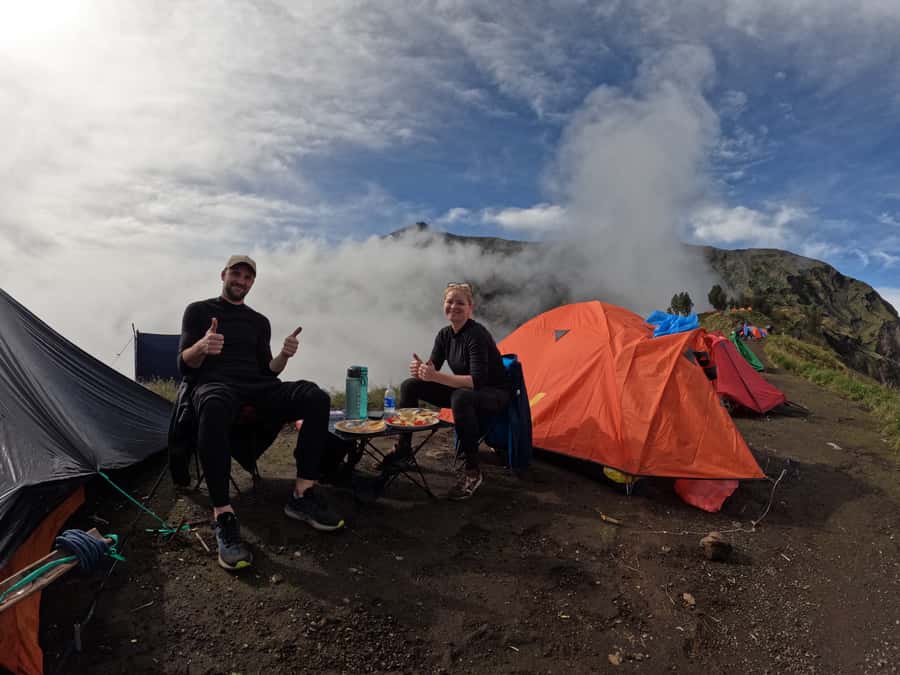
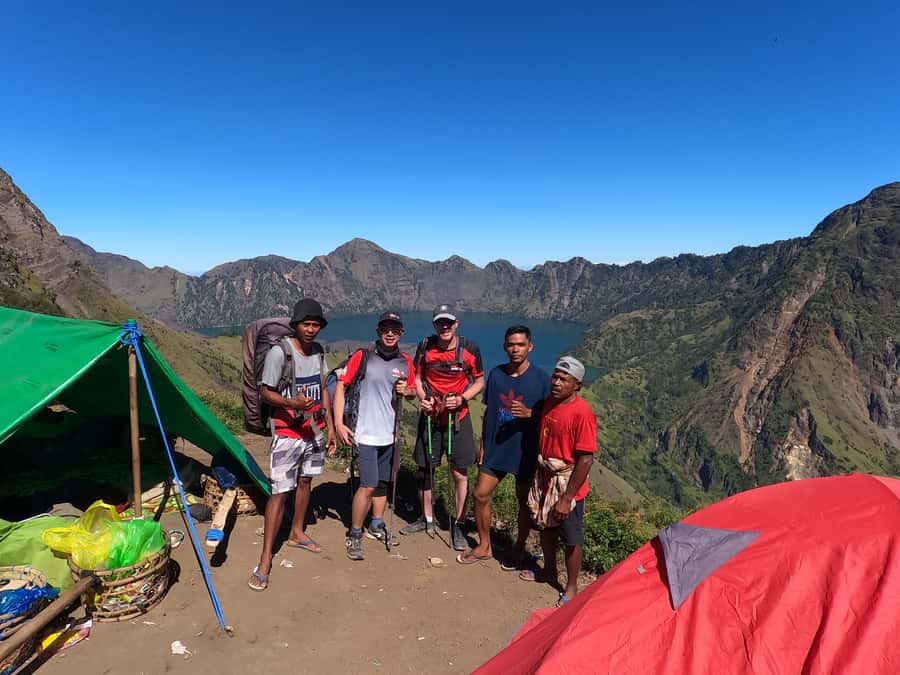
At the crater rim you set up camp for the night. This is the part I’d most want to experience: camping near the crater edge, sleeping under the stars, and waking up for sunrise without needing extra transport. You’re also in position to look across key features like Segara Anak Lake and across the wider Lombok view.
Sunset and sunrise are the emotional payoff here. If you’re cold, don’t pretend you aren’t—use the gear you’re carrying, and get warm early.
Summit day: waking at 02:30 and climbing toward 3,672 m
Day 2 starts before sunrise. You’ll wake around 02:30 a.m. and then have a light breakfast. The goal is to begin the summit trek around 3:00 a.m. for about 3 hours 30 minutes to reach Rinjani’s summit (3,672 m).
The climb is split into stages:
- First stage (about 2 hours): a moderate climb.
- Second stage: fairly easy but long.
- Last hour: very steep and difficult, with lots of loose stones.
That last hour is where you need patience. If you take two steps forward and feel like you slide back one, that’s normal on loose rock. Don’t force big strides. Short steps and steady breathing usually work better.
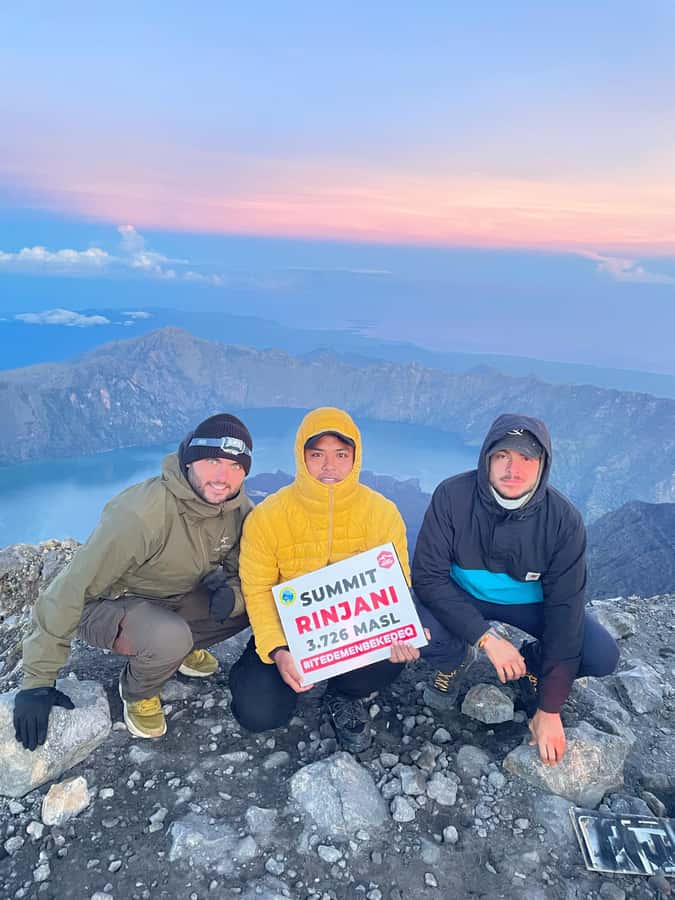
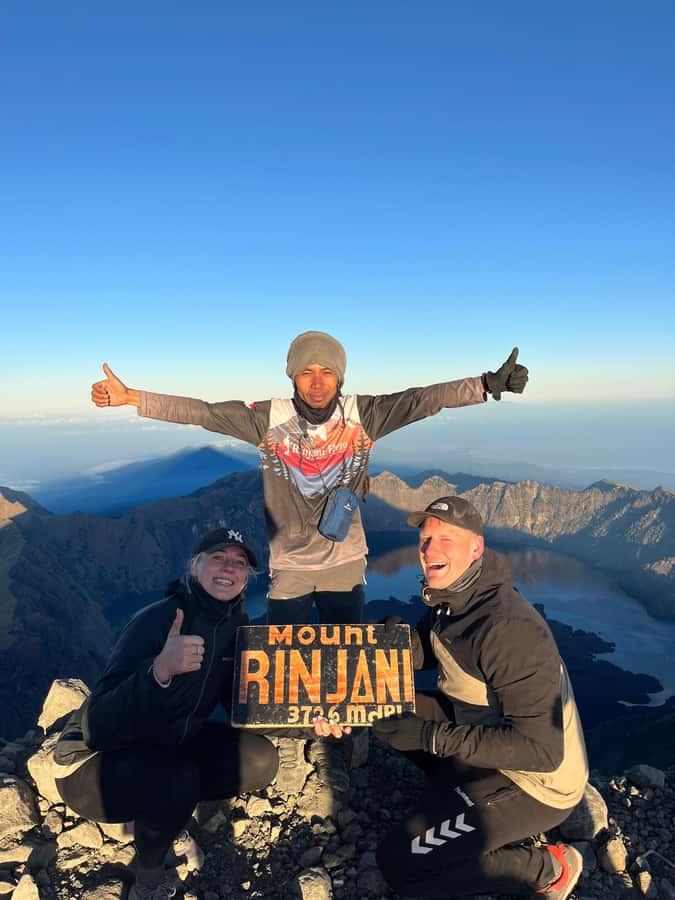
When you reach the summit, the views cover a wide set of landmarks: Lombok island, Bali, Mount Tambora in Sumbawa, and Segara Anak Lake. The route is demanding, but the viewpoint is the reason people do this trek.
There’s also a nice small detail at the summit: you capture your moment with pictures. It sounds minor until you’re up there tired and trying to coordinate phones and group shots. Having it handled is one less problem.
After sunrise, you start the descent back down to the Sembalun Crater Rim for breakfast. Yes, you’ll likely feel both hungry and relieved.
The descent back to Senaru: where fatigue turns into progress
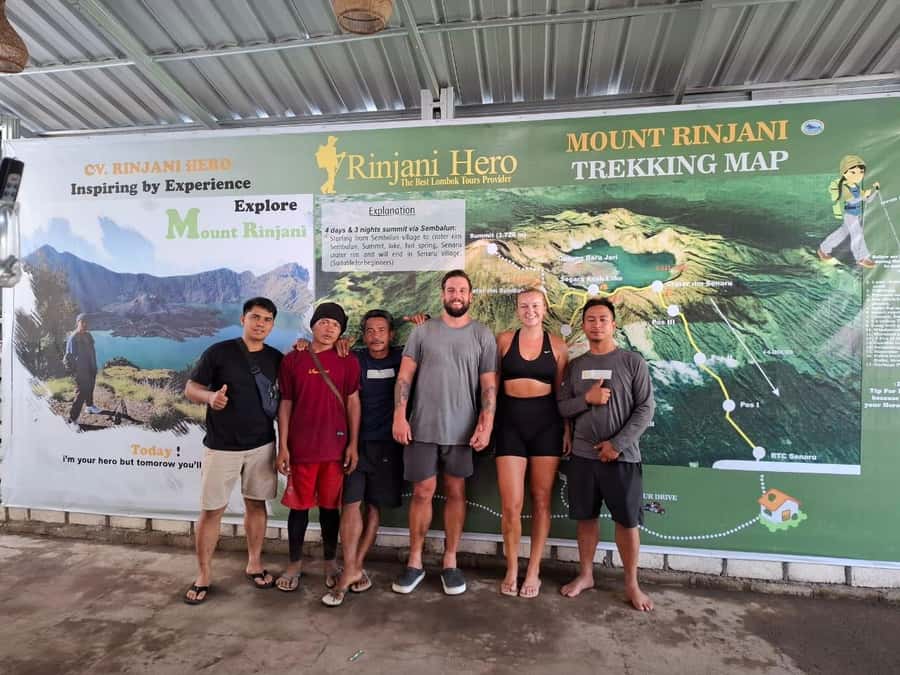
Once breakfast is done, you keep going down to Sembalun village at 1,150 m. This takes about 4–5 hours. If you need fuel along the way, lunch is typically in the Post 3 or Post 2 area depending on timing.
When you arrive back at Sembalun village around noon, the vehicle is waiting to take you back to Senaru, and the trek finishes.
The descent is not automatically easy just because it’s downhill. Your knees and ankles will notice the switch in effort. Trekking poles help a lot here. Since poles are included, you should use them on the steep sections rather than just holding them “for later.”
This is also the time to be alert with your pacing. If you go too fast on loose descents, you’ll burn energy you’ll wish you had for the final kilometers.
What’s included (and what you still need to pack)
This trek stands out because a lot of the heavy hassle is handled by the operator. Here’s what you can count on being included:
- Trekking guide and porters for camping equipment
- Meals and drinks (breakfast, lunch, dinner) and safe drinking water
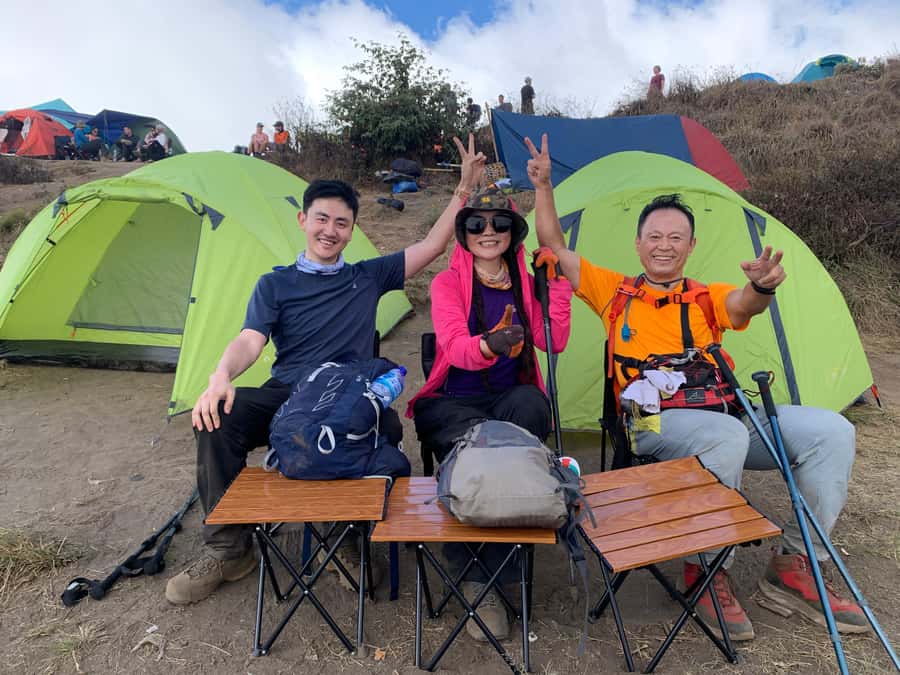
- Camping equipment like double-size tents, camp chairs, toilet tent, sleeping bags, pillows, and mattresses
- Head lamp, trekking poles, and rain coat
- Insurance
- The option to add an extra porter for your personal belongings (separate add-on)
What’s not included:
- A small bag or day pack
- The Rinjani National Park entrance fee (permit/fees are separate from what you pay to join the trek)
Packing notes that matter:
- You’re expected to bring your items in a small backpack no more than 5 kg.
- You’ll want hiking shoes, gloves, long pants, sunscreen, insect repellent, toiletries, personal medication, and a windproof jacket.
- Bring a charged smartphone (cash is also mentioned as useful).
One very practical warning from the experience data: the final push can be cold and windy. People specifically noted the need for very warm gloves, and the idea of a skull cover like a hood, ski-style cap, or thick beanie. If your gloves are thin, you’ll notice on the summit climb and during wind exposure.
Also, while bedding is included, at least one person found the pillow not quite comfortable. If you’re picky about sleep, it doesn’t hurt to bring a small travel pillow liner or a compact spare layer to shape support.
Guide and porter teamwork: safety, pace, and the “it’s handled” feeling
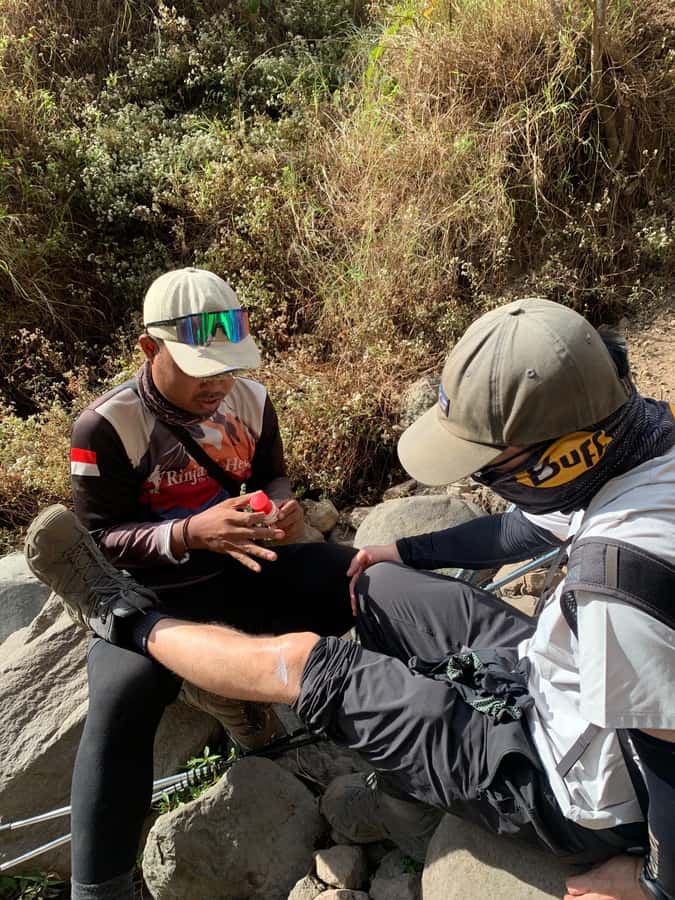
The quality of the guide can make or break a tough mountain day, and this trek puts a lot of weight on that part. In the experience reports, guides like Joko (and another guide referred to as In) were described as patient, experienced, and able to adjust the pace to different walkers. That’s huge when you’re moving in groups of up to 10 participants—you don’t want a “fast for everyone” rhythm when altitude is already slowing you down.
Porters matter too. They carry camping equipment, so you focus on your own small backpack. In practice, that reduces the mental load. You’re not thinking about where to put gear when you stop—it’s already covered.
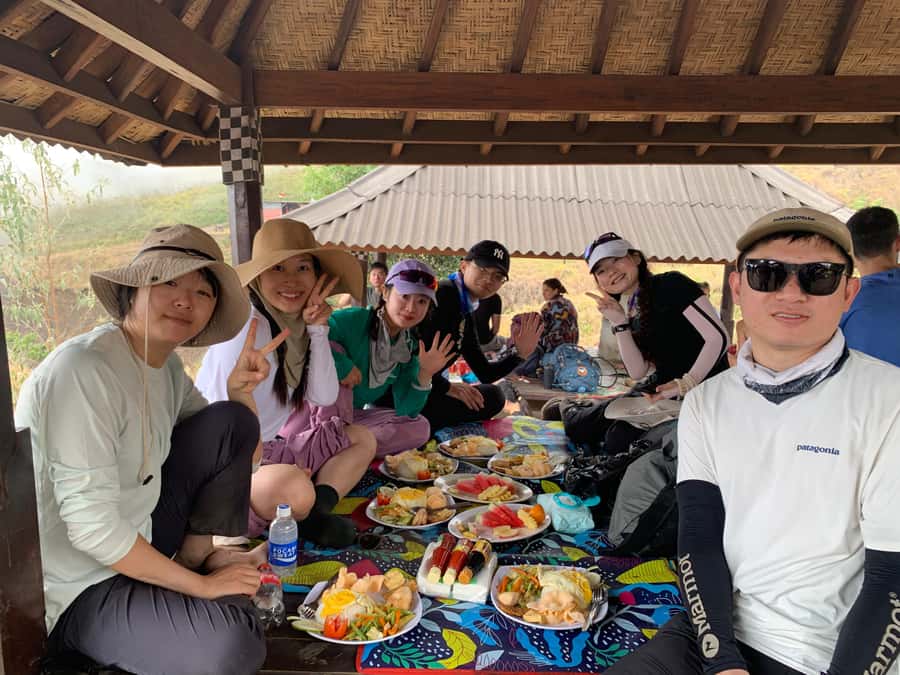
Then there’s food. Multiple accounts highlighted that meals were ample and that hot drinks were part of the rhythm, not an optional bonus. When you’re climbing hard, having predictable meals is more than comfort. It helps prevent the energy crash that makes steep sections feel twice as long.
Price and value: what your $183 is really buying
At $183 per person for a 2-day summit trek, you’re paying for more than just a guide leading you up a mountain. Your money goes into:
- the limited-permit trail access setup (separate from the national park fee requirement, but still essential to the operation),
- porters carrying camp gear,
- camp setup including tents, mattresses, chairs, and a toilet tent,
- headlamp and trekking poles (the trekking poles especially are the kind of “I’m glad I didn’t buy rentals” item),
- meals and safe drinking water,
- rain protection, insurance, and overall team coordination.
Some people compared the guide component against the total price and felt the guide’s personal compensation didn’t fully match what they paid. That’s a fair conversation to have, and it’s also why I’d recommend you treat this kind of service as a team system, not just a person with a stopwatch.
Bottom line: for the amount of equipment you don’t have to manage yourself, and for the logistics of summit-day timing, this pricing can make sense—especially if you would otherwise pay for rentals, camping gear, and multiple separate arrangements.
Who should book this trek, and who should skip it
This is not a beginner outing. The operator is clear that you need a good fitness level and the ability to walk long distances. People who are prone to mountain sickness or who have height phobias are not allowed. It’s also not suitable for:
- children under 4,
- pregnant women,
- people with heart problems,
- people afraid of heights,
- people with diabetes,
- people with altitude sickness,
- people without experience,
- people with low level of fitness,
- people over 70.
If you’re the kind of hiker who can handle a cold, early start and a difficult last hour of steep, loose-stone climbing, this will feel like a classic “I earned this view” challenge.
If you’re on the fence, think about the summit day timing and the steep section. This isn’t a “maybe I’ll be fine” mountain.
Transfer and meeting point: easy when planned, annoying if you wander
The meeting process is set up to be straightforward if you contact the operator before you arrive in Senaru. You can be picked up from your location on Lombok and taken to the Senaru meeting point so you don’t have to figure out routes while jet-lagged or short on time.
One caution worth keeping in mind from the experience reports: some riders have described transfer driving as fast, including passengers riding unrestrained in the back of a pickup truck. I can’t tell you what your driver will do, but it’s totally reasonable to request a safer ride setup when you meet the driver.
Should you book the Senaru Mount Rinjani 2-Day Trek to Summit?
Yes, if you want a real summit trek with a tight schedule that includes crater rim camping and a properly managed team setup. You’ll get the comfort tools like headlamps, trekking poles, tents, and mattresses, plus the structure of acclimation posts that make the altitude grind more manageable.
Wait or reconsider if you don’t love cold mornings, you don’t have good gloves and windproof layers, or you’re not confident with steep, loose rock in the dark. Also double-check your permit situation early, since the 240-per-day cap is real and rescheduling can be the annoying outcome.
If you’re prepared, this trek is the kind of challenge that gives you a story you’ll still be talking about months later.
FAQ
How early do you start the summit trek on Day 2?
You wake around 02:30 and begin the summit trek at about 03:00 a.m.
What is the permit situation for Mount Rinjani?
Permits are limited to 240 per day. If permits are sold out for your date, you can’t do the trek that day and will need to reschedule.
How do I register for the Mount Rinjani national park permit?
You can register through the ERinjani app using details like passport number, full name, birthday, weight, height, and nationality, then pay by bank transfer to the listed government account. You can also contact a local guide to help with registration.
Is the national park entrance fee included in the price?
No. The Rinjani National Park entrance fee is listed as not included.
What trekking and camping gear are included?
The trek includes camping equipment (including tents, sleeping bags, mattresses, toilet tent), plus head lamps, trekking poles, camp chairs, and a rain coat.
What do I need to bring in my small backpack?
You’ll pack items in a backpack capped at 5 kg, including hiking shoes, gloves, long pants, toiletries/personal medication, sunscreen, insect repellent, camera (if you want), a small towel, cotton t-shirts, windproof jacket, shorts, sandals, and swimwear.
What group size and languages are used?
It’s a small group limited to 10 participants, and the guide speaks English and Indonesian.