REVIEW · SENARU
Mount Rinjani: 2D-1N Trekking Summit Sunrise Point Join Tour
Book on GetYourGuide →Operated by Rinjani Trekking Information official · Bookable on GetYourGuide
You’re trading a normal sleep schedule for sky-high views. In just 2 days and 1 night, this Mount Rinjani trek takes you from Sembalun village to the summit around sunrise, with a crater-rim camp where the stars feel close. I really like the night-by-the-crater atmosphere and the way you’re rewarded with a big sunrise panorama right at 3,726m.
The main thing to consider is the difficulty: you’re up early, walking long hours, and the final climb includes steep, loose volcanic scree.
In This Review
- Key highlights to know before you go
- Rinjani Sunrise Trek: What This 2D-1N Format Really Gives You
- Day 1 From Sembalun Village Up to the Crater Rim Camp (1,100m to 2,639m)
- Gentle meadows and early altitude progress
- The crater rim climb is where it turns
- Crater-Rim Night at 2,639m: Stargazing With Real Atmosphere
- Day 2: Summit at 3,726m, Sunrise at 6:00 a.m., Then Down to Sembalun
- The climb pattern: steady, then longer, then steep scree
- Summit hit and what you see
- The long downhill is part of the deal
- What’s Included: The Practical Stuff That Makes This Trek Easier
- Included equipment and guidance
- Meals, water, and the rhythm of food
- Price and Value: What $133 Covers and What Costs Extra
- Who This Trek Is For (and Who Might Rethink It)
- Great fit if you want sunrise and can handle hard walking
- Consider rethinking if you want comfort or low effort
- Booking Smarts: Questions to Ask Before You Commit
- Should You Book This Rinjani 2D-1N Sunrise Summit Tour?
- FAQ
- How long is the Mount Rinjani trek in this tour?
- What is the highest point you reach on this trek?
- Where do you camp overnight?
- What time do you start Day 2 for the summit?
- What time do you reach the summit and see sunrise?
- What meals are included during the trek?
- What trekking gear is included, and what do I need to bring?
- Is the entrance fee included in the tour price?
- Do you need your own transport or accommodation?
- Is English available for this tour?
Key highlights to know before you go
- Crater-rim camping at 2,639m with sunset and sunrise views built in
- Summit timing for sunrise with a 6:00 a.m. reach point
- Real high-altitude walking from about 1,100m up to 3,726m
- Gear support included: headlamp, trekking pole (one stick), and gloves
- Food handled by the team: breakfast, lunch, dinner, plus drinks and water on the trek
- Friendly, well-organized service focus seen across recent trek feedback
Rinjani Sunrise Trek: What This 2D-1N Format Really Gives You
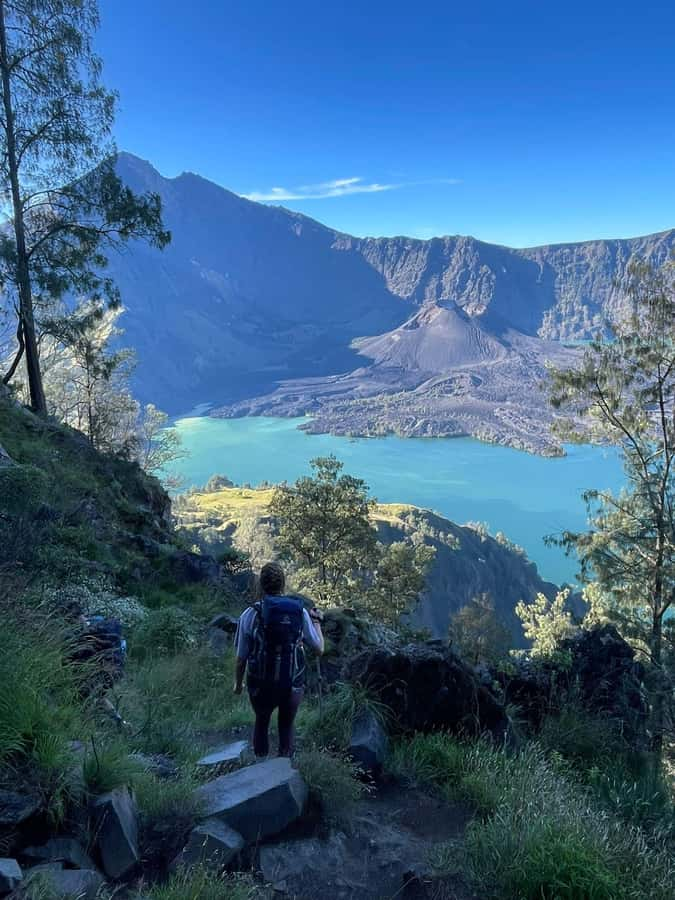
A 2D-1N summit trek is a serious time crunch. That’s why I like this format: it’s short enough to feel doable on a tight schedule, but it still hits the core payoff of a Rinjani climb—crater-rim night and a sunrise summit.
The trek runs from the Sembalun side. You start at Sembalun village around 1,100m, then work up through several trail posts before reaching the crater rim at 2,639m. The overnight camp is the “in-between” moment people remember. You get the dramatic view, but you’re also close enough to feel the mountain breathing at night—cool air, dark sky, and that sense of being above the clouds.
The next morning is the big push. You’re starting in darkness (with a hot drink and light breakfast), moving steadily, then finishing on steep volcanic scree. If your fitness is decent and you pace smart, the schedule makes sense. If you want an easy hike, this is not it.
You can also read our reviews of more tours and experiences in Senaru.
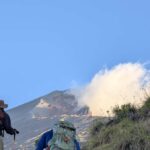
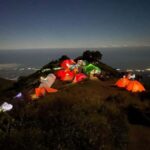
Day 1 From Sembalun Village Up to the Crater Rim Camp (1,100m to 2,639m)
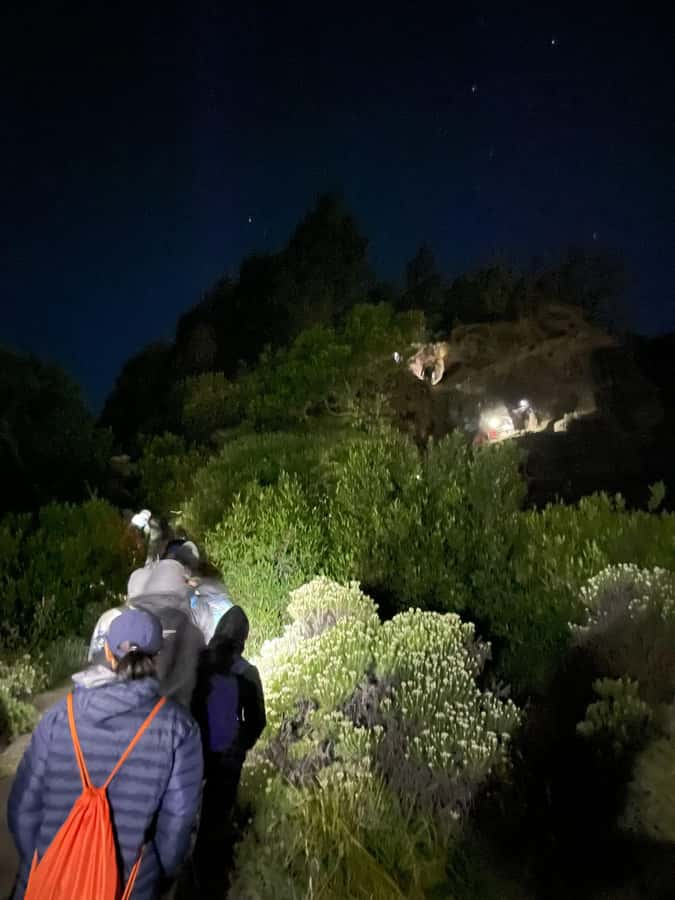
You’ll transfer over to Sembalun first, then register at the Rinjani information center before the walking starts. Trekking begins around 8:00 a.m., and the first stretch is kind to your legs compared to what comes later.
Gentle meadows and early altitude progress
The trail starts with an open meadow section and a gentle climb. This matters because it lets you get into rhythm before you start gaining height faster. After about two hours, you reach Post 1 (around 1,300m). You keep moving and reach Post 2 (around 1,500m) about 40 minutes later.
From there, the route continues to Post 3 (around 1,800m), where you stop for lunch. This lunch stop isn’t just food—it’s timing. You’re building altitude while also getting a controlled rest so you don’t burn out too early.
The crater rim climb is where it turns
After lunch, the trail aims for the crater rim at 2,639m. Expect it to take about three hours, including a more prolonged steep climb. By the time you’re near the rim, you’ll feel the work your body did since the morning, especially if you’re not used to altitude.
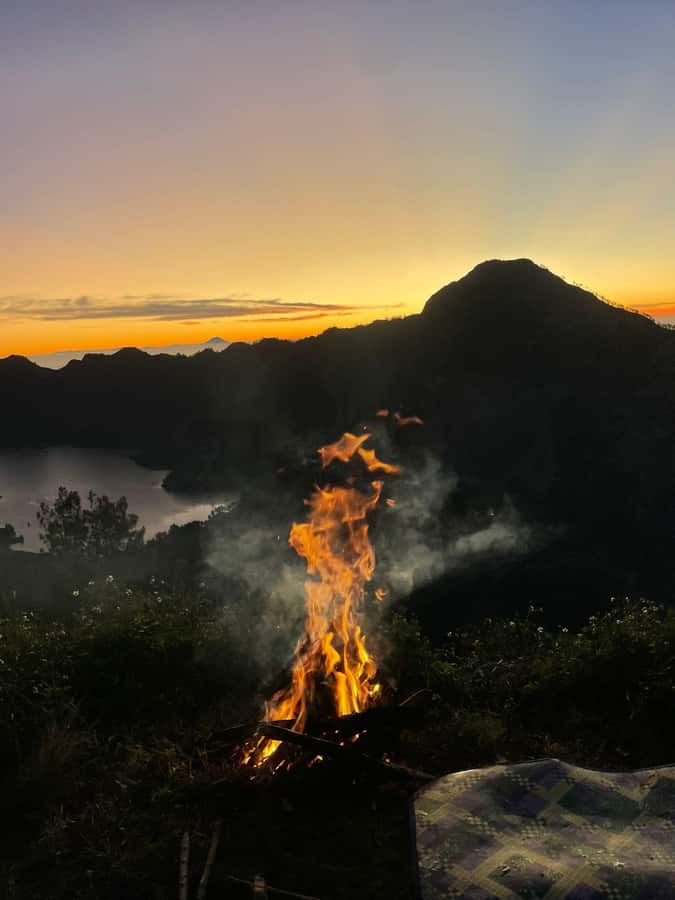
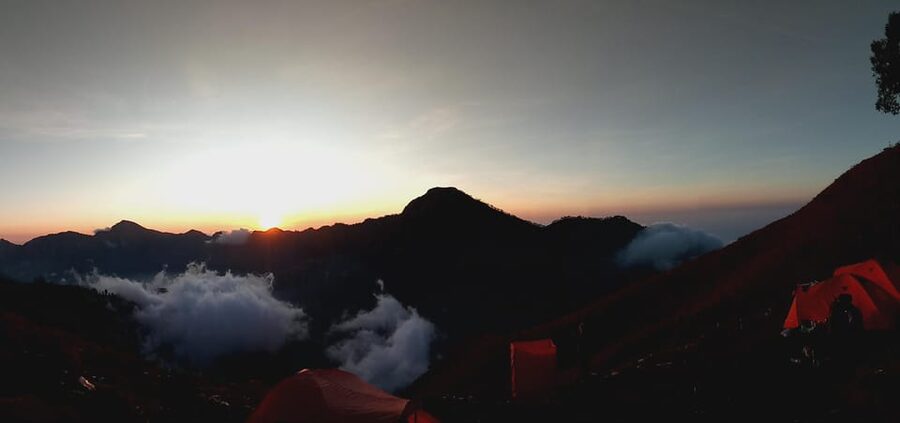
Then comes the best part of Day 1: your campsite by the rim. You sleep with the crater view in front of you, and the schedule gives you time for both sunset and sunrise from the camp area. That’s a huge bonus in a short itinerary. You don’t just reach a destination; you get to live there for a night.
Crater-Rim Night at 2,639m: Stargazing With Real Atmosphere
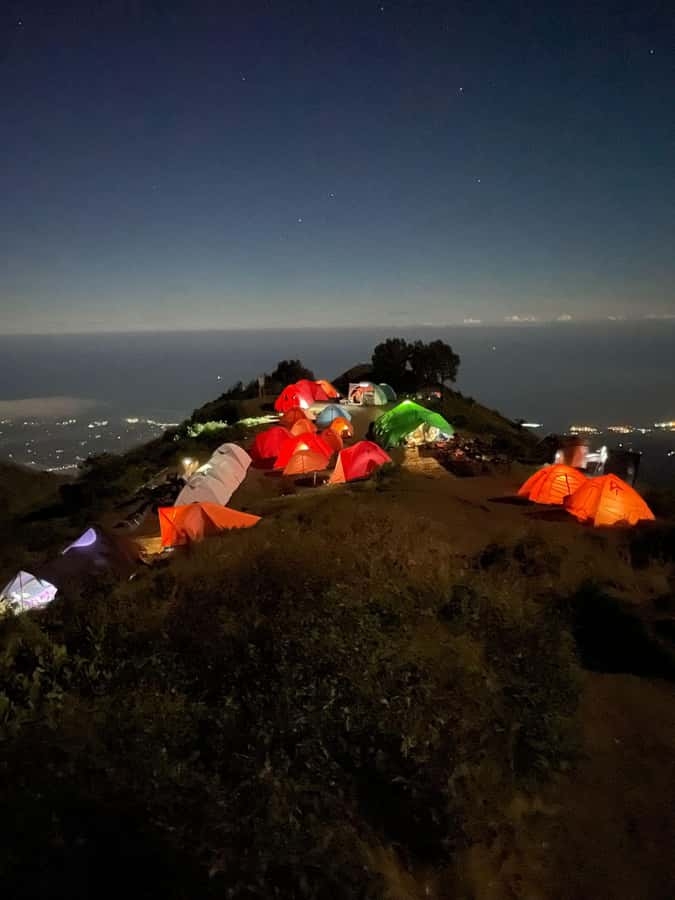
Camping at the crater rim is one of the main reasons to choose this trek. You’re not just doing a “walk and leave” style hike. The itinerary is built around that night.
You’ll have dinner on the mountain, and you’ll also have breakfast on the mountain the next day. The included camping setup means you’re not hauling everything yourself. A porter carries camping equipment, so your job is mainly to walk, manage your small essentials, and keep your pace.
The star experience is the obvious draw, but the practical benefit is pacing. After Day 1, you’re already high. The overnight camp helps you acclimatize in the exact zone you’ll be moving through on Day 2.
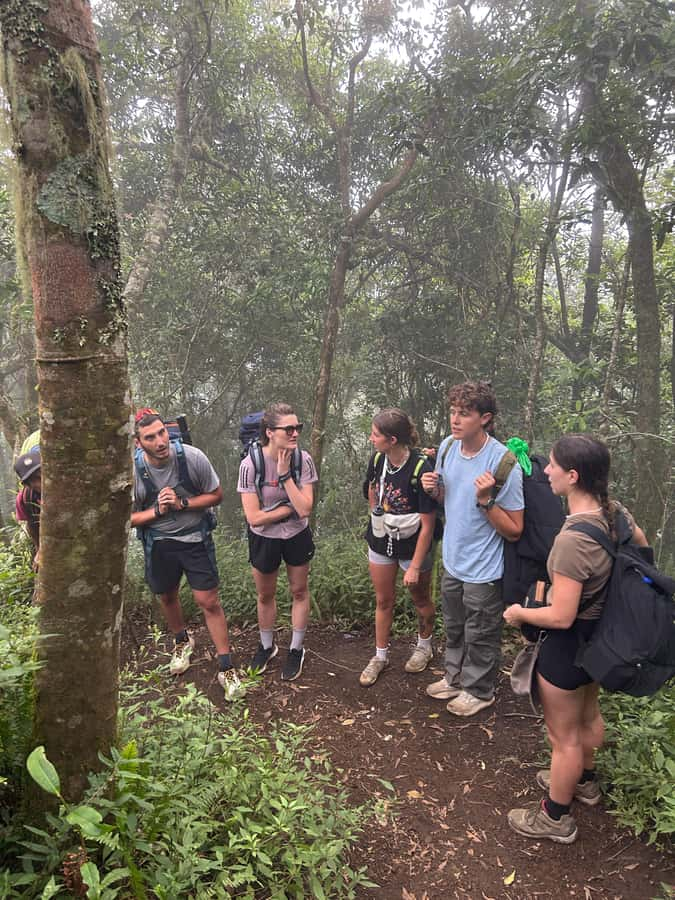
If you’re bringing kids or teens, this is also where the trek can feel more human. Reviews include families who made the summit trek with a 12-year-old. That doesn’t mean it’s easy for everyone, but it shows the climb can be done with the right team, a calm pace, and a serious attitude toward rest.
Day 2: Summit at 3,726m, Sunrise at 6:00 a.m., Then Down to Sembalun
Day 2 starts in the dark. You wake around 2:00 a.m., get a hot drink and light breakfast, then you head out at about 3:00 a.m. This is the part where your body needs mental clarity more than motivation.
The climb pattern: steady, then longer, then steep scree
The route starts with a moderate trek. After that, the climbing shifts into a fairly easy but longer stretch. This stage is where you keep your breathing under control and avoid racing the pack.
Then comes the final approach: steep volcanic scree, described as loose. Scree is sneaky. It doesn’t just test your legs; it tests your foot placement and balance. If you overstep too fast, you lose traction and waste energy.
Summit hit and what you see
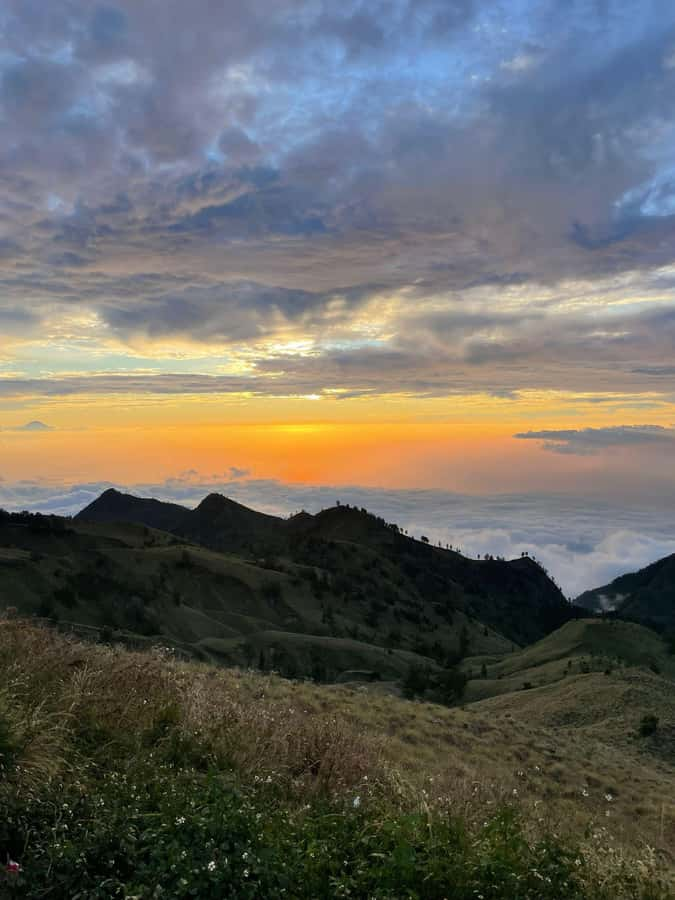
You’re set to reach the summit around 6:00 a.m., which is the sunrise moment. From the top, you get panoramic views that include Lombok, Bali, Sumbawa, and Segara Anak Lake. That list is not random trivia. It’s a reminder that you’re standing above a whole island network, not just looking at one peak.
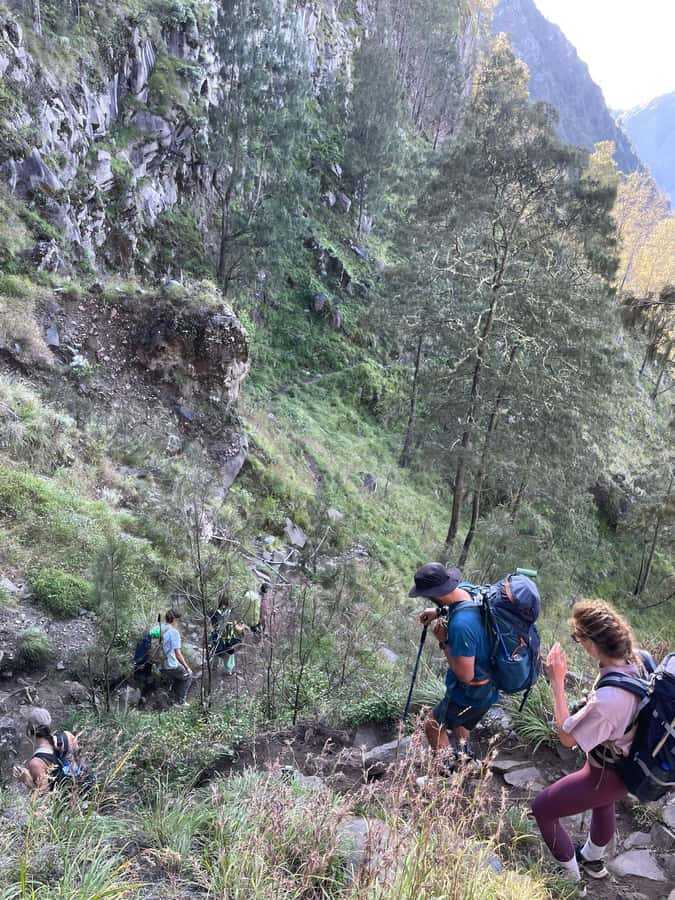
Then the descent begins. You go back to the crater rim within about two hours, where you have breakfast. After that, you continue down to Sembalun village (around 1,100m), which takes about five hours.
The long downhill is part of the deal
Most people remember summit photos. But you’ll feel the descent most. Five hours of walking down means your knees will talk to you. Trekking poles help here, and careful pacing matters even more when the ground is uneven.
At the end, a car transfer takes you to the next part of your journey from Senaru, so the trek doesn’t end in a messy logistics scramble. Transport itself is listed as not included, but you should at least plan around this end-of-trek transfer step.
What’s Included: The Practical Stuff That Makes This Trek Easier
This tour includes the big supports that keep a 2D-1N summit trek from becoming a gear nightmare.
Included equipment and guidance
You get:
- A trekking guide
- A porter to carry camping equipment
- Head lamp
- Trekking pole (one stick each)
- Camping equipment
- Gloves
You also receive trekking insurance. That’s a serious checkbox for a high-altitude, early-start trek.
Even if you’re experienced, headlamp + pole + gloves can be the difference between smooth and stressful. The guide and porter also matter because Rinjani is not a “wandering” kind of mountain. You want people who know timing, trail rhythm, and how to manage the day’s hard segments.
Meals, water, and the rhythm of food
Meals are part of the experience, not just a perk. You get breakfast, lunch, and dinner during the trek, and you also have mountain meals on the trail. The tour also includes drinking water.
In practical terms, this is how you keep energy stable on two brutal days. When food is handled, you can focus on walking. It also reduces the risk of missing meals because your schedule is intense.
From recent trek experiences, the cooking and meal quality has been called out as a positive. That may not sound like a summit priority, but it’s how you stay steady on the final push.
Price and Value: What $133 Covers and What Costs Extra
At $133 per person, this trek can feel like a bargain or a surprise, depending on what you already own and what you assume is included.
Here’s the value angle:
- You’re paying for a full summit attempt, not a short hike.
- Your ticket covers guide support, porter help, camping gear, meals, water, and core trekking gear like a headlamp and pole.
- The itinerary includes a high-altitude overnight and the early-morning summit timing.
Now the costs to watch:
- Entrance fee is not included: Rp 210,000 IDR per day per person.
- You need to bring your own trekking shoes and long pants.
- You also need a small bag or day pack.
- Transport and accommodation/hotel are not included.
So the real cost depends on you. If you already have proper shoes and long pants, you’ll likely feel like this is good value. If you need to buy shoes and clothing, your total budget will jump. Still, compared to DIY trekking where you’d have to hire similar support and arrange meals, the package structure is a strong starting point.
Who This Trek Is For (and Who Might Rethink It)
This is a summit trek, and it should be treated like one.
Great fit if you want sunrise and can handle hard walking
You’ll enjoy this most if you:
- Want a 2-day plan to reach the summit
- Can commit to early starts and long hours
- Are comfortable walking on steep, loose volcanic scree
- Prefer having meals, gear, and camp support handled by a team
If you like having a plan and a guide rather than improvising, this route fits your style.
Consider rethinking if you want comfort or low effort
The schedule includes waking at 2:00 a.m., starting at 3:00 a.m., and descending for hours afterward. That’s not a stroll. If you have significant mobility limits or you know you struggle with steep loose ground, you may want to choose a less demanding trek.
And if you’re thinking about bringing kids, it can be done, but you’ll want to be realistic. One family trek included a 12-year-old. That suggests it’s possible with preparation and pacing—but it doesn’t mean it’s automatically appropriate for everyone.
Booking Smarts: Questions to Ask Before You Commit
Before you book, I’d confirm a few practical points so you don’t get surprised on the ground.
Ask about:
- What you should pack for the things not included: shoes, long pants, and a day bag
- Whether you’ll be using the provided trekking pole and headlamp as part of the standard setup
- What language you’ll get from the team (the tour offers English)
- Your meeting point and how the transfer from Senaru to the trail works on your exact day, since transport is listed as not included
- Your fitness expectations given the steep scree approach and early start
Also, start the conversation early. The tour info suggests messaging or emailing for details, which is a smart move when you’re dealing with a high-altitude, time-sensitive schedule.
Should You Book This Rinjani 2D-1N Sunrise Summit Tour?
I’d book it if your dream is a sunrise summit and a real crater-rim night, and you’re ready to work for it. The included gear, meals, headlamp, and porter support are the kind of practical help that keeps this kind of trek from turning into a self-made headache.
I’d hesitate if your priority is a relaxed walk, or if you’re unsure about the steep, loose scree and the early 2:00–6:00 timeline. This is not just about reaching the top; it’s about doing two full days of altitude walking with a demanding schedule.
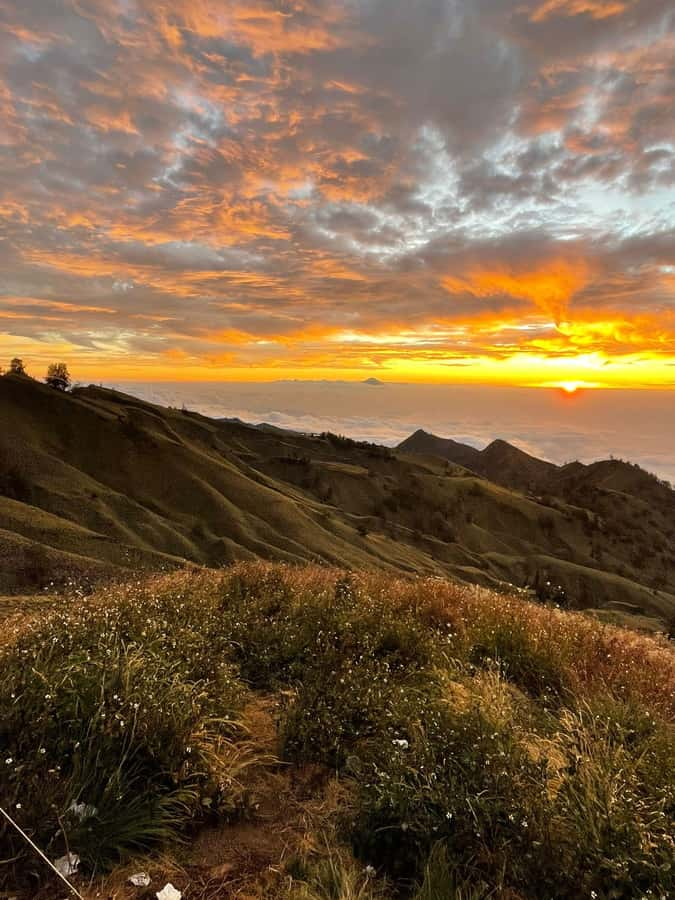
If you match the effort level, you’re likely to end up with exactly the kind of memory people come back for: stars at the crater rim, then a 6:00 summit sunrise view that looks like it includes half the islands in view.
FAQ
How long is the Mount Rinjani trek in this tour?
It’s a 2 days and 1 night trekking experience, including a summit attempt and an overnight camp by the Sembalun crater rim.
What is the highest point you reach on this trek?
The summit point is 3,726 meters.
Where do you camp overnight?
You camp on the Sembalun crater rim area at around 2,639 meters.
What time do you start Day 2 for the summit?
You wake up around 2:00 a.m., then start heading to the summit at about 3:00 a.m.
What time do you reach the summit and see sunrise?
You can reach the summit around 6:00 a.m., with a beautiful sunrise and panoramic views.
What meals are included during the trek?
Meals and drinks are included, including breakfast, lunch, and dinner. You also have breakfast and lunch on the mountain.
What trekking gear is included, and what do I need to bring?
Included gear: head lamp, trekking pole (one stick each), camping equipment, and gloves. Not included: trekking shoes, long pants, and a small bag/day pack.
Is the entrance fee included in the tour price?
No. The entrance fee is Rp 210,000 IDR per day per person.
Do you need your own transport or accommodation?
Transport and accommodation/hotel are not included. The trek includes the walking and the mountain/camping setup.
Is English available for this tour?
Yes, the tour is in English.