REVIEW · HONOLULU
Honolulu: Diamond Head Hike with Transfers
Book on GetYourGuide →Operated by The Big Kahuna Tours · Bookable on GetYourGuide
Diamond Head climbs fast, and the views pay back. This package takes the hassle out of getting to Oʻahu’s most famous crater, then delivers the whole route: switchbacks, a tunnel climb, and the big summit payoff. I love the WWII bunkers you pass on the way up and the pickup and drop-off that keeps you from dealing with parking and timing.
One main thing to keep in mind is that this experience depends on a smooth pickup. If you’re hoping for a relaxed, self-paced start, you’ll want to be on time and ready, because the hike includes a tunnel (bring a light) and steep steps that don’t wait around for delays.
In This Review
- Key takeaways before you go
- Diamond Head Hike with Transfers: Why This Package Works
- The 3-Hour Game Plan: What Happens on the Climb
- Warm-up: Trailhead to switchbacks (about 15 minutes)
- Crater views and zigzags: Switchbacks to the tunnel (about 15 minutes)
- The tunnel moment: Short and dim, so bring a light
- Steep climb: Tunnel to stairs (about 10 minutes)
- WWII observation bunker to the summit lookout (about 10 minutes)
- Summit Views: Waikīkī, Ocean, and the Koʻolau backdrop
- What’s Included (and what isn’t) for Your $75
- Pickup and Driver Notes: Convenient When It Works
- Who This Hike Suits Best (and who should skip it)
- What to Bring: The Practical List That Prevents Hassle
- Value Check: Is $75 Fair for Diamond Head?
- Should You Book This Diamond Head Hike with Transfers?
- FAQ
- FAQ
- How long is the Diamond Head hike with transfers?
- Is park entry included in the price?
- What does the $75 per person include?
- What should I bring for the tunnel on the route?
- How difficult is the hike?
- Are meals or snacks included?
- What’s the cancellation policy?
Key takeaways before you go
- Convenient transfers mean less stress on a first day in Honolulu
- WWII observation spots break up the climb with real, physical history
- The tunnel + 74 steps are the moment the hike goes from scenic to sporty
- Summit time (about 20–30 minutes) is built in for photos and crater views
- Park entry + water are included in the $75 price, so you’re not guessing costs
Diamond Head Hike with Transfers: Why This Package Works

Diamond Head is one of those sights that looks manageable from far away, then reminds you you’re on a real volcanic crater when you’re actually climbing. What makes this tour-style setup smart is that it handles the boring part—getting you to the trail and back—so you can focus on the hike itself.
You’re looking at a moderate climb with a round-trip distance of about 1.6 miles, wrapped into a total 3-hour experience. Expect the route to feel uneven in places (lava rock and dirt sections), then more vertical as the trail tightens around the crater.
You can also read our reviews of more tours and experiences in Honolulu.


The 3-Hour Game Plan: What Happens on the Climb

This isn’t just a “walk from point A to point B.” The route is paced in distinct sections, and each one has its own feel. You’ll start with an easy warm-up, then gradually shift into the switchbacks, the tunnel, and the steep step section before you reach the summit lookout.
Here’s how the route breaks down by time and what you’ll notice as you move:
Warm-up: Trailhead to switchbacks (about 15 minutes)
You begin on a paved stretch that quickly turns into dirt and uneven footing. This first segment is perfect for getting your footing under you and settling into a steady pace.
I like this part because it helps you read the ground before the steeper sections. You’ll also see the crater’s lava rock character and the dryland plant look that’s typical of this area—useful if you’re the type who likes to understand what you’re stepping over.
Crater views and zigzags: Switchbacks to the tunnel (about 15 minutes)
Next comes the classic Diamond Head “zigzag climb.” The trail steepens as you move along the switchbacks, and the crater floor starts to open up in your view at intervals.
This is the section where you can catch your breath with quick pauses. Look around the crater bowl and the surrounding terrain—then keep going toward the tunnel when your legs feel ready.
The tunnel moment: Short and dim, so bring a light
You’ll hit a short, dimly lit tunnel. It’s not a long cave system, but visibility drops fast. The important practical tip: bring a flashlight or use your phone light so you don’t fumble in the dark.
If you don’t like feeling rushed in tight spaces, this is also the point where you should slow down intentionally. Step carefully, keep your footing calm, and you’ll be through it before you know it.






Steep climb: Tunnel to stairs (about 10 minutes)
After the tunnel, the hike turns clearly athletic. You’ll climb 74 concrete steps leading up to a spiral staircase.
This is the part people remember. It’s short in distance, but the steep grade hits your legs. The good news is that it’s concentrated—once you get through, the route steadies into the final stretch.
WWII observation bunker to the summit lookout (about 10 minutes)
At the top of the spiral staircase, you pass through a historic WWII observation bunker. It’s not just a photo stop—it’s a physical transition from “climb mode” to “stand still and look” mode.
Then you finish with a final short staircase to the summit lookout. From there, the hike becomes the payoff hike: views, photos, and a little time to soak in what you climbed for.
Summit Views: Waikīkī, Ocean, and the Koʻolau backdrop
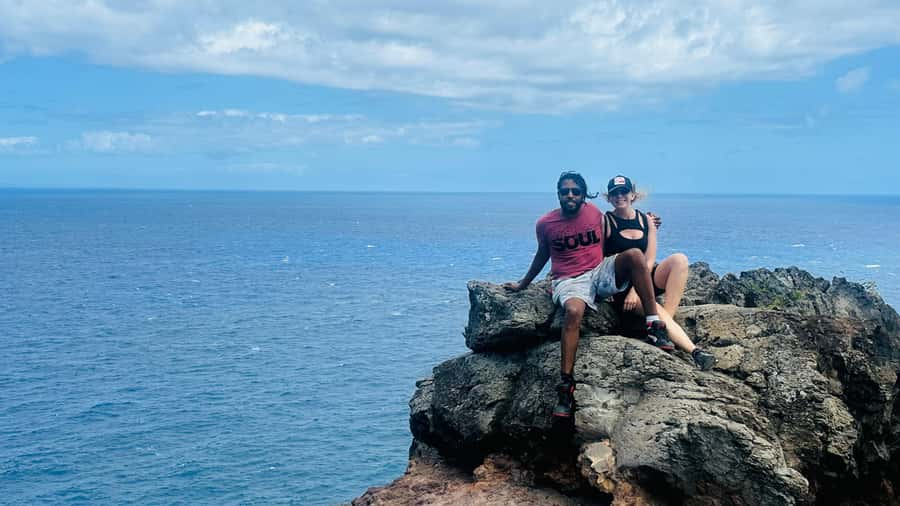
Plan on 20–30 minutes near the top. This isn’t the kind of summit where you can sprint through and call it done. You’ll want time to look around in different directions as the light and angle shift.
From the summit lookout, you’ll get sweeping views of:
- Waikīkī
- the Pacific Ocean
- the Koʻolau Mountain Range
You can also spot a lighthouse below and watch for surfers out along the coastline. It’s a great place to switch from “how hard is this?” to “I can’t believe this is Oʻahu’s backyard view.”
Photo tip: If you’re taking lots of pictures, keep your phone ready before you start moving again. The trail tightens, and you don’t want to be stopping every 10 feet during the step-heavy section.
What’s Included (and what isn’t) for Your $75
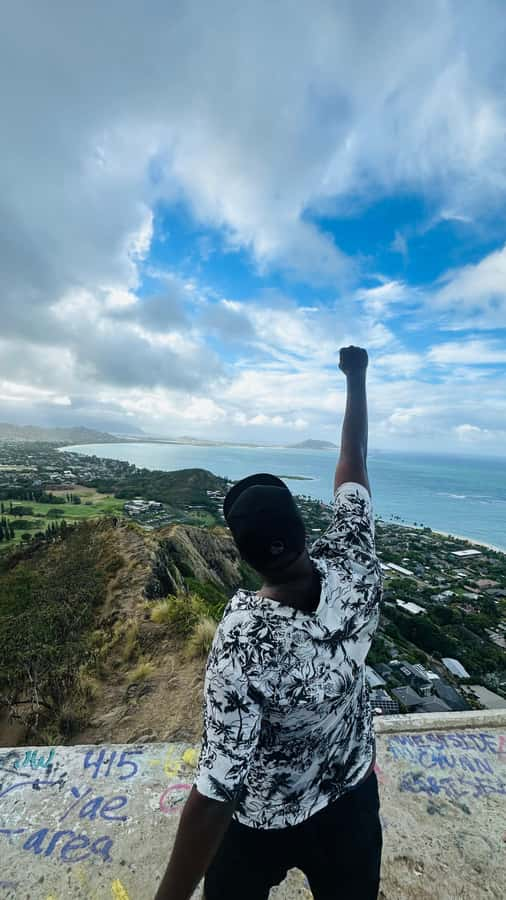
At $75 per person, you’re paying for more than just the hike. The value is in the logistics and the key entry costs.
Included:
- Pickup and drop-off
- Transportation
- Water bottle
- Park entry ticket
Not included:
- meals and snacks
- a guide (the transfer provider may still explain things, but the listed inclusions don’t frame this as a guided walk)
This matters because Diamond Head can be an all-in-one effort: you’ll be outside, climbing for about 2 hours round trip, then you’ll still need energy for the rest of your day in Honolulu. If you usually need a snack to keep going, bring something simple like a granola bar or fruit.
Pickup and Driver Notes: Convenient When It Works

The pickup and drop-off is one of the most consistently praised parts of this experience. It saves you from wrestling with parking, route-finding, and trying to time a self-arranged start.
In the notes I was able to gather, the ride experience often includes friendly explanation along the way. One driver name that comes through is Sergio, and people appreciated how he made the logistics easy and also pointed them toward food and places to check after the hike.
That said, the one caution is reliability. A small number of experiences have described missed pickups and long waits that complicated the day. If you book, treat this like an appointment: be ready early, confirm your pickup details, and keep your phone charged in case the operator needs to reach you.
Who This Hike Suits Best (and who should skip it)
This is a moderate climb, and it includes uneven ground, a dim tunnel, and a steep stair segment. It’s doable for many adults with reasonable fitness and good shoes—one set of notes even mentions parents in their 60s handling the hike without trouble when they paced themselves.
You’ll be a better fit if you:
- like views more than you like flat trails
- are comfortable with steps and uneven footing
- can handle a tunnel with limited light
It’s not suitable for:
- wheelchair users
- people over 95 years
Also, if you’re prone to scrambling, this route asks for steady footing. Slow down, especially during the tunnel and the concrete steps.
What to Bring: The Practical List That Prevents Hassle

This is where you can make the hike smoother fast.
You should bring:
- comfortable shoes with grip (no flimsy soles)
- sunscreen (you’re exposed for long stretches)
- a hat
- a flashlight or a phone light for the tunnel
- water is provided, but you can bring extra if you run hot in sun and humidity
If you wear glasses, consider how you’ll handle the tunnel and steps. People often forget that sweat plus dim light can make things feel slippery or harder to see.
Value Check: Is $75 Fair for Diamond Head?
For many first-time visitors, $75 can feel like a “tour tax.” Here’s why it can still be a good deal.
You get:
- park entry ticket included
- round-trip transportation
- water bottle
- time saved on figuring out logistics
If you tried to do Diamond Head independently, the big variable is time: transit, parking, and making sure you line up with the park’s access rhythm. This package removes that headache, which is worth real money if you’re on a tight Oʻahu schedule.
The only reason I wouldn’t buy it is if you already know how you’ll get there confidently and you don’t value a scheduled pickup. Then you might be better off arranging your own transport and entry.
Should You Book This Diamond Head Hike with Transfers?

Book it if you want an easier start, included transport, and a clear route that takes you through the signature Diamond Head elements—switchbacks, tunnel, WWII observation bunker, and the summit lookout.
Skip or reconsider if:
- you’re very sensitive to delays and missed timing stresses you out
- you don’t want to deal with steps and a dim tunnel
- you prefer totally independent travel where you control every minute
If you’re a first-timer in Honolulu and you’d rather spend energy climbing than figuring out logistics, this is a practical way to do Diamond Head.
FAQ

FAQ
How long is the Diamond Head hike with transfers?
The total experience is about 3 hours, with the round-trip hike taking around 2 hours.
Is park entry included in the price?
Yes. The park entry ticket is included.
What does the $75 per person include?
It includes pickup and drop-off, transportation, a water bottle, and the park entry ticket.
What should I bring for the tunnel on the route?
You should bring a flashlight or use your phone light, since the tunnel is short and dimly lit.
How difficult is the hike?
The hike is rated moderate and includes steep sections, including 74 concrete steps and a spiral staircase.
Are meals or snacks included?
No. Meals and snacks are not included.
What’s the cancellation policy?
You can cancel up to 24 hours in advance for a full refund.