REVIEW · VATNAJOKULL NATIONAL PARK
Jökulsárlón: Glacier Hike to a Remote Ice Cave
Book on GetYourGuide →Operated by Ice Walkers Tours · Bookable on GetYourGuide
Blue ice is real, and you can step inside. This Jökulsárlón adventure takes you by 4×4 onto Vatnajökull for a remote glacier hike and pro guide-led safety right in the ice. The catch: you must be ready for an 8 km glacier hike with uphill sections, and lunch isn’t provided.
I also like that you’re not just chasing photos. The guides build in gear lessons, caution checks, and time to enjoy the ice formations without feeling rushed.
And yes, the ice caves are spectacular—but they are also changeable. If a cave becomes too hazardous, the plan shifts to another option based on current conditions.
In This Review
- Key Points I’d Target Before You Book
- How the Jökulsárlón Remote Ice Cave Hike Really Plays Out
- 4×4 Transfers from Jökulsárlón: More Than Just Getting There
- Breiðamerkurjökull Stop: Gear Up, Learn the Rules, Then Walk
- The Glacier Hike: Real Distance, Real Pace, Real Reward
- Inside the Blue Ice Cave: How Safety Works and Why the Color Changes
- Crowd Avoidance Without the Fake Hustle
- Learning Glacier Science in Plain English (Not a Lecture)
- Price and What You’re Actually Buying for $278
- What to Bring (And the One Mistake to Avoid)
- Who This Tour Fits Best (and Who Should Skip It)
- Should You Book the Jökulsárlón Glacier Hike to a Remote Ice Cave?
- FAQ
- How long is the tour?
- What’s included in the price?
- What should I bring with me?
- Do I need prior glacier experience?
- Where do I meet the guide?
- Will I definitely enter a blue ice cave?
- Who shouldn’t take this tour?
Key Points I’d Target Before You Book
- 4×4 access to a remote corner of Vatnajökull National Park, not the easy edge route
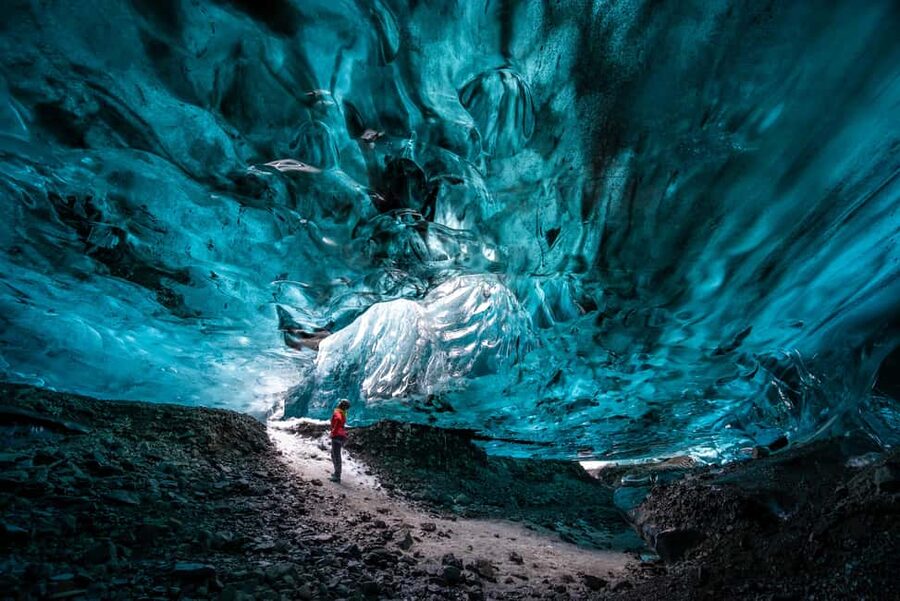
- Blue ice cave visits in winter using professional glacier guidance and headlamps
- Aim to hike farther than most groups, for bluer ice and fewer people in your “view”
- Up-to-date safety decisions if a cave is too risky that day
- Education while you walk: glaciology basics and climate science, explained in plain terms
- Photo-friendly pacing with stops timed for both scenery and safety
How the Jökulsárlón Remote Ice Cave Hike Really Plays Out
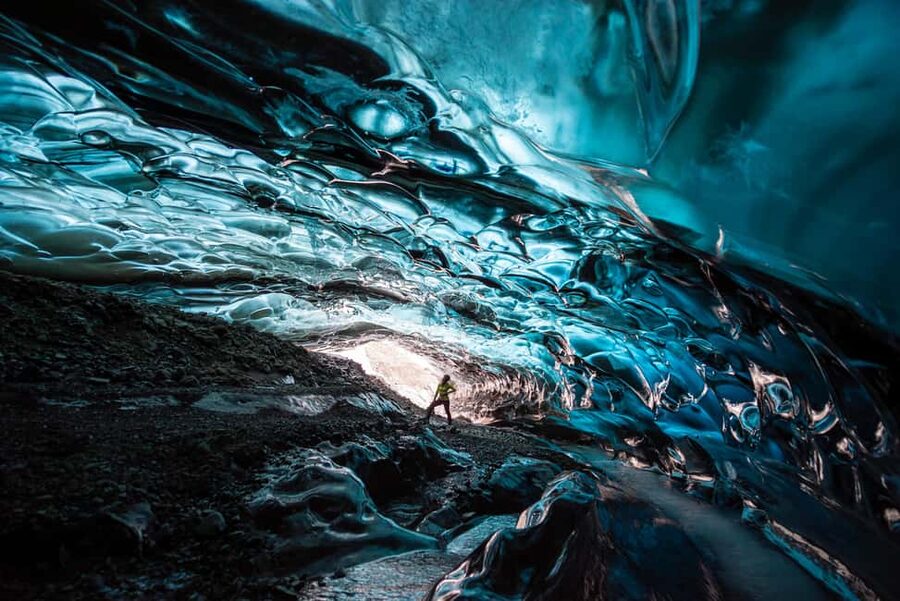
This is the kind of tour where you feel the day is organized around reality, not a script. Glacier ice caves form, shift, and sometimes get unsafe. So instead of selling you one fixed cave with blind confidence, the guides focus on getting you safely to the best accessible ice—then adjusting when conditions demand it.
The tone is also practical. You’re not just wearing gear and going quiet. Guides talk you through how the caves form, what you’re looking at on the ice, and what the current conditions mean for your route. That matters, because the best part of an ice cave visit is not only the color. It’s understanding why it looks that way—and why it won’t stay that way.
One more detail I appreciate: the day is built for time on ice. Expect roughly 3 to 3.5 hours on the glacier and in caves, with plenty of time to stop, look, and take photos.
You can also read our reviews of more tours and experiences in Vatnajokull National Park.
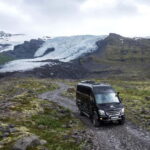
4×4 Transfers from Jökulsárlón: More Than Just Getting There
You meet at Jökulsárlón main parking, and you’ll spot the Ice Walkers-branded vehicle. You’ll want to arrive about 15 minutes early, because the guide will be there waiting, ready to check in before the drive.
The transfer takes up to about 40–45 minutes, and that ride isn’t random scenery time. The guide uses the road moment to set expectations: how ice caves are created, what the ice is doing now, and what conditions they’re watching for. It’s also when you get a feel for the day’s “safety bubble”—the limits they’ll stay within once you’re on the glacier.
Why this matters for value: a guided glacier day has a lot of moving parts. Transportation that actually gets you to the right start point makes the hike feel smoother, and it helps you spend more hours experiencing ice instead of losing time.
Breiðamerkurjökull Stop: Gear Up, Learn the Rules, Then Walk
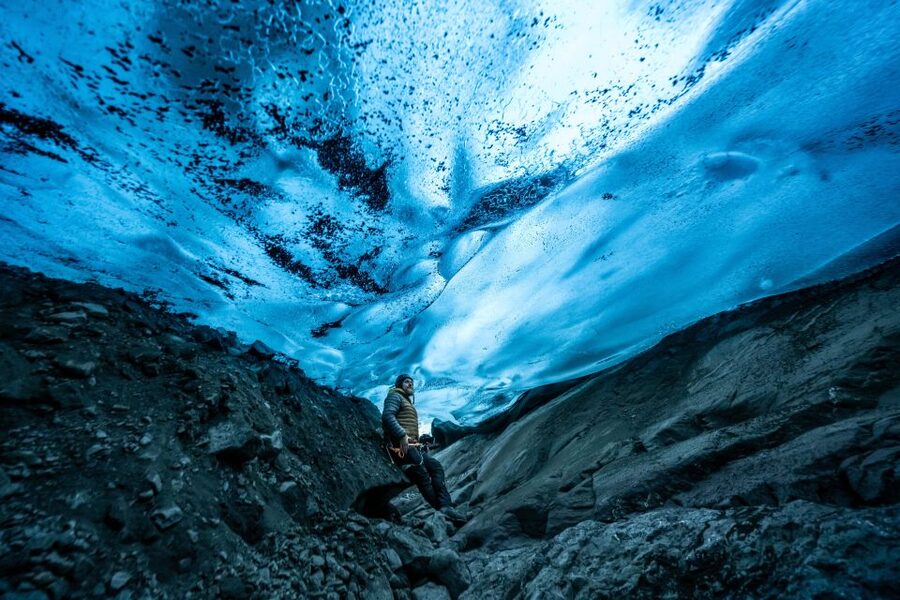
Once you arrive near Breiðamerkurjökull, you start with a break and a photo stop, then move into the guided portion. This is where safety briefing and technique training kick in.
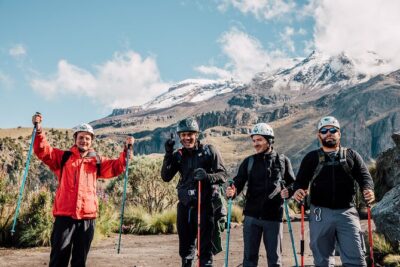
Here’s what makes this stage useful: glacier hiking is not like hiking on a trail. Even if you’re an outdoors person, you’re still learning how to place your feet, manage traction, and move as a group. The guides introduce gear and walking technique before you head deeper.
You’ll also get scenic views while you transition. That sounds basic, but it actually helps you reset. You’re about to walk across a frozen world that looks similar from far away—then the ice caves change everything up close. A few minutes of context makes the later wow moments hit harder.
The Glacier Hike: Real Distance, Real Pace, Real Reward
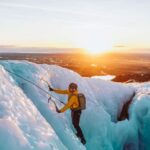
This tour includes a longer hike onto a more remote part of the glacier. Plan for about 8 km of hiking with uphill sections. That’s why physical fitness matters here. If you’re not comfortable walking that distance, you’ll feel it—even with frequent stops and a guide setting a manageable pace.
The payoff is that the route aims to go farther than most groups do. In practical terms, that usually means:
- more time in the most eye-catching blue ice zones
- a better chance of landing at at least one cave that feels quiet
- less of that crowded “everyone lines up at the same spot” vibe
Some days you can end up exploring more than one cave or tunnel, depending on conditions. When the weather is cooperative, that extra time is pure magic. When conditions tighten, the route becomes more cautious and may shorten the number of cave stops. Either way, the day stays focused on safety and the best accessible ice.
One small consideration: the glacier hike can be tiring. In some conditions, people report the hike feels more strenuous because the ice environment and wind affect how the day moves. If your stamina is modest, you’ll want to be honest with yourself and dress for warmth and rain.
Inside the Blue Ice Cave: How Safety Works and Why the Color Changes
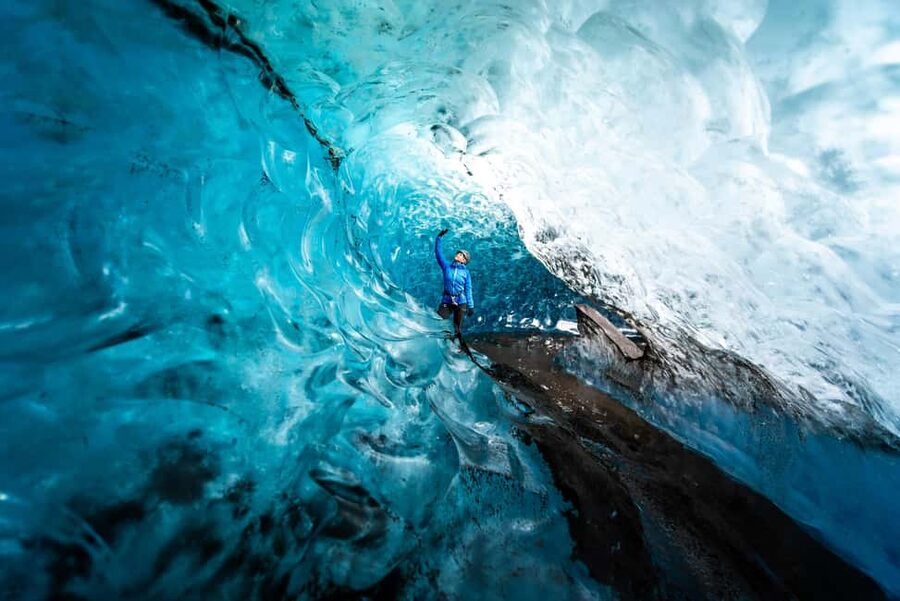
The blue ice cave portion is the headline, but it’s the part where the tour’s professionalism really shows.
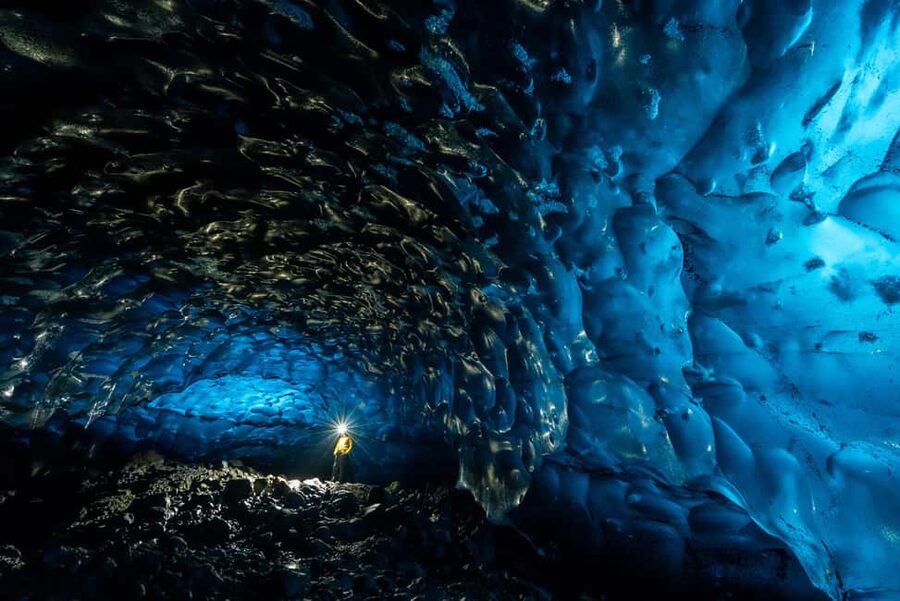
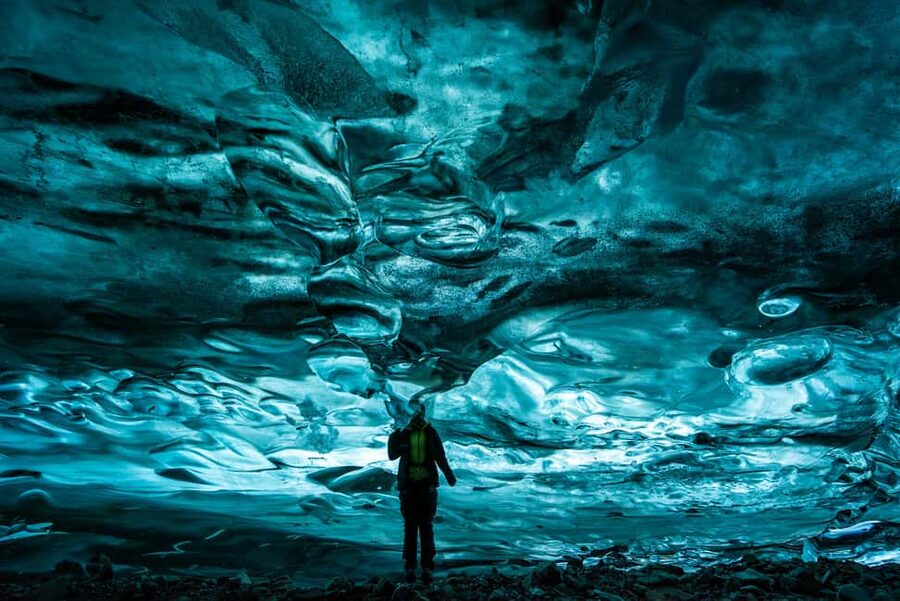
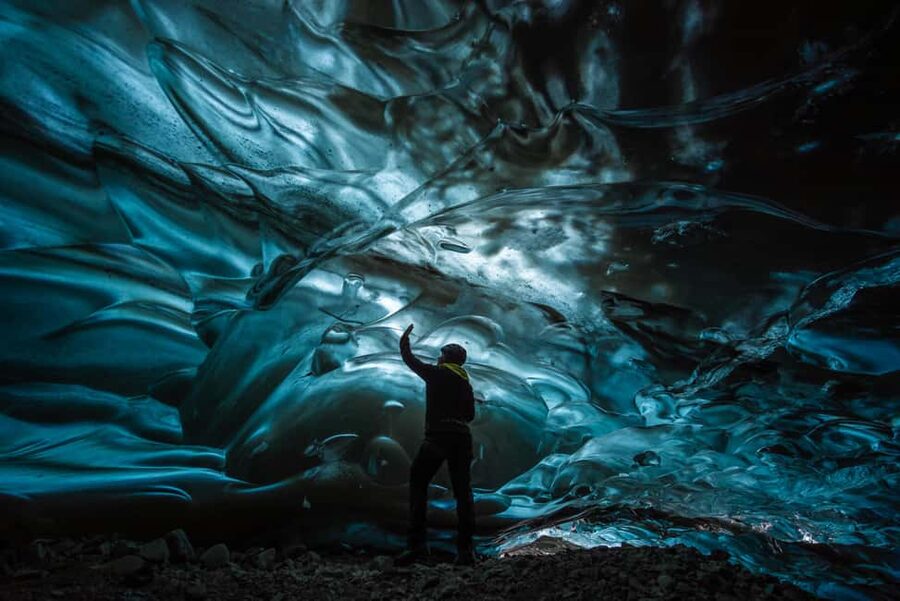
You’ll be guided into the ice cave safely with the right glacier gear and headlamps. Headlamps are a big deal in caves: you don’t just want brightness—you want light that reveals texture, shadows, and the way walls curve.
Now, a key thing to understand before you go: the caves are fast-changing phenomena. Even in the same season, their shape and access can shift. The guides are constantly monitoring what’s safe to enter.
That’s why cave visits are conditional. The tour specifically notes that there can be times when entering a planned ice cave is too hazardous. In that case, they’ll try another cave. Sometimes that alternate choice may be closer to the edge where it’s more popular—but you’ll still get the relevant, up-to-date safety explanation.
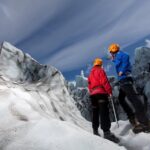
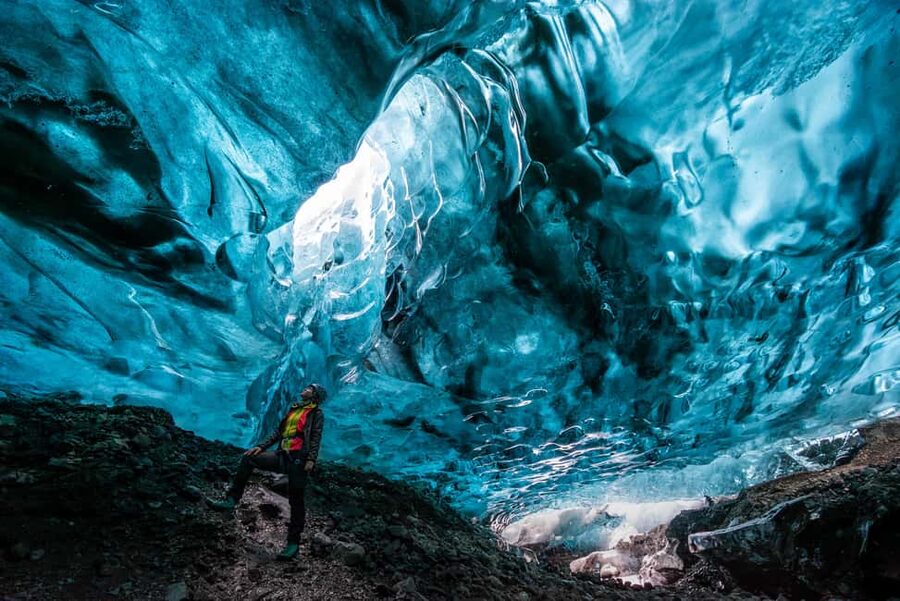
In terms of what to expect visually, people consistently describe the color as mind-blowing. The blue isn’t just for looks. It’s tied to how winter light travels through dense, compressed ice. And because the caves and tunnels evolve, you’re seeing a snapshot of a living system, not a permanent attraction.
Crowd Avoidance Without the Fake Hustle
A lot of tours say they avoid crowds. This one tries to do it the hard way: by going deeper and hiking farther.
From what people report, you can end up at caves where other groups are not visible for long stretches of the glacier walk. The guides also time routes to limit overlap in popular ice areas when conditions allow.
The best part of this approach is pacing. Guides don’t rush you through the cave. You get time to take photos and just stand there, letting your eyes adjust to scale—then leaving before you feel herded.
If you’re the kind of person who hates “30 minutes and move on” sightseeing, this tour style will suit you.
Learning Glacier Science in Plain English (Not a Lecture)
One reason this experience feels different from a basic ice cave stop is the education built into the day. Guides share facts about glaciers and climate science while you’re walking—so the information actually connects to what you’re seeing.
You might hear explanations about:
- how ice caves are created
- what changes you see as conditions shift
- why winter ice conditions make these blue ice cave experiences possible
Some groups also get extra scientific input. On certain days, people mention having a geologist involved, sharing research work about glacier movement in the Vatnajökull area. Even when you don’t get a specialist add-on, the guides still translate glacier behavior into understandable bits you can remember later.
And because it’s taught on the move, it sticks. You’re not memorizing terms in a bus seat. You’re learning why the ice looks the way it does while your crampons bite into it.
Price and What You’re Actually Buying for $278
At $278 per person, this tour is not cheap—but it’s also not a generic glacier photo stop.
What you get included:
- roundtrip transportation from the meeting point
- a guide
- glacier gear and headlamps
What’s not included:
- winter clothing
- food and drinks
That trade-off affects your real cost more than you might think. If you don’t already have proper warm layers, expect to spend extra on winter-ready clothing and gloves. The tour also emphasizes that footwear needs to be ankle-covering and relatively stiff boots. If you show up in inadequate shoes, you may be denied participation.
So is it good value? For the right person, yes:
- you’re paying for safe access to remote ice cave options
- you’re paying for a guide who can reroute if conditions change
- you’re paying for real time on ice, not just a quick look-and-leave
If you’re traveling with limited outdoor experience, paying more for safety and technique training can be a smart move.
What to Bring (And the One Mistake to Avoid)
The tour gives a clear packing list. Bring:
- a hat
- hiking shoes (and in practice, ankle-covering, relatively stiff boots)
- rain gear
- gloves
I’d also recommend dressing in layers even if it looks bright out. Winter conditions can shift fast. You’ll be on ice, you’ll likely be outside for hours, and caves are colder than the air outside.
Also: no lunch is provided, but you will have time to eat your own lunch on the ice. Plan for a simple meal you can eat while still keeping warm.
One more practical tip: if you’re unsure about your footwear, contact the provider before the day. In at least one case, a guide reportedly even helped by lending shoes, but you shouldn’t count on last-minute solutions. Better to arrive prepared.
Who This Tour Fits Best (and Who Should Skip It)
This is a physically active glacier experience. You should be comfortable with:
- hiking about 8 km with uphill sections
- walking on glacier terrain for several hours total
- staying steady on ice while listening to safety instructions
It’s not suitable for:
- children under 12
- people with back problems
- people with mobility impairments
- wheelchair users
- people with heart problems
- people with respiratory issues
- people with low level of fitness
If you’re a confident hiker who wants an adventure with science and real glacier movement, you’ll likely love the style.
If you’re aiming for an easy day that feels like a museum visit, you might find this too demanding.
Should You Book the Jökulsárlón Glacier Hike to a Remote Ice Cave?
Book it if you want:
- a guided remote ice cave experience, not the main-edge version
- a route that tries to avoid crowd overlap by hiking farther
- professional safety on a fast-changing glacier environment
- time to learn while you see, plus time to take photos without rushing
Skip it if:
- you can’t handle an 8 km hike with uphill sections
- your health limits cold, exertion, or breathing comfort
- you’re hoping for a casual stroll with minimal walking
The biggest decision point is fitness. If you can meet that, you’re in for one of the most memorable Iceland winter experiences: stepping into blue ice that only exists when conditions line up, then learning how that ice is born and why it changes.
FAQ
How long is the tour?
The duration is 6 hours.
What’s included in the price?
You get roundtrip transportation from the meeting point, a guide, and glacier gear plus headlamps.
What should I bring with me?
Bring a hat, hiking shoes (ankle-covering, relatively stiff boots), rain gear, and gloves.
Do I need prior glacier experience?
No prior glacier experience is required, but you must be physically fit and able to hike for about 8 kilometers with uphill sections.
Where do I meet the guide?
Meet at the Jökulsárlón main parking lot. Look for the Ice Walkers-branded 4×4 vehicle/bus.
Will I definitely enter a blue ice cave?
It depends on safety and changing conditions. If entering a specific cave is too hazardous, the guide will try to go to another cave and you’ll be informed with up-to-date info.
Who shouldn’t take this tour?
It’s not suitable for children under 12, people with back problems, mobility impairments, wheelchair users, people with heart problems, people with respiratory issues, or those with low fitness.