REVIEW · VATNAJOKULL NATIONAL PARK
Skaftafell: Blue Ice Glacier Hike on Vatnajökull
Book on GetYourGuide →Operated by Arctic Adventures · Bookable on GetYourGuide
Blue ice is the real Iceland flex. This guided hike across Falljökull lets you step onto a Vatnajökull outlet glacier and see blue ice and crevasse patterns up close, without needing prior experience. I love how beginner-friendly it is, and I also love that your certified glacier guide teaches you the crampon basics while keeping the group moving at a steady, safe pace.
The main thing to plan for is comfort: you need sturdy ankle-support hiking boots. If your boots are not compatible with the crampons (special sizes only), you may have to rent footwear on-site, and that can affect how smooth the start feels.
In This Review
- Key takeaways before you strap on crampons
- Skaftafell Base Camp: crampons, helmets, and a quick confidence boost
- The 4×4 transfer: why the ride matters before you step onto ice
- The park walk and safety briefing: short, but it sets the tone
- On Falljökull: blue ice, crevasses, and the glacier that keeps moving
- How it feels on the ground
- The sensory part nobody puts in the brochure
- Keeping the hike easy: pacing, group size, and what to expect
- Gear and clothing gotchas: the stuff that saves your feet and your mood
- Boots: ankle support is mandatory
- Layers: think waterproof + warm, not just warm
- Price and value: what $116 buys on Vatnajökull
- Weather, timing, and photo tips that make the day better
- Should you book this Skaftafell blue ice glacier hike?
- FAQ
- How long is the glacier hike on Falljökull?
- Where do I meet the guide?
- What do I need to wear or bring?
- Is the hike suitable for beginners?
- Are boots included in the price?
- Do you provide glacier safety gear?
- What are the crampon shoe size limits?
- What’s the minimum age?
- Closing thought
Key takeaways before you strap on crampons
- Falljökull on foot: You’re walking on an outlet glacier of Europe’s giant Vatnajökull system.
- Real safety training: You get fitted with glacier gear and shown how to move on ice, before the fun starts.
- Blue ice and crevasses: Expect dramatic, ever-changing glacier formations and icefall views.
- Small-group feel: Many departures split groups into smaller hiking teams once you’re set up.
- About 3 km total walking: Rated easy, but there’s uneven, icy ground and short uphill sections.
- Shoe size limits apply: Glacier crampons work only for EU sizes 35–50, so pack accordingly.
Skaftafell Base Camp: crampons, helmets, and a quick confidence boost
Your tour starts at the Arctic Adventures Booking Hut in Skaftafell National Park. Arrive 10–15 minutes early so you can get sorted without feeling rushed—this matters because the first phase is all about safe gear fit. You’ll meet your guide, then head through the setup process that turns you from a regular hiker into someone who can walk carefully on glacial ice.
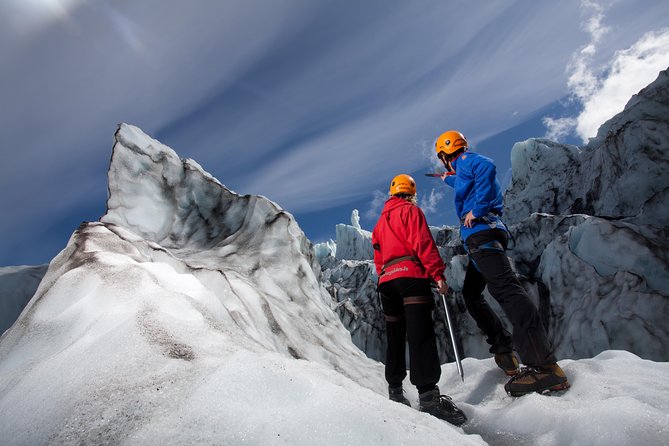
What I like here is that the preparation isn’t a lecture you’d rather skip. It’s hands-on. You get fitted with professional glacier safety gear: crampons, an ice pick, a helmet, and a harness. And you’ll learn how to put your weight on the crampons correctly, how to keep your spacing with the group, and what to do when the ice surface looks different underfoot.
If you’re lucky enough to be with a guide like Lucy or James, the vibe often feels calm and reassuring, with clear explanations and real attention to each person’s footing. In the same spirit, guides such as Anna, Nil, or Christian are repeatedly praised for safety focus paired with a sense of humor. That combo matters—because on a glacier, confidence comes from being shown how, not just told what.
You can also read our reviews of more tours and experiences in Vatnajokull National Park.
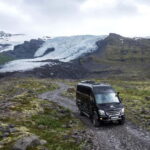
The 4×4 transfer: why the ride matters before you step onto ice
After a short walk within the national park area, you’ll hop on a 4×4 bus for a scenic ride out toward the glacier edge. The drive time is about 20 minutes, and it’s not just transportation. It’s the visual warm-up: you see how the terrain changes, and you start noticing details you’ll miss if you only look at your boots.
This is where timing and weather start to matter. On a clear day you’ll get great views over the ice, and on rougher days you’ll appreciate having a guide who can adjust the route and pace. Either way, you arrive at Falljökull ready to move—rather than feeling like you’ve been dropped into the middle of a science documentary.
Also, if you’re not used to Icelandic “staying warm” logistics, use the ride to get your layers sorted. You’ll want warm clothing, plus a hat and gloves. You can put this on early so you don’t fumble when you’re standing still during gear fitting.
The park walk and safety briefing: short, but it sets the tone
Before you reach the ice, you’ll do a walk segment (about 30 minutes total on the park side in both directions). It’s not the hardest part, but it helps you get used to walking in cold conditions and following instructions as a team.
You should treat this as your warm-up phase:
- Keep an eye on where you step.
- Listen for how your guide wants you to move.
- Ask questions while it’s easy to stop—once you’re on the glacier, the focus becomes foot placement.
Guides also use this time to make sure everyone is set up properly. One practical detail that shows up repeatedly is boot compatibility checks. If you don’t have the right ankle-support boots—or your boots don’t fit the crampon system—you might need a rental. This can slow things down if you show up with sandals, flip flops, or open-toed shoes (not allowed anyway).
The goal of this phase is simple: you should feel like you understand the basics before you’re standing on ice that’s both powerful and unforgiving.
On Falljökull: blue ice, crevasses, and the glacier that keeps moving
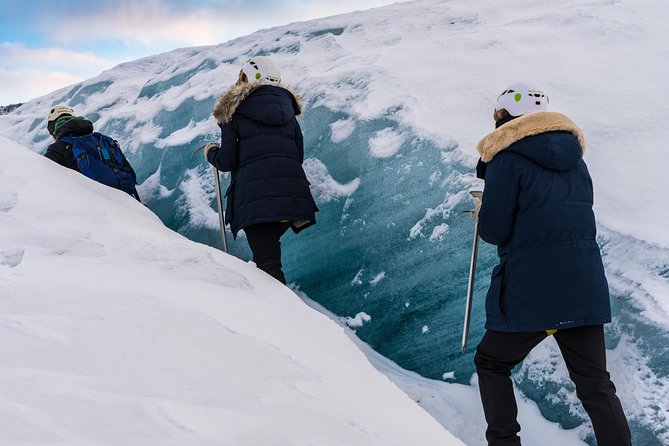
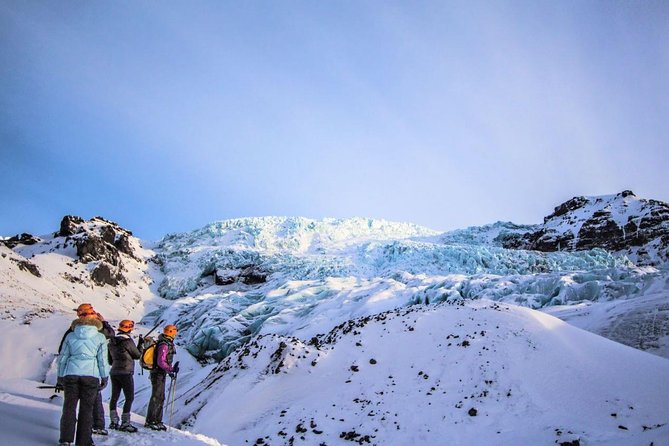
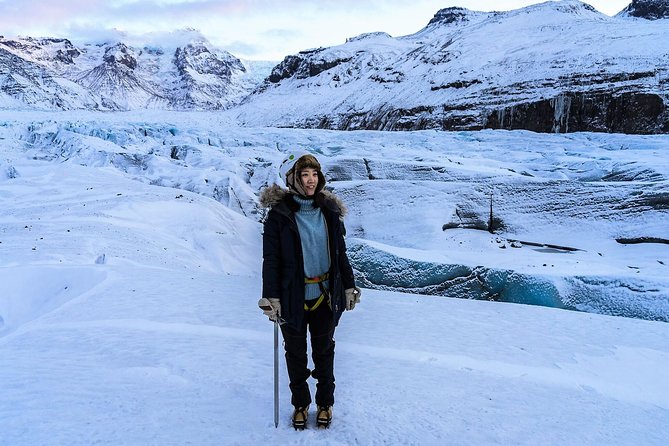
Here’s the heart of it: stepping onto Falljökull. You’ll strap on crampons and start walking across the icy terrain. Expect about 1.5 hours of guided time on the glacier, including sightseeing, hiking, and stops to explain what you’re seeing.
The glacier formations are the headline. You’ll see deep crevasses and shifting blue ice color—sometimes vivid, sometimes pale, depending on how light hits and how thick the ice is. Your guide points out what creates these shapes and how glaciers move over time, constantly transforming their surface.
One unique detail you’ll likely hear is the icefall connection: Falljökull is nicknamed Falling Glacier for a reason—parts of the glacier break and shift in dramatic ways. You’re not just walking on ice; you’re observing a moving system.
How it feels on the ground
Even though the hike is rated easy, you’re still walking on uneven ice. There are short uphill sections and lots of careful foot placement. I’d frame it like this: it’s not a fitness challenge like a steep mountain trail. It’s more of a technique challenge. The good news is your guide will control the pace and show you safe paths around deeper-looking features.
Guides such as Jan, Janek, or Guillaume are often highlighted for staying attentive while teaching you glacier movement. That matters because the glacier can look like it’s all one surface—until you notice crevasse patterns and changes in texture.
And if you’re into photography, your guide will help you find angles that show the blue ice and scale of the glacier. Many participants mention getting pro-style photos or guidance on where to stand for better shots, which is a nice bonus because you’ll be thinking about balance first and composition second.
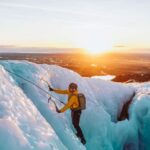
The sensory part nobody puts in the brochure
Glacier walking has a sound and feel that’s hard to replace with photos. You’re in crisp mountain air, on ice that looks still but is clearly alive. You can often feel how close you are to something huge and changing. It makes the whole experience stick in your memory longer than typical sightseeing.
Some people even mention getting a chance to try glacier water from the source. That’s not something I’d assume every trip includes, but it’s a fun reminder that your guide is focused on making sure you leave with more than just a walk.
Keeping the hike easy: pacing, group size, and what to expect
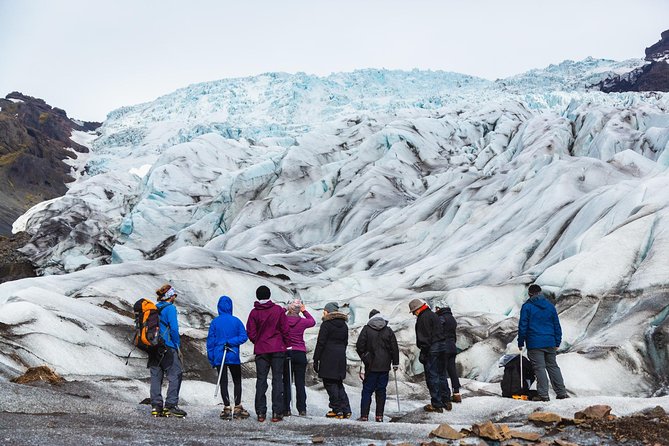
Your total walking distance is about 3 km (1.8 miles). That sounds straightforward—and in many ways it is. But the glacier doesn’t behave like a normal trail, so “easy” here means the route is manageable and the guide controls the pace.
Small groups help. Some departures run as a larger group during transfer and training, then split into smaller hiking teams on the ice. One person described a small group of around 9, and another noted a group around 15. Either way, you’ll benefit from staying close enough to follow instructions but not so packed that crampons feel chaotic.
The pace is typically slow and steady. You’ll take time to look, stop, learn, and re-position. Guides like James and Ohla are noted for keeping the walk relaxed while still staying serious about safety. That’s the sweet spot: you’re not sprinting across ice, but you’re also not drifting for long stretches with nothing to do.
A quick realism check: if you’re prone to cold, this can feel more tiring than you expected even if it’s “easy.” One account describes being drenched during stormy weather despite waterproof gear, which is a reminder to pack for wet and wind, not just cold.
Gear and clothing gotchas: the stuff that saves your feet and your mood
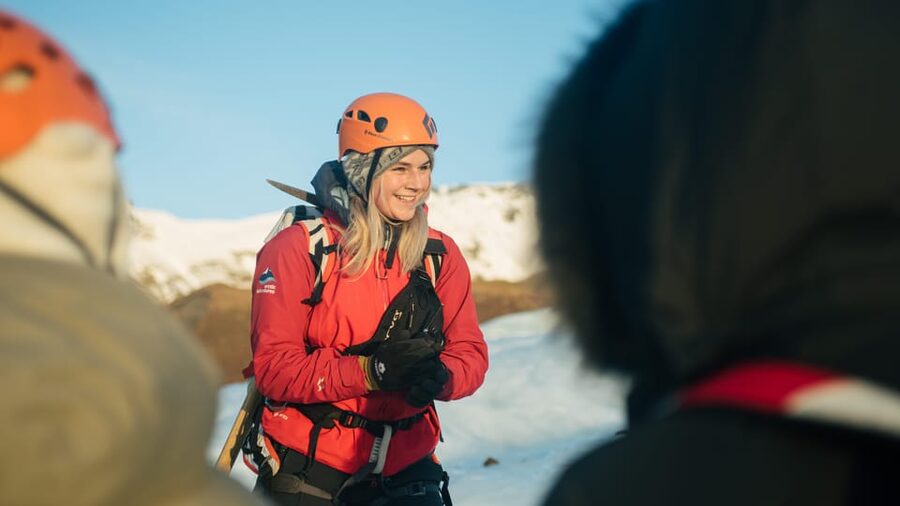
The tour includes glacier safety gear: crampons, ice pick, helmet, and harness. Great. But you’re still responsible for your footwear and warmth.
Boots: ankle support is mandatory
Sturdy hiking boots with ankle support are mandatory. If your boots aren’t compatible with the crampons system, you may need to rent boots (listed at 1500 ISK). Glacier crampons are available only for EU shoe sizes 35–50, so plan around that if you’re a smaller or larger size.
Also, don’t show up in sandals, flip flops, or open-toed shoes. This is for your safety, and it’s enforced.
Layers: think waterproof + warm, not just warm
Bring warm clothing, a hat, and gloves. You’ll be outside for several hours, including time before and after the ice walk. The glacier surface can be sharp underfoot, so gloves help and closed boots are non-negotiable.
If the weather is wet or stormy, you’ll want additional protection. Even people who rented waterproof jackets still got very wet in severe conditions. So plan on bringing more layers than you think, and treat wind/rain as a real possibility—especially in winter months.
Price and value: what $116 buys on Vatnajökull
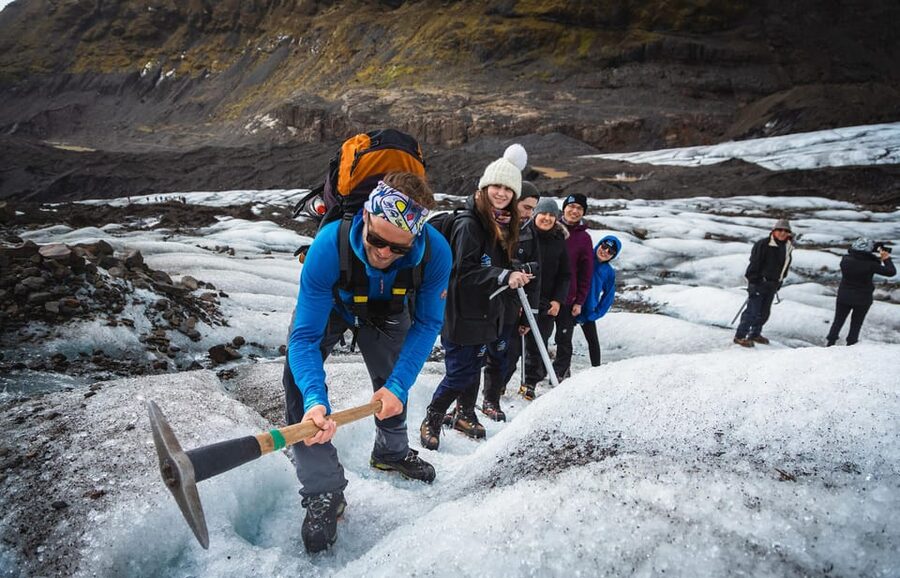
At about $116 per person for a roughly 4-hour experience, this isn’t the cheapest thing you’ll do in Iceland. But it’s also not overpriced for what you’re buying: certified instruction on glacier terrain, full safety gear, and a guided walk on one of Vatnajökull’s outlet glaciers.
Here’s why the value is real for you:
- You’re paying for safety systems and training, not just access to a view.
- The guide’s role is active: you learn how to walk on crampons and how to move around glacier features.
- Equipment is included, which adds up fast if you were doing this independently.
- You get structured time on the ice (about 1.5 hours), so it doesn’t feel like a quick photo stop.
In plain terms: if you want a glacier experience that feels controlled and learnable, this is one of the more sensible ways to do it. If your goal is only a distant panorama from a viewpoint, you’d spend less on the photo-and-walk version. But if you want to actually step onto Falljökull, the guided setup is the point.
Weather, timing, and photo tips that make the day better
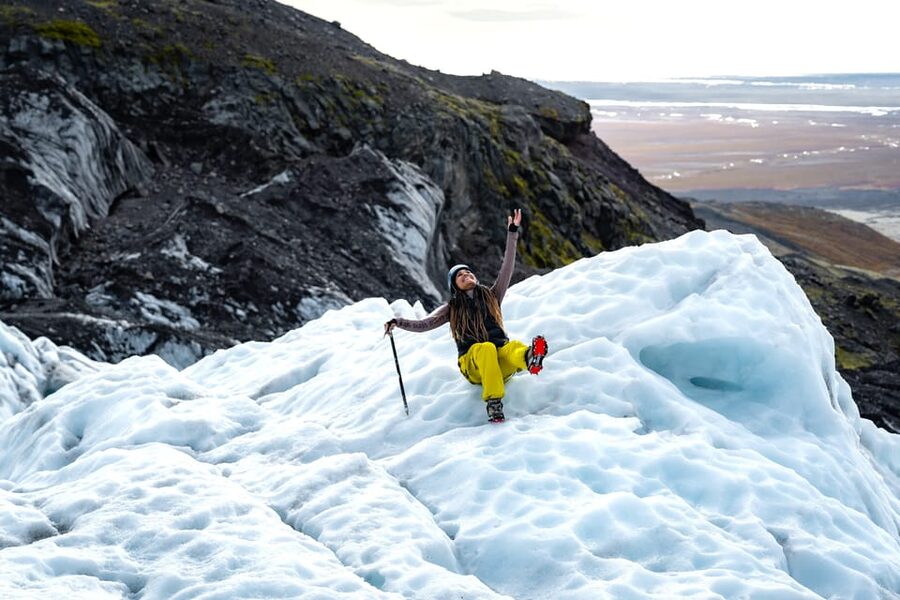
Weather can make or break the comfort of any glacier hike. You’ll get the best experience on days with decent visibility, but even on less perfect days the glacier still delivers—because the crevasses and textures are the attraction.
A few practical tips I recommend:
- Wear layers you can adjust quickly before you’re stuck with a heavy outer layer.
- Bring warm gloves, not just thin ones. Even in mild conditions, ice work feels colder than it looks.
- Practice calm breathing while standing still. You’ll notice how your body reacts when you stop for fitting, photos, or listening.
- Use the guide’s cues for photography rather than trying to pose away from the group.
And if you’re traveling in winter or shoulder season, be ready for conditions to feel more intense than spring photos suggest.
One final note: guides like Kira, Tomas, and Hana are praised for explaining glacier history in a way that’s easy to track in the moment. That turns the day into more than just a walk with crampons.
Should you book this Skaftafell blue ice glacier hike?
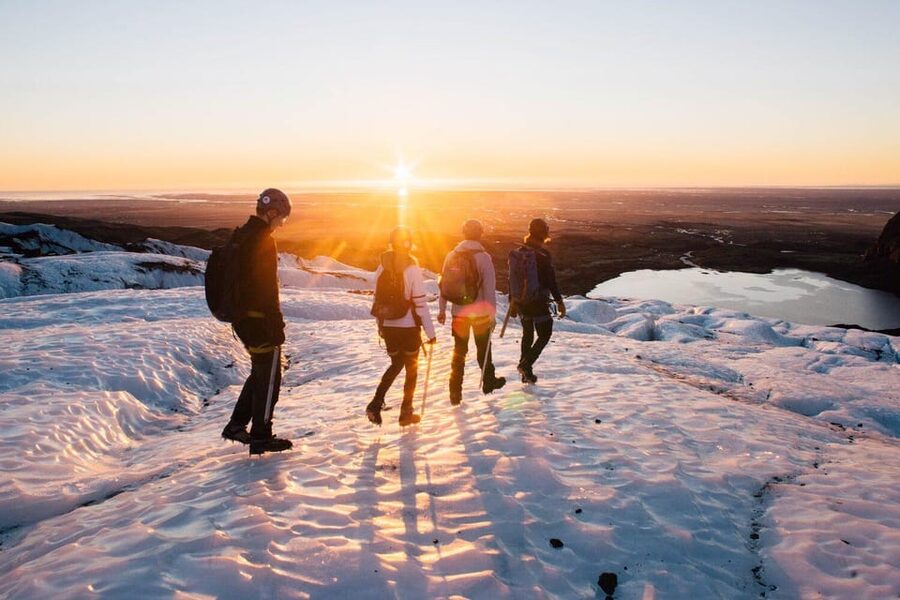
I’d book it if you fit any of these:
- You’re a first-timer on a glacier and you want a structured, beginner-friendly introduction.
- You care about safety and want a certified guide to handle the technical parts.
- You want a real chunk of time on the ice (not just a quick taste).
- You’re traveling with kids age 8+ and want a guided experience that’s designed for families.
Skip it (or at least think twice) if:
- You don’t have the right boots and you’re not comfortable renting if needed.
- You’re very sensitive to cold and wet weather.
- You want a long, strenuous hiking day. This is managed walking over uneven ice—not a summit push.
If your main dream is blue ice, crevasses, and the wow-factor of standing on Falljökull with safety instruction doing its job, this one earns its place near the top of the Skaftafell list.
FAQ
How long is the glacier hike on Falljökull?
The tour lasts about 4 hours.
Where do I meet the guide?
You meet at the Arctic Adventures Booking Hut in Skaftafell National Park.
What do I need to wear or bring?
You’ll need warm clothing, a hat, gloves, and hiking shoes with ankle support. Sandals, flip flops, and open-toed shoes are not allowed.
Is the hike suitable for beginners?
Yes. It’s rated easy and is beginner and family friendly, with no experience required. You should still be prepared for uneven terrain and short uphill walking.
Are boots included in the price?
Sturdy hiking boots with ankle support are not included. Boot rentals are available for 1500 ISK.
Do you provide glacier safety gear?
Yes. Glacier crampons, an ice pick, helmet, and harness are included.
What are the crampon shoe size limits?
Crampons are only available for shoe sizes EU 35–50.
What’s the minimum age?
The minimum age is 8 years.
Closing thought
This is a glacier walk built for real people—first-timers, families, and anyone who wants the science and the spectacle without the guesswork. Get the right boots, dress warm, and bring a sense of awe. Falljökull does the rest.