REVIEW · VIK
Sólheimajökull: Blue Ice Glacier Hike near Vík (Easy)
Book on GetYourGuide →Operated by Arctic Adventures · Bookable on GetYourGuide
Sólheimajökull is ice that looks fake until you’re standing on it. This easy, family-friendly glacier walk lets you explore blue crevasses and icy features like moulins without needing mountaineering skills. On a rainy-cold day, the whole setup still works, and the guides keep everyone moving safely; in my notes from past groups, people rave about how calm and organized guides like Lucy can be.
What I really like is the way they give you everything you need for safety, including crampons, an ice axe, harness, and helmet, so you’re not hunting gear in Iceland traffic. I also like that you get a proper guide-led explanation about how nearby volcanoes shape the glacier, turning the ice into layers of black ash you can actually see. One thing to consider: even though it’s labeled easy, the hike can include steep bits and you’ll be walking on uneven ice—plus the weather can soak you on the return.
In This Review
- Key things you’ll notice on this hike
- Sólheimajökull, in plain terms: what makes this hike special
- Meeting at the Sólheimajökull parking lot near Vík (and what to plan for)
- Safety gear and crampons: what’s included, and what you must bring
- From base to ice edge: how the easy hike actually feels
- Blue crevasses, moulins, and the volcanic “black ash” story
- Optional Reykjavík-to-South-Coast day: waterfalls and black sand after the ice
- The guide experience: why people kept naming names
- Price and value: is $104 really fair for glacier walking?
- The main drawback: easy can still mean cold, steep, and soaked
- Who this glacier hike fits best (and who should think twice)
- Should you book Sólheimajökull with Arctic Adventures?
- FAQ
- Where is the meeting point for this Sólheimajökull hike?
- What time should I arrive?
- Is this tour beginner-friendly and easy?
- What age and shoe sizes are required?
- What safety gear is included?
- Do I need my own boots?
- Is pickup from Reykjavík available?
- Is the tour suitable for people with mobility impairments?
Key things you’ll notice on this hike
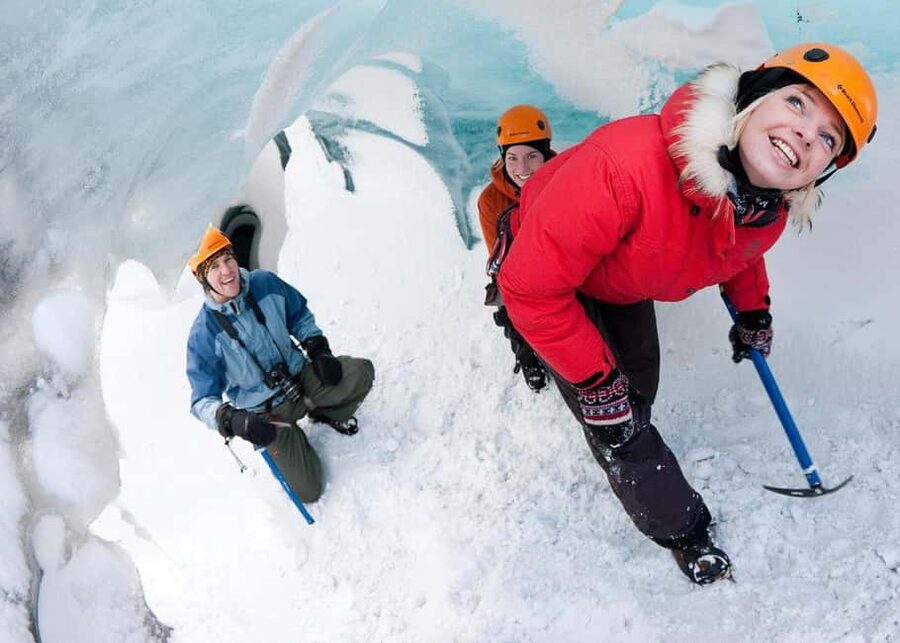
- Full glacier safety gear (harness, crampons, ice axe, helmet) is included, so you start prepared
- Blue crevasses and moulins give you that surreal glacier-eye view fast
- Certified glacier guides pace the group and teach you what you’re seeing
- Optional Reykjavík add-ons can bundle in Skógafoss, Seljalandsfoss, and Reynisfjara black sand beach
- Strict shoe rules (min size and crampon size range) can block some people even if they’re fit
Sólheimajökull, in plain terms: what makes this hike special
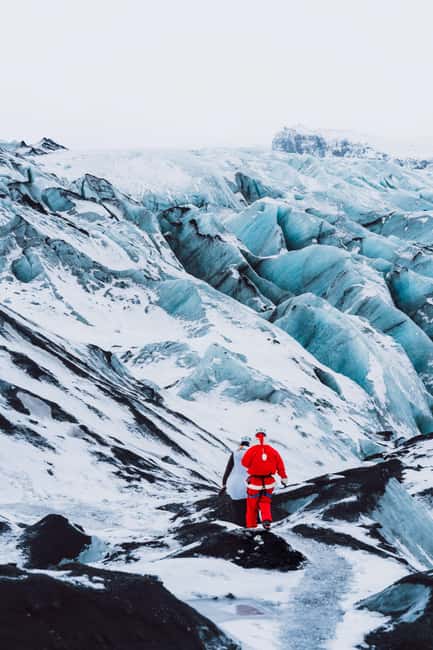
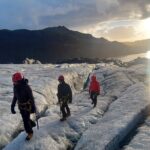
Sólheimajökull is one of Iceland’s best-known outlet glaciers on the South Coast, and the magic here is that you get close to the working surface of ice. This isn’t a “stand and photograph” setup. You step onto the glacier and walk ridges where the ice shows its age and movement—especially the striking blue tones in crevasses.
The other big draw is the science-meets-photos part. Your guide explains how volcanic activity affects this glacier, including those dramatic black ash layers in the ice. That matters because it changes how you look at the blue—less like a color effect, more like a record of time and geology.
This is also called “easy,” and the key is how they manage expectations. The route is designed for beginners and families, but you’re still dealing with real glacier terrain: cold footing, crampons on ice, and sections that can feel more like a brisk hike than a flat nature walk.
You can also read our reviews of more tours and experiences in Vik.
Meeting at the Sólheimajökull parking lot near Vík (and what to plan for)
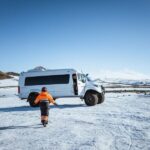
The meeting point is the Sólheimajökull Glacier Parking Lot, located just off Iceland’s ring road near Vík. You’ll find it by the big yellow school bus, which is helpful when the weather is doing its best to blur everything into gray.
Plan to arrive 10–15 minutes early. It’s not just courtesy—gear fitting, shoe checks, and a safety briefing need time. If you’re doing the Reykjavík option, pickup can take up to 30 minutes, so I’d rather you show up calm than sprinting across a parking lot with cold hands.
Timing-wise, the tour is listed as 3 to 12 hours, which is a hint that your day depends on whether you’re doing only the glacier hike (shorter) or combining it with other South Coast stops (longer). Either way, bring a “weather buffer” mindset. Iceland’s roads and visibility can change fast, and glacier walking is one of the activities that runs with the safest realistic plan for the conditions.
Safety gear and crampons: what’s included, and what you must bring
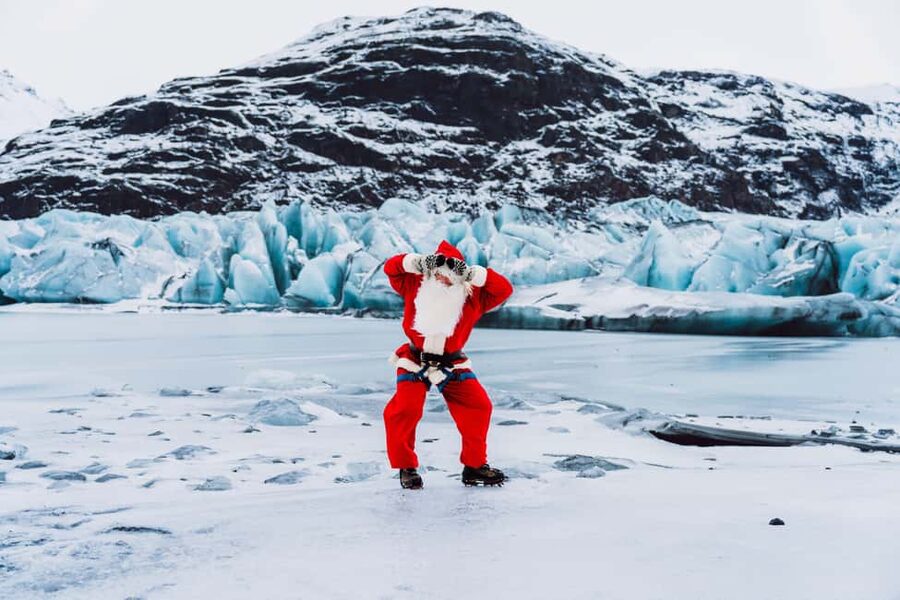
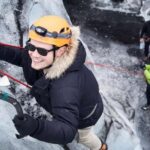
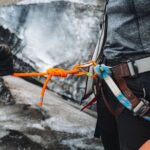
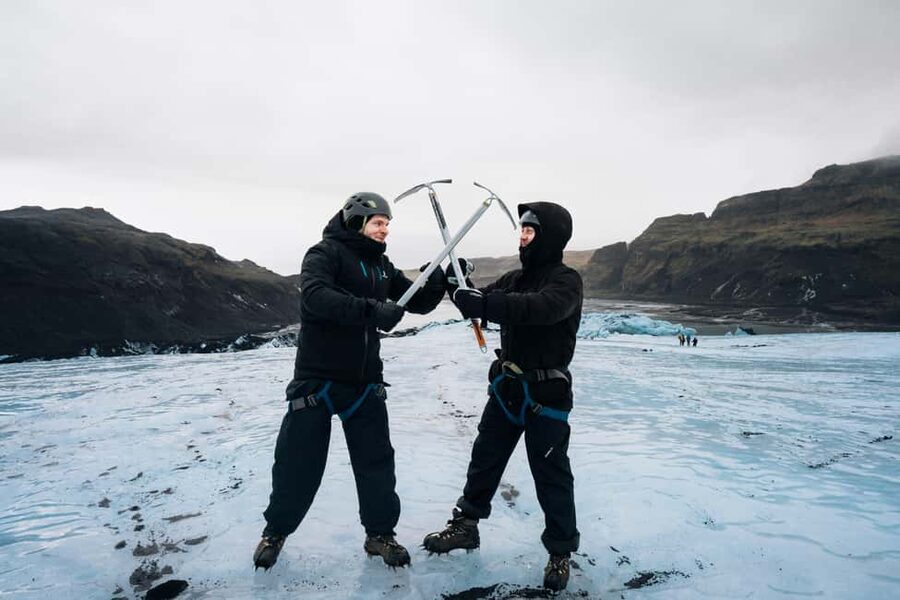
This tour includes specialized glacier safety gear: harness, glacier crampons, ice axe, and a helmet. That’s a big value point, because glacier gear isn’t cheap to rent piecemeal, and buying the wrong items is a common beginner mistake.
You do need the right footwear. You must wear sturdy hiking shoes with ankle support. Rentals are available for a small fee if you forget them, but you should assume you’ll feel better with your own boots rather than trying to make borrowed gear work.
Here are the rules that can affect eligibility:
- Minimum age is 8 years old
- Minimum shoe size is 35 EU
- Crampons are only available for shoe sizes 35–50 EU
- The tour is not suitable for people with mobility impairments
One practical tip from the vibe of the experience: guides strongly check that your shoes and fit are correct before stepping onto the ice. That’s not bureaucracy. It’s what keeps the walk smooth.
From base to ice edge: how the easy hike actually feels
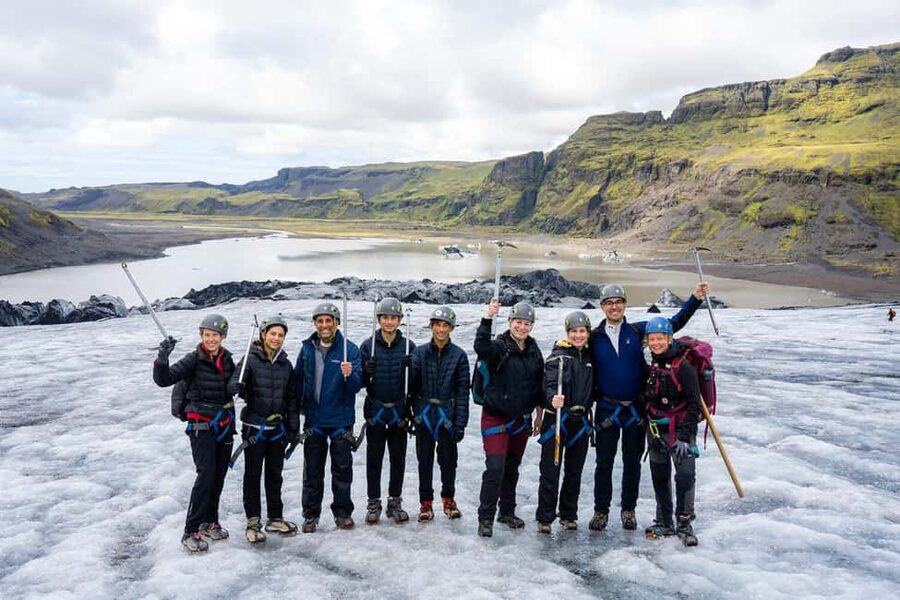
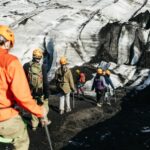
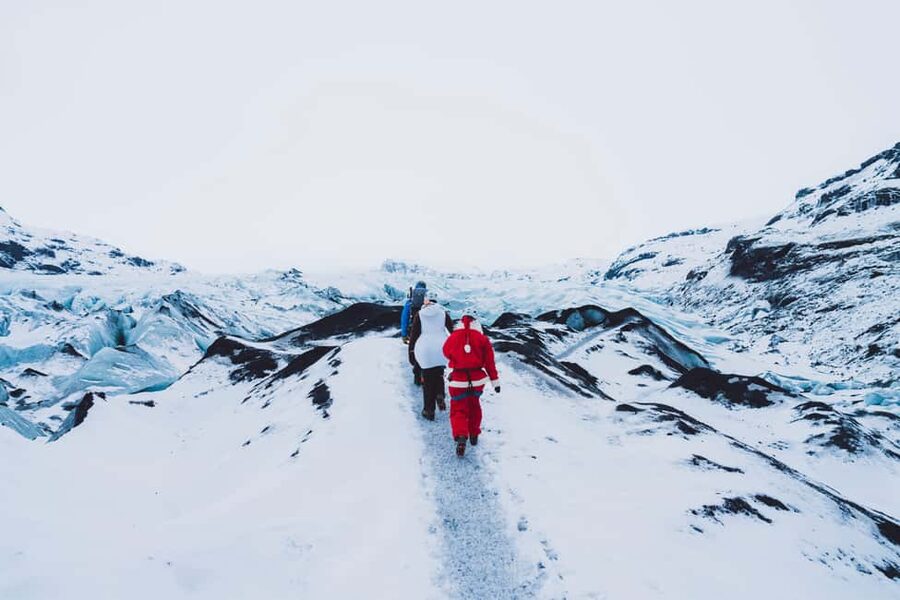
After you meet your guide, you’ll get a safety introduction and then be fitted with the gear. Expect a short walk from the base to the glacier edge—far enough to get organized, not far enough to bore you.
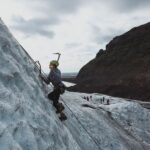
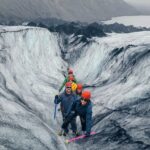
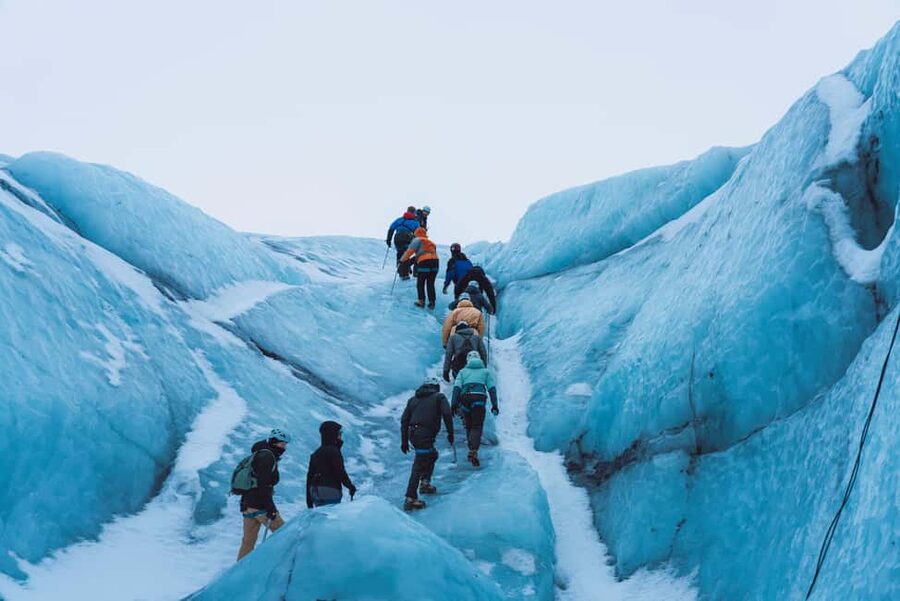
Then you’re on the glacier. This is where the “easy” label makes sense: the route is designed around safe, manageable movement for people who are new to crampons. You’ll navigate easy ridges and follow the guide’s pace rather than choosing your own line like you might on a hike back home.
In at least one experience log I reviewed, the time on the ice felt like roughly a two-hour loop for a group that moved steadily. Your total day may be longer due to transport and optional stops, but on the glacier itself, you’re not committing to a all-day endurance challenge.
Still, don’t treat it like a stroll. Ice surfaces can be slick, and crampons change how you balance. The best mindset is to walk “carefully and steadily,” not fast.
Blue crevasses, moulins, and the volcanic “black ash” story
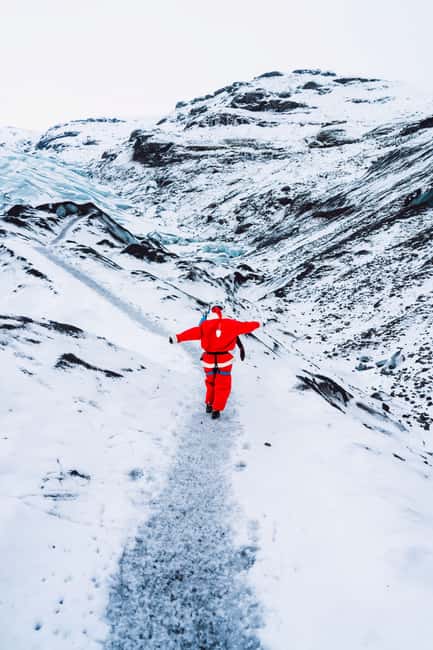
This is the part you’ll talk about after the drive out of Vik.
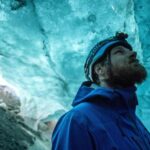
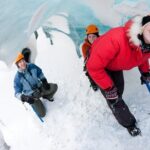
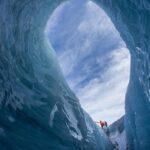
Your guide helps you peer into features like deep blue crevasses—cracks where the light hits in that unreal way and where you can see depth you can’t fake. You’ll also see moulins, which are ice holes that tunnel down into the glacier system. Seeing them in person gives you a new respect for how active a glacier really is.
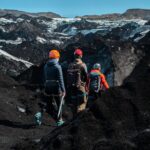
Then there’s the volcanic angle. Guides explain how nearby volcanoes shape the glacier and coat the ice in black ash layers. It’s visual and it sticks. You’ll look at the ice in sections and realize it’s not just one uniform slab—it’s layered, changed, and weathered by processes happening far below the surface.
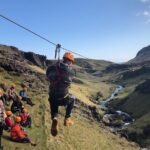
And yes, you’ll get photo moments. Many people mention the chance to stop, look closer, and capture shots with a guide who helps the group find the best spots without turning the hike into a photo circus.
Optional Reykjavík-to-South-Coast day: waterfalls and black sand after the ice
If you choose the Reykjavík departure, the tour can include transport with onboard WiFi, plus stops at major South Coast hits:
- Seljalandsfoss waterfall
- Skógafoss waterfall
- Reynisfjara black sand beach
Why this matters for value: you’re stacking multiple “big Iceland” experiences into one guided day. The glacier is one-of-a-kind, but it’s also one of the weather-sensitive activities. Bundling in the waterfalls and the black sand beach helps protect your day, because even in cloudy conditions, those stops usually still deliver.
What to watch for is time and weather. Waterfalls can mean wet paths and wind, and black sand can feel colder than you expect. Bring clothing that can handle damp conditions and be ready for a day where you might go from icy glacier to misty waterfalls.
The guide experience: why people kept naming names
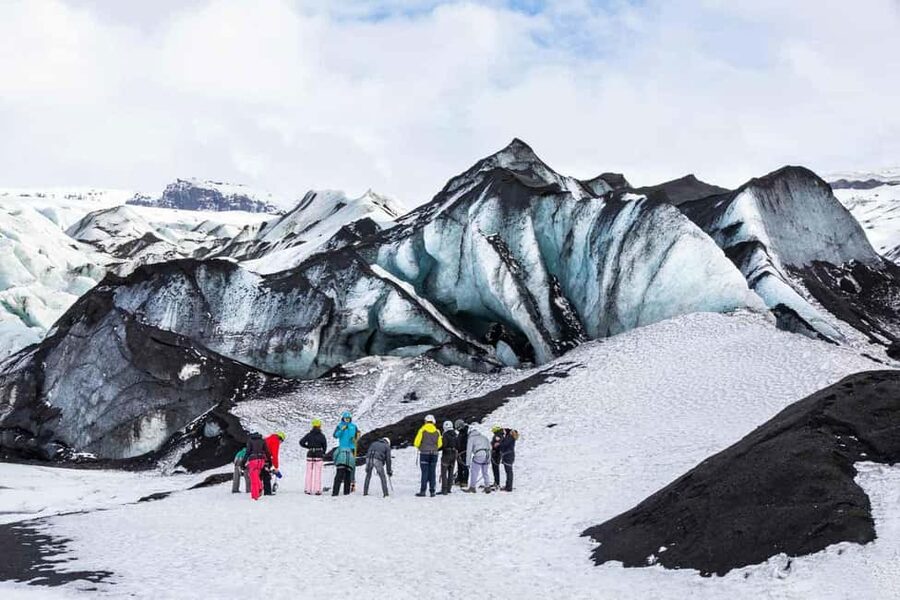
This tour lives or dies by the guide, and the standout theme is how consistently guides create a calm, safe pace. In the feedback, guides like Lucy, Lucas, Guillaume, Daniela, Tomas, and Lilja came up repeatedly for being professional, patient, and focused on keeping everyone comfortable on the ice.
What you’ll likely feel in practice:
- You get a clear safety briefing before crampons hit the ice
- Gear use is explained so you’re not guessing
- The guide watches the group and adjusts pace so nobody gets left behind
- People often mention humor and supportive coaching, especially when weather is nasty
One extra detail that might matter if you’re into filming: one participant noted they were permitted to fly a drone in line with regulations. Don’t assume it’s automatically allowed—just know that drone permissions may be possible depending on rules and what the operator is able to accommodate. If that matters to you, ask before the hike.
Price and value: is $104 really fair for glacier walking?
At $104 per person, this hike can feel like a bargain if you compare it to the cost of paying for a guide plus the right safety gear.
Here’s what you’re getting for the money:
- A certified glacier guide
- Specialized safety gear: crampons, harness, ice axe, helmet
- A small-group format with safety and teaching in mind
- Optional roundtrip transport from Reykjavík, and included stops if you choose that option
What’s not included: food and drinks. That’s normal, but it’s worth planning. Iceland days can run long, and you don’t want to turn your glacier hike into a “hangry” situation later.
Also keep in mind the boot reality. You must have appropriate hiking shoes with ankle support, and if you don’t, rentals are available for a small fee. So the “true” cost for some people includes that add-on.
My take: for beginners, families, and anyone who wants the glacier experience without logistics headaches, the included gear and instruction are the main value drivers. If you’re already fully set up with glacier skills and equipment (most people aren’t), then you’re paying mainly for the guide-led route and interpretation.
The main drawback: easy can still mean cold, steep, and soaked
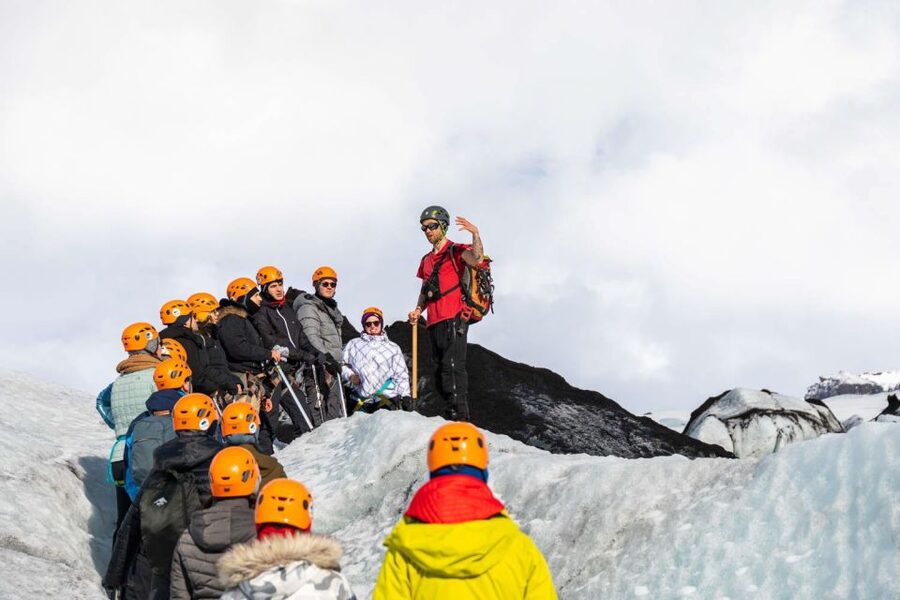
The most honest caution I’d give is this: “easy” is relative. Some participants describe it as manageable, while others call it moderate because of steep sections. You’re walking on ice, and your legs will feel it, especially if you’re not used to crampons.
Weather is the other factor. Even with all the right gear, you may still get wet. One experience included getting soaked on the return path during rainy conditions, but the group still rated the hike highly because the glacier part itself was unforgettable.
So your best prep plan is simple:
- Wear proper hiking footwear with ankle support
- Dress for cold and damp conditions
- Expect that the environment can push the workout slightly higher than you planned
And if you have mobility limitations, the tour explicitly isn’t suitable.
Who this glacier hike fits best (and who should think twice)
This tour is a smart choice if you:
- Want a beginner-friendly glacier walk
- Travel as a family with kids age 8+
- Care about safety and want all gear provided
- Prefer a guided experience with education, not just scenery
You should think twice if you:
- Don’t meet the shoe size requirements (minimum 35 EU, and crampons limited to 35–50 EU)
- Need mobility-friendly accommodations (it’s not suitable for mobility impairments)
- Expect a totally flat walk with no steep sections
If your goal is a glacier “first time” that feels safe, well-run, and photo-ready, this is one of the more direct ways to get there.
Should you book Sólheimajökull with Arctic Adventures?
I’d book this if you want the classic glacier story—blue crevasses, moulins, and the volcanic ash layers—with the comfort of certified guides and included gear. At $104, you’re paying for the hard parts: safe access to a real glacier and the instruction that turns it from a walk into a meaningful experience.
Book with confidence if you show up with the right hiking shoes and accept that Iceland weather can make everything damp and colder. Skip it or switch plans if you don’t fit the shoe rules, have mobility needs that prevent glacier walking, or you want a super-flat stroll with no workout component.
In short: if you’re ready to walk carefully on ice and you want one of Iceland’s most photogenic glacier outings near Vík, this hike is a solid choice.
FAQ
Where is the meeting point for this Sólheimajökull hike?
The meeting point is at the Sólheimajökull Glacier Parking Lot by the big yellow school bus.
What time should I arrive?
Arrive 10–15 minutes before your scheduled departure time.
Is this tour beginner-friendly and easy?
It’s designed as an easy, family-friendly glacier hike, but some participants describe it as relative and can include steep sections.
What age and shoe sizes are required?
The minimum age is 8 years old. The minimum shoe size is 35 EU.
What safety gear is included?
You’ll receive specialized glacier safety gear including glacier crampons, a walking ice axe, helmet, and harness.
Do I need my own boots?
You must wear sturdy hiking shoes with ankle support. Boots can be rented for a small fee if needed.
Is pickup from Reykjavík available?
Yes, pickup is optional. The tour may include roundtrip transportation with onboard WiFi and additional sightseeing stops.
Is the tour suitable for people with mobility impairments?
No. The tour is not suitable for people with mobility impairments.