REVIEW · VIK
Vik: Guided Sólheimajökull Glacier Hike
Book on GetYourGuide →Operated by Troll .is · Bookable on GetYourGuide
Glacier hiking turns walking into real-world science. On this guided Sólheimajökull trek, you learn how glaciers move while you explore tunnels, moulins, and crevasses up close.
I especially like the fact that you don’t just walk onto the ice and hope for the best. You start with a safety briefing, then get helped with gear before you head out.
I also love the pacing and the little energy boost: coffee and chocolates during the hike, plus stops built in so you can look around (and take photos). One thing to consider: you’ll be walking on uneven icy ground wearing crampons, so warm layers and solid balance matter.
In This Review
- Key points to know before you step onto Sólheimajökull
- Getting Started: Gear and the big safety briefing
- The short walk to the ice: why you warm up first
- Crampons and ice axe: learning the basics without drama
- Exploring the ice: tunnels, moulins, crevasses, and why it feels unreal
- Coffee and chocolates on the glacier: small break, big mood change
- How the time feels: what 3 hours really buys you
- Price and value: is $122 worth it?
- What to pack (and what not to assume)
- Who this tour fits best
- Should you book this Sólheimajökull glacier hike?
- FAQ
- Where do I meet for the glacier hike?
- How long is the tour?
- Is the tour guided and in English?
- What gear is included?
- Are hiking boots included?
- What refreshments are included?
- Do I need rain gear?
- What if I need to cancel?
- Do you offer reserve now, pay later?
Key points to know before you step onto Sólheimajökull
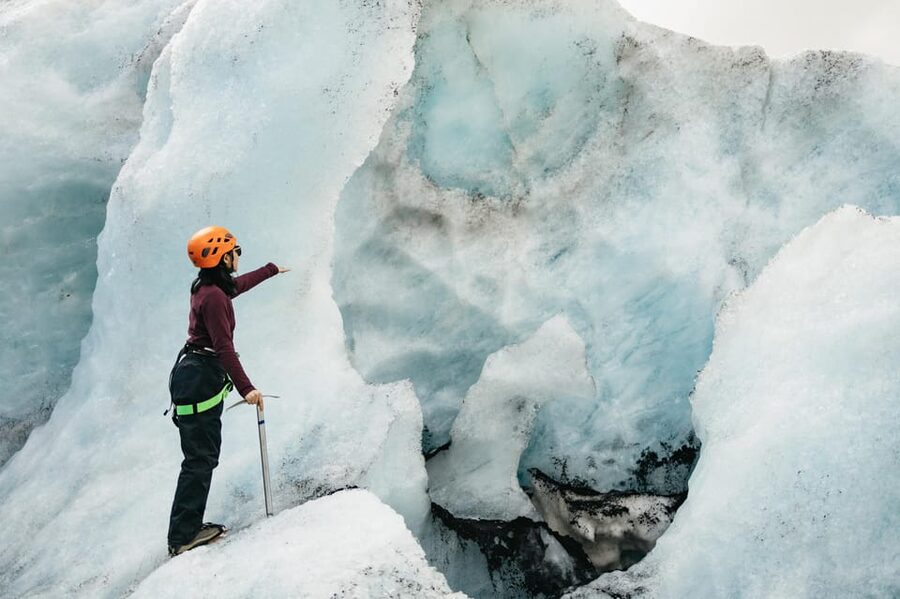
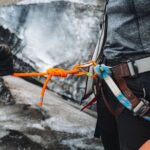
- Certified glacier guide + full glacier safety gear (helmet, harness, crampons, ice axe)
- Crampon tutorial first, so attaching them to high ankle boots doesn’t feel confusing on the go
- You’ll see signature ice features like moulins and deep crevasses as you hike
- Coffee and chocolates are included, which makes a cold trek feel way more doable
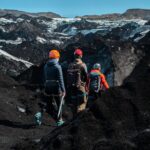
- You’re up close to black volcanic ash on the glacier, which adds dramatic contrast
- Most guides keep the group together and build in photo time at key viewpoints
Getting Started: Gear and the big safety briefing
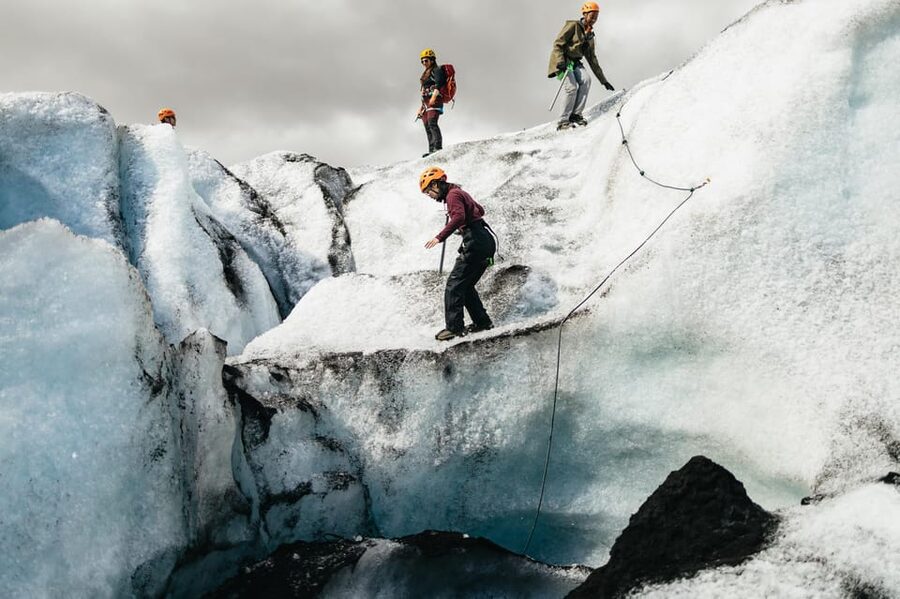
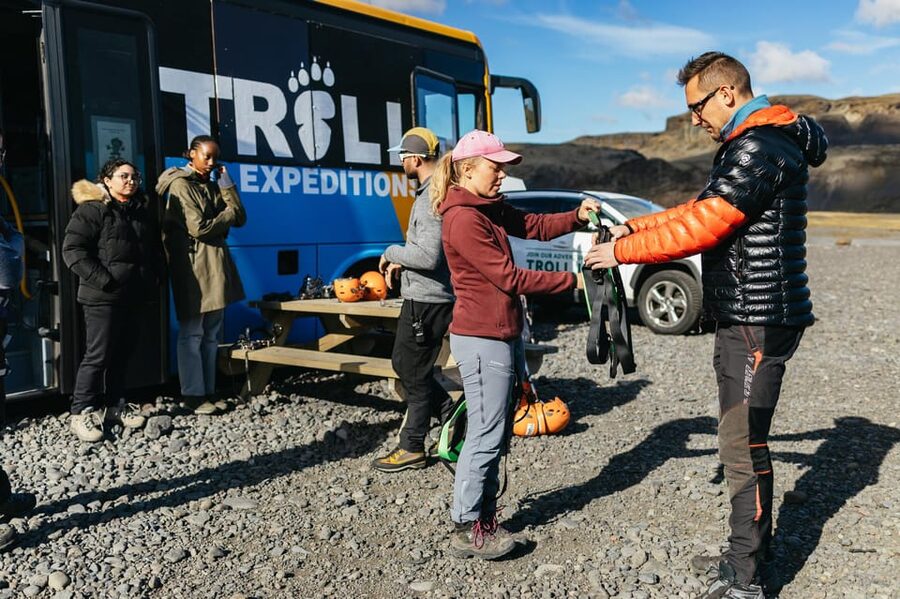
The tour meets at the Sólheimajökull glacier parking lot with Troll Expeditions. From there, the experience quickly turns practical: you’re handed the glacier equipment and you’re not left guessing what goes where.
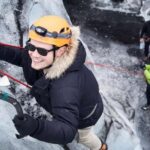
You’ll get a helmet, harness, crampons, and an ice axe for the hike. The tour’s big advantage is that you also get a safety briefing and a tutorial for how to attach crampons to high ankle boots. That matters more than people think. If crampons fit wrong or you don’t feel how they grip, your pace and confidence drop fast.
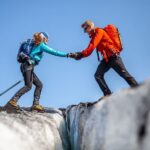
From the way guides like João, Edgar, Kevin, and Federico run these tours (based on real group feedback), there’s a consistent theme: they stay patient with slower walkers, explain what you’re doing while you do it, and keep everyone together. In a place where slips can be serious, that calm, step-by-step approach is a major part of the value.
Practical tip: If you’re arriving with boots that are even slightly loose, or laces you can’t snug well, fix that before gear time. A glacier hike is not the moment to fight your footwear.
You can also read our reviews of more tours and experiences in Vik.
The short walk to the ice: why you warm up first
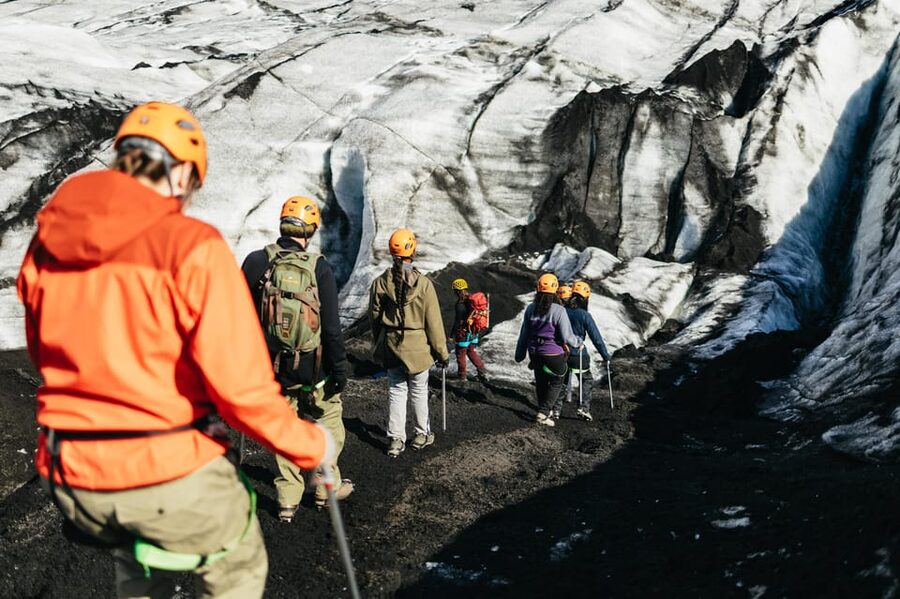
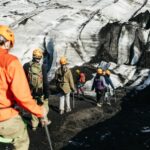
You don’t jump straight onto the glacier. You’ll hike on foot from the meeting area toward the ice, which gives you a buffer to get your bearings, get your gear sorted, and settle into the rhythm of walking with traction.
That first approach walk also helps you understand the terrain you’ll be moving across. You’ll feel the difference between normal ground and the icy surface where crampons do their job. It’s also when you’ll typically start noticing the glacier’s surface texture—paler ice, darker ash streaks, and subtle slopes.
One reviewer experience highlighted an added moment: after getting set up, the group walked from the parking area to a lagoon-area point where crampons were attached before stepping onto the glacier itself. Even if timing varies, the overall idea stays the same: you’ll be ready before you’re on the steep stuff.
What I like here for you: this structure reduces stress. You spend less time wondering, and more time looking—because you know what’s coming next.
Crampons and ice axe: learning the basics without drama
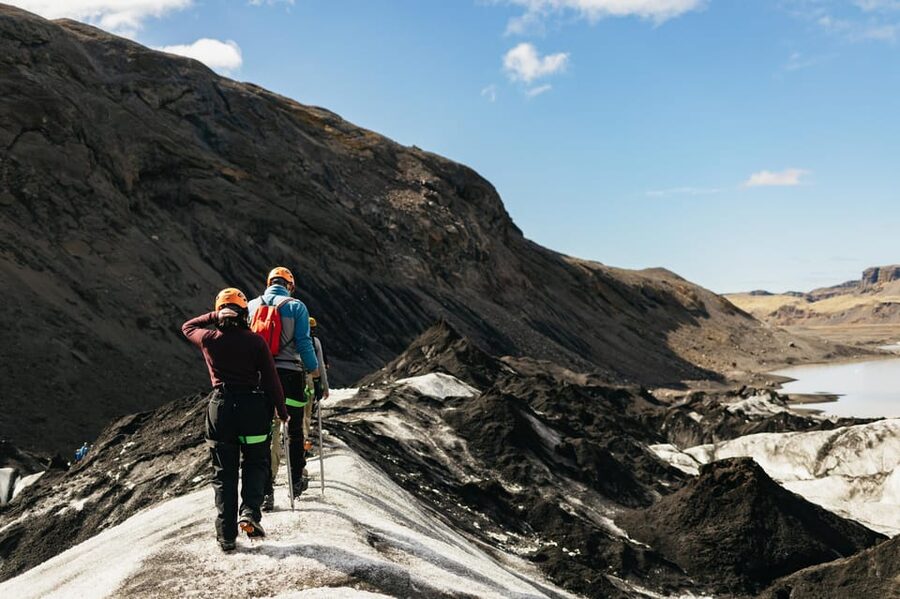
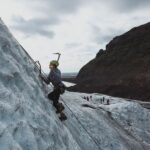
The crampon tutorial is one of the most useful parts of the tour. You’re shown how to attach them to high ankle boots, and you learn how to move more safely across the ice.
You’ll also carry an ice axe during the hike. You might not use it constantly, but it’s part of the system that keeps you steady on slopes and uneven surfaces. Guides tend to emphasize how to hold it and how to avoid swinging it awkwardly in a group setting.
In real feedback, people repeatedly mention how guides make this doable even if you’re not athletic. The most common success factor is not speed—it’s following instructions, staying close to the guide, and moving with deliberate steps.
Watch for this drawback: the tour requires a willingness to walk differently. If you have trouble balancing on uneven ground in general, you should mentally prepare for extra concentration on the glacier.
Exploring the ice: tunnels, moulins, crevasses, and why it feels unreal
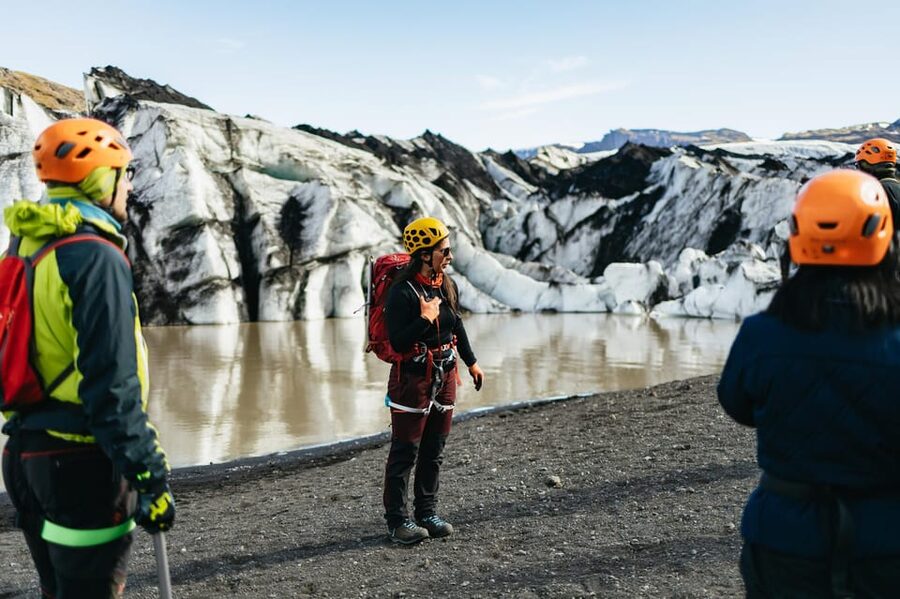
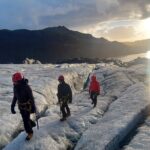
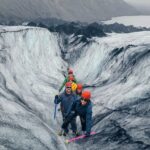
Once you’re on the glacier, the tour becomes the kind of place you can’t fully capture in photos. You’re surrounded by ice shapes that look temporary—because they are. Even when the glacier seems solid, it’s constantly moving and reshaping itself.
Here’s what you’re set up to look for:
- Crevasses: deep cracks that show where the ice is under stress. Your guide will point out how these features form and why you don’t want to wander off-route.
- Moulins: vertical shafts where meltwater can travel downward through the ice. Seeing them makes the glacier feel like a living system rather than a frozen block.
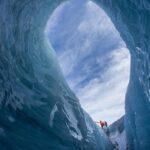
- Ice tunnels and narrow passages: some routes include very close-looking icy gaps and areas where you’re roped in for safety. One group described a narrow icy crevice experience, with ropes used so you can look near the edge safely.
- Ice “holes” and dramatic edges: you may be taken to viewpoints that feel like you’re standing at the border of another world. Guides manage timing so you can see, then move on before conditions or crowding become an issue.
Volcanic ash shows up as darker streaks and specks on the ice. This is one of the reasons glacier hikes in Iceland photograph so well: the ash makes texture pop, and the ice can range from milky white to deeper tones.
And yes, lighting matters. One guide observation that stuck with me: the glacier can look bluer on slightly cloudy days. If you show up and the sky is gray, it’s not a loss—it may actually be your photo advantage.
Coffee and chocolates on the glacier: small break, big mood change
You’ll stop for coffee and chocolates during the hike. It’s not just a treat; it helps you cope with cold and keeps your energy steady through the full trek.
A glacier tour has two tiring parts: walking on traction and staring at awe-inspiring features. The second one sounds fun, but it also drains energy because you’re constantly adjusting posture—leaning, looking down, stepping around. A warm drink and sweet calories can be the difference between rushing and enjoying.
Guides also use these pauses to answer questions. If you’re the type who wants to know what you’re seeing—why a moulin is there, what a crevasse signals about the ice—you’ll get that chance without needing to ask at awkward moments while the group is moving.
How the time feels: what 3 hours really buys you
The total duration is 3 hours, which is a sweet spot. It’s long enough to feel like a real adventure, but short enough that you’re not stuck in crampon fatigue all day.
A common rhythm looks like this:
- gear and safety setup
- approach walk toward the glacier
- guided time on the ice with multiple feature stops
- a break with coffee and chocolates
- return walk back to the meeting area
In the feedback you’ll notice a pattern: people often say the trek isn’t overwhelmingly hard, but you do need endurance and careful footing. One reviewer even called it a very easy hike with a slow uphill feel, while another mentioned being slow is possible as long as you keep going step by step. Translation: this tour isn’t a mountaineering workout, but it is real hiking on ice.
Price and value: is $122 worth it?
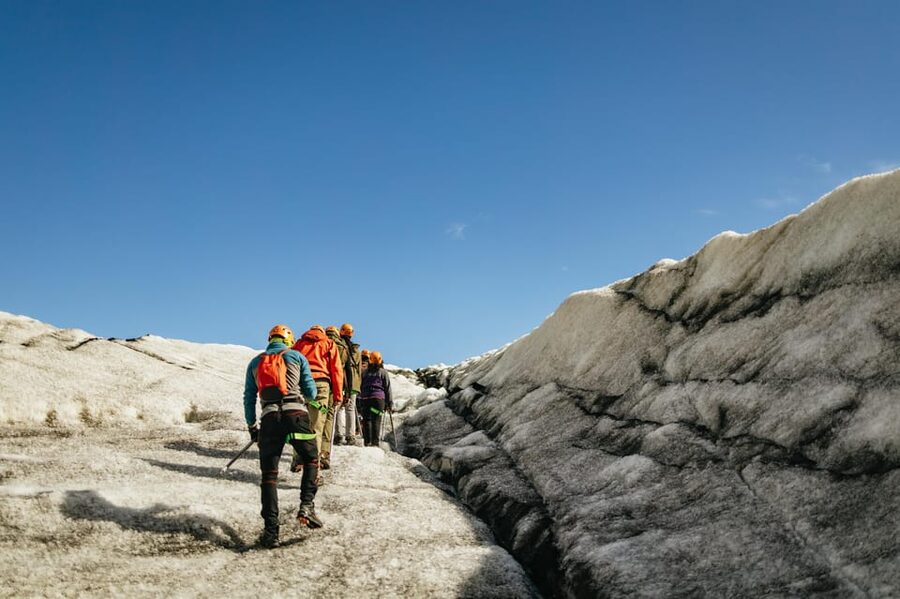
At $122 per person for a 3-hour glacier hike, the value is in what’s included.
You’re not just paying for a guide. You’re paying for:
- a certified glacier guide
- glacier-specific safety gear (helmet, harness, crampons, ice axe)
- instruction on how to use that gear correctly
- coffee and chocolates, which makes the cold feel less punishing
That combination adds up, especially compared to self-guided options. In Iceland, safety equipment and skilled instruction aren’t “nice-to-have.” They’re the difference between a fun memory and a stressful one.
Also, the guides’ handling of groups seems consistent—patience, keeping people together, and building in photo time. That kind of management matters when conditions change and everyone’s footing has to be controlled.
If you’re deciding between skipping a glacier hike or doing one on the Ring Road circuit, this is one of those experiences that justifies the detour. It’s hands-on and visual, and it gives you context for what you’re seeing in Iceland’s south.
What to pack (and what not to assume)
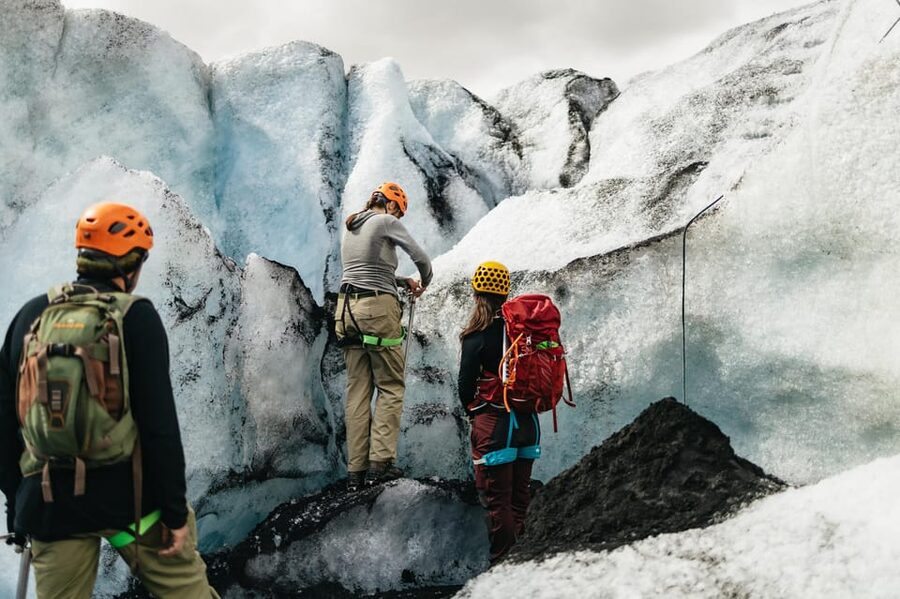
You’ll want:
- warm clothing
- a hat
- hiking shoes
- gloves
A big practical note: hiking boots are not included (they’re available for rent), and rain gear is not included. Iceland weather can swing fast, and wind around glaciers can feel colder than you expect.
If you’re using rental boots, make sure you can tighten them well. Crampons rely on secure fit, and secure fit reduces rubbing and awkward stepping.
Extra tip from real glacier-hike advice: tether your phone to your jacket. On ice, distractions happen fast, and dropping a phone into a crevasse is the kind of mistake that ruins your day.
Who this tour fits best
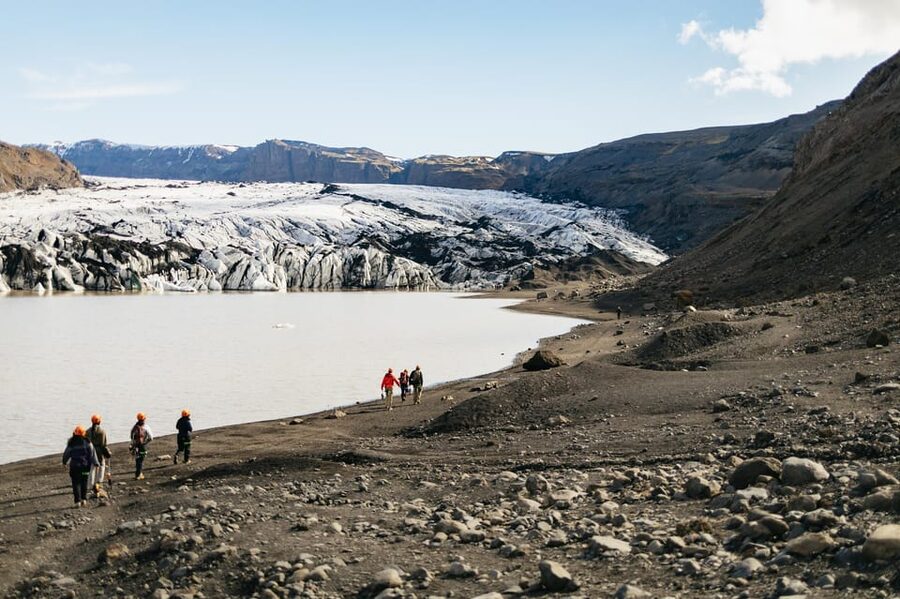
This works well if you:
- want a guided way to experience glaciers without technical climbing
- like learning how natural features form as you move through them
- want a structured experience with safety gear and instruction
It may not be the best fit if you:
- have serious balance issues or fear you can’t handle traction steps
- refuse to dress for cold weather
- hate being limited to guided routes (because glacier safety does restrict wandering)
That said, multiple guide-style stories point to a common outcome: groups feel taken care of at different walking speeds. If you can follow directions and keep your steps steady, you’ll likely be fine.
Should you book this Sólheimajökull glacier hike?
If glacier hiking is on your Iceland list, I’d book this. The biggest reason is simple: you get the safety structure and the gear, plus real guided time on the ice with stops for features. At 3 hours, you get a full “glacier moment” without exhausting your whole day.
Book it if you want:
- a confident first glacier hike
- instruction on crampons and glacier-safe movement
- coffee-and-chocolate comfort built into the trek
- the chance to see moulins, crevasses, and tunnels up close, with guides like João, Edgar, Kevin, and Federico helping set the tone
Skip or rethink it only if you know you can’t handle cold, uneven icy footing, or you’re unprepared to dress warmly. Otherwise, this is one of those Iceland experiences where the payoff hits quickly: the moment you step onto the ice, it stops feeling like a photo stop and starts feeling like a place you’ll talk about for years.
FAQ
Where do I meet for the glacier hike?
You meet at the Sólheimajökull glacier parking lot.
How long is the tour?
The duration is 3 hours.
Is the tour guided and in English?
Yes. It includes a live tour guide, and the tour language is English.
What gear is included?
The tour includes glacier equipment: helmet, harness, crampons, and an ice axe.
Are hiking boots included?
No. Hiking boots are available for rent, but they are not included.
What refreshments are included?
Coffee and chocolates are included during the hike.
Do I need rain gear?
Rain gear is not included, so you’ll want to bring it if weather looks changeable.
What if I need to cancel?
You can cancel up to 24 hours in advance for a full refund.
Do you offer reserve now, pay later?
Yes. You can reserve now and pay later.