REVIEW · VIK
Sólheimajökull Ice Climb and Glacier Hike
Book on GetYourGuide →Operated by Troll .is · Bookable on GetYourGuide
Ice climbing turns fast into a full-body sport. This Sólheimajökull glacier hike and climb pairs a certified glacier guide with hands-on ice technique, plus up-close ice walls, crevasses, and tunnels. It’s also the outlet glacier featured in Chasing Ice, so the whole day has a real-world climate connection, not just scenery.
I especially like how the focus stays practical: you get coaching on crampon and ice-axe basics before you start climbing. I also love the small-group feel (limited to 6), which means more attention on your stance, foot placement, and safety system while you’re on the ice. One drawback to plan for: this is cold, physical work, and you’ll want proper warmth and rain gear—gloves are necessary, and the trip isn’t suitable for children under 12.
In This Review
- Key things to know before you go
- Why Sólheimajökull makes sense for a first ice climb
- The start at the Sólheimajökull parking lot (and why gear matters)
- Safety briefing: where nerves get managed
- The hike toward the glacier: getting your legs ready
- Ice formations, crevasses, and tunnels up close
- Climbing the ice walls: the part your arms remember later
- What’s included (and what you’re still responsible for)
- Group size, language, and the feel of the day
- Price and value: what $241 buys you in real terms
- Who should book this ice climb, and who might skip it
- Quick tips to get the most out of your 4 hours
- Should you book the Sólheimajökull Ice Climb and Glacier Hike?
- FAQ
- Where is the meeting point for the Sólheimajökull glacier tour?
- How long does the experience take?
- What’s included in the price?
- What should I bring and wear?
- Is this tour suitable for children?
- How big is the group?
- What if my plans change?
Key things to know before you go
- Small group (up to 6) means you’re not lost in the crowd once you’re roped up.
- Certified glacier guide + full safety kit: helmet, harness, crampons, ice axe, and ropes.
- Ice climbing basics first: you learn technique before tackling the ice walls.
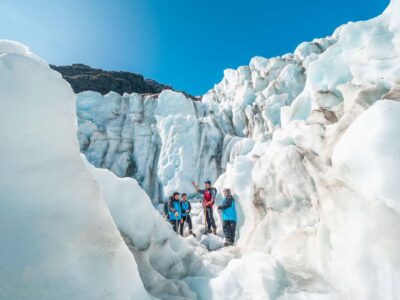
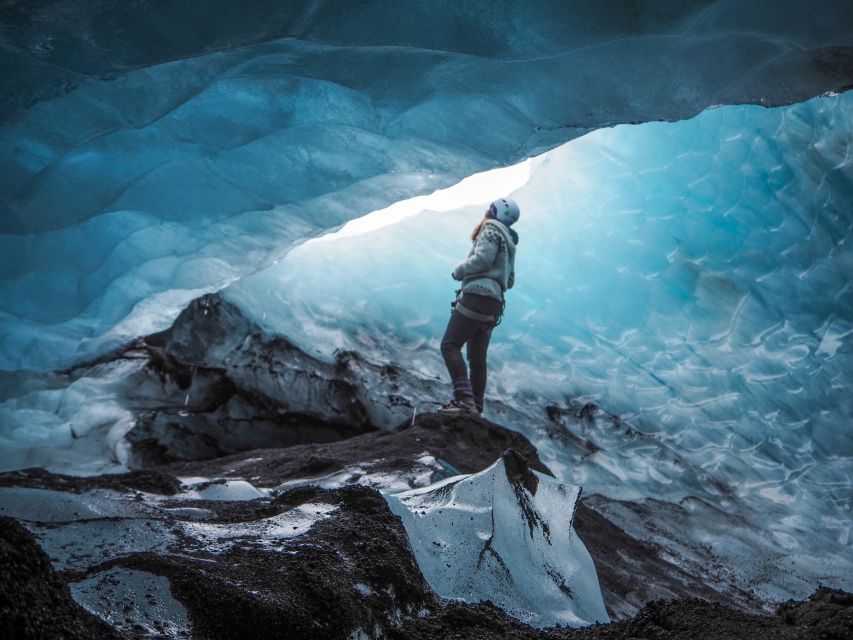
- Close-up glacier features: ice formations, crevasses, and tunnels feel shockingly near.
- Real patience on the ice: guides like Maria, Adam, Nate, Kevin, Hang, and Helki are repeatedly praised for calm, safety-first support.
- Warm-up perk after: coffee and chocolates are included to help you recover.
Why Sólheimajökull makes sense for a first ice climb
Sólheimajökull is an Iceland outlet glacier, and it’s famous for a reason. The ice here is broken, layered, and constantly changing—so even if you’ve seen photos, the real thing has more texture than you expect. You’re not walking on a flat, tidy snowfield. You’re moving through a working piece of ice: dense, uneven, and full of dramatic shapes.
That’s also why it connects with the story from Chasing Ice. When you know this is the same glacier type people raise in climate discussions, your “cool photos” day starts to feel more grounded. You’re learning how glaciers form and why they shift, while you’re literally stepping on the evidence.
You can also read our reviews of more tours and experiences in Vik.
The start at the Sólheimajökull parking lot (and why gear matters)
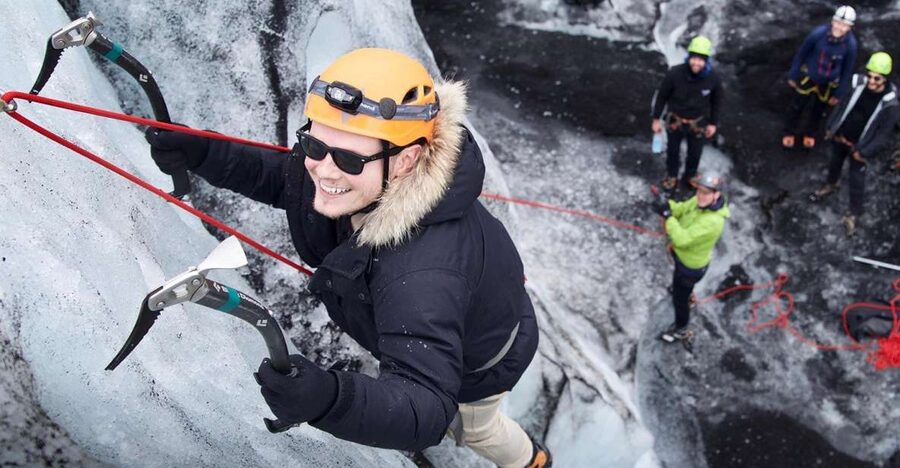
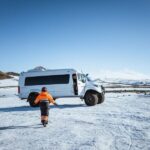
You meet at the Sólheimajökull Glacier parking lot, then head into the day with your guide from Tröll Expeditions Solheimajökull. Expect a setup moment that feels a bit like “winter climbing class,” not “tour bus sightseeing.”
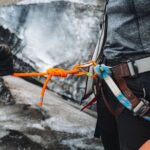
Before anyone climbs, you’ll collect the safety equipment. This is a big part of the value here. Many tours give you boots and a vague briefing. This one gives you the real climbing system: you’ll use crampons for traction, an ice axe for stability, and a harness with rope work under your guide’s control. That gear changes the whole day from risky novelty to structured technique.
Practical note: your guide doesn’t just toss equipment at you. They guide you through how to use it correctly. If you’ve ever tried winter shoes for hiking and thought, this is slick, then you’ll appreciate how much attention goes into getting traction right.
Safety briefing: where nerves get managed
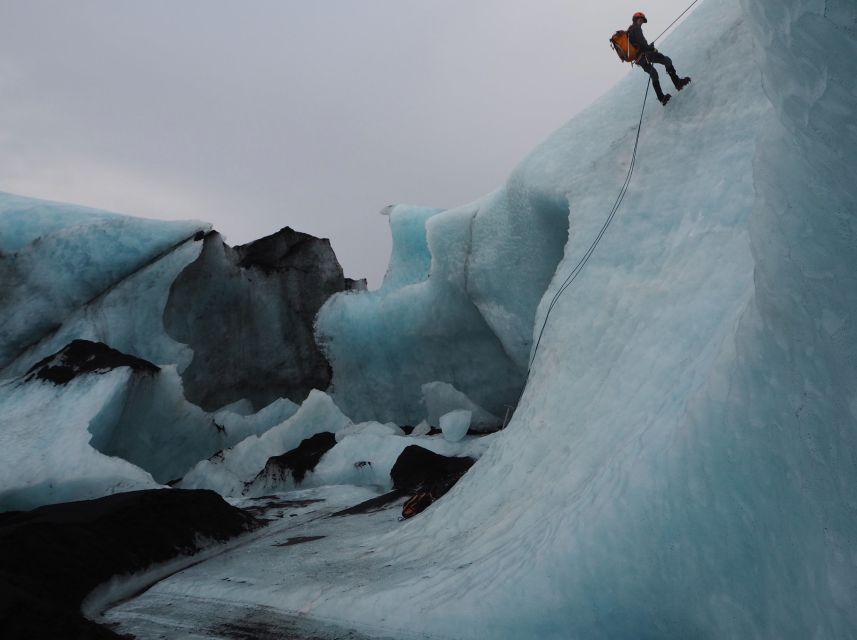
The day includes a safety briefing (about 30 minutes) before you go. This is not a rushed paragraph of rules. It’s the part where you learn how to move on dense ice, how the ice-climbing system works, and what to do if you need to adjust your stance.
This is also where the best part of the guiding shows up. Across multiple groups, guides are praised for being patient and safety conscious, even with people who are nervous or not athletic climbers. If you’re worried about steep exposure, or you’re not sure you can handle the physical demands, the approach here is to slow things down and teach the basics clearly.
Think of this briefing as the difference between stepping onto ice and actually understanding how your body and equipment should work together. Once that clicks, the climb feels less like guesswork and more like a set of steps you can follow.
The hike toward the glacier: getting your legs ready
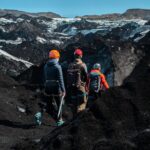
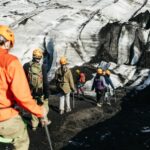
After the briefing, you’ll start hiking toward the glacier itself. This walk phase (about an hour of hiking total, plus shorter stretches) is where you get used to crampons in motion. It’s not just distance. Your feet are learning a new job: find purchase on hard ice, stay balanced, and move with controlled steps.
You’ll likely notice how the glacier environment changes the sound and feel of walking. It’s quieter in a weird way, and every step sounds different on ice compared with snow or rock. That’s normal. Let your pace stay calm. The guides keep the flow steady so you’re not racing ahead before you’re ready.
This part has a downside too: it’s still outdoors the whole time, so cold wind and wet conditions can make you feel slower than you want. Bring layers that trap heat and rain gear that actually blocks drizzle. If you end up damp, you’ll feel it later during the climbing.
Ice formations, crevasses, and tunnels up close
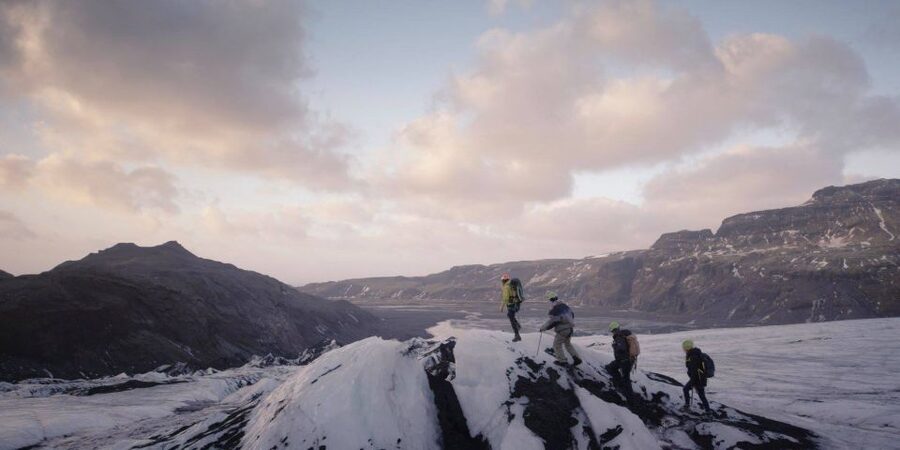
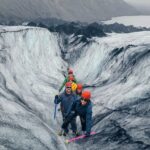
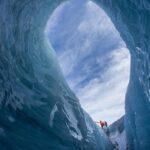
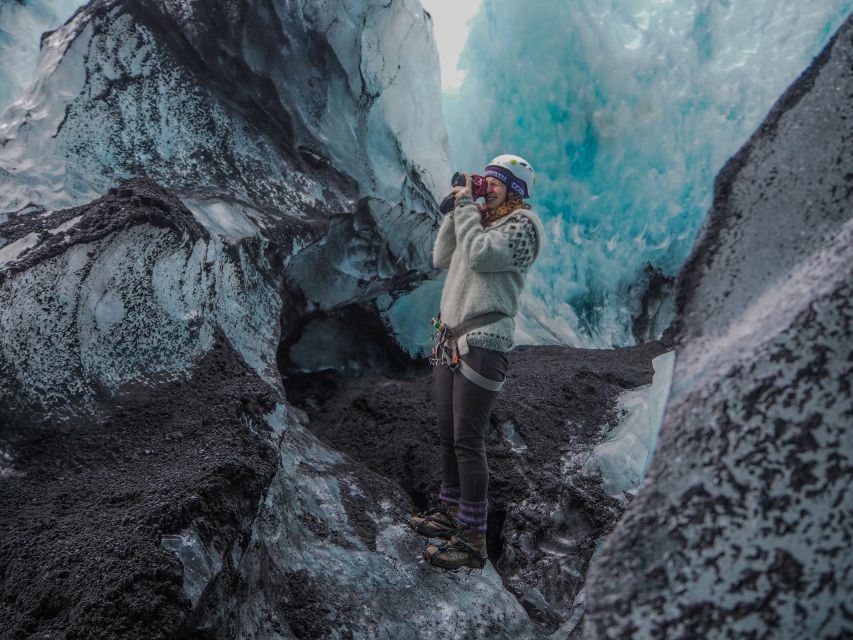
Once you’re on the ice, you’ll spend time seeing the glacier close-up—ice formations, crevasses, and tunnels. Up close, these features don’t look like “background cracks.” They look like architecture made of translucent layers.
That matters because it changes how you experience the climb. When you know where the glacier structure is, you move with more confidence and less panic. You’re not just staring at danger—you’re learning how it fits into glacier formation and how it can shift over time.
Guides also tend to share history and formation details as you move. That turns the hike into more than an action sequence. You start to understand why the glacier looks the way it does and why conditions can change.
Bonus if you’re lucky: some groups have added time to check out an ice cave when conditions and route allow. If that option is available on your date, it can add a very memorable contrast to the open glacier walls.
Climbing the ice walls: the part your arms remember later
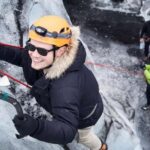
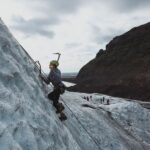
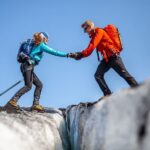
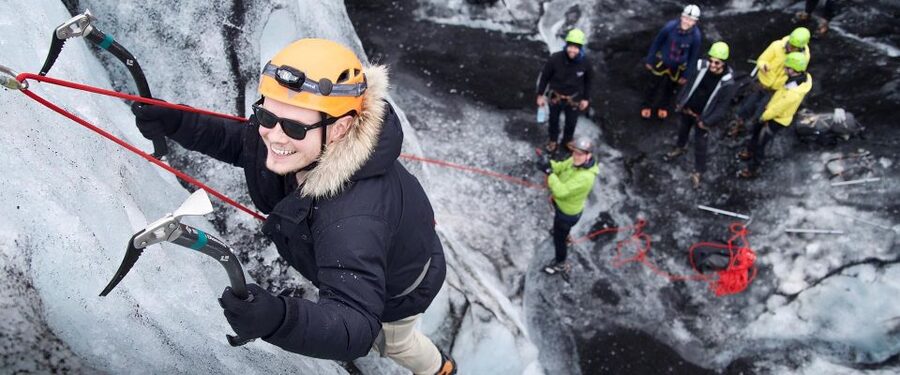
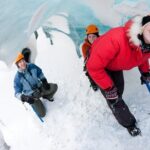
The highlight is the ice climb itself—defying gravity on the Sólheimajökull outlet glacier under safe guidance. This is where the rope system and harness use become real. You’ll follow your guide to a suitable climbing location, then watch them set up the climbing system before you start.
Here’s what to expect physically:
- Your grip matters. Even when you’re not hanging, you’ll use the ice axe for balance.
- Your legs work hard. Crampon placement takes focus, and you’ll repeat careful steps.
- Your upper body gets a workout. Ice climbing uses your forearms and shoulders more than you might guess.
The good news: you’re not thrown into the deep end. Multiple guide-led experiences emphasize patience and reassurance, including first-timers. If you can do basic hiking footwork and you listen carefully, you can do the climb. You might not feel strong at the start, but you’ll improve while you’re on the ice.
One more practical thing: photography. Even with safety in mind, guides help people take pictures by finding safe spots to stop. So you don’t have to freeze mid-step just to get a shot.
What’s included (and what you’re still responsible for)
This trip includes a lot of the expensive, safety-critical stuff. For $241 per person, you get:
- A certified glacier guide
- Climbing boots
- Glacier equipment: helmet, harness, crampons, ice axe, and ropes
- Coffee and chocolates
That inclusion is key value. You’re paying for expert setup and for equipment that you really don’t want to improvise. Crampons and ropes aren’t “nice-to-haves.” They’re the difference between a controlled climb and a risky one.
What you bring is where people often underpack:
- Warm clothing
- Rain gear
- Hiking shoes (even though climbing boots are provided, your footwear and layers still matter)
- Gloves are necessary to protect your hands
If you only remember one thing: gloves. Cold hands ruin focus fast. If your gloves aren’t warm enough for icy metal and wet conditions, your hands will tell you before your brain does.
Group size, language, and the feel of the day
This is a small-group tour limited to 6 participants. That matters more than it sounds. On ice, space is safety. Small groups mean:
- Easier management of rope systems and climbing lines
- More time for the guide to correct your stance
- Less waiting around while the group figures out crampon steps
The guide is English speaking, and that’s important for safety explanations. Clear language helps you understand instructions quickly, especially when you’re learning a new physical skill.
The overall vibe is hands-on and focused. You’ll move from walking to climbing without the long, boring gaps you get on some outdoor tours. Expect a “do stuff” day, not a sit-and-watch day.
Price and value: what $241 buys you in real terms
$241 for 4 hours can feel steep if you compare it to a standard nature walk. But ice climbing isn’t a casual activity. You’re paying for:
- Specialized instruction from a certified glacier guide
- Technical safety gear (harness, ropes, crampons, helmet)
- Time spent setting up climbing systems and supervising each move
You also get included recovery: coffee and chocolates, which is a small thing until you’ve been chilled and working hard. That added comfort helps you enjoy the rest of your day.
If you’re the type who likes to learn rather than just pose for photos, this price starts to make sense. You’re not only seeing the glacier. You’re learning how to approach it safely and how to move on it.
Who should book this ice climb, and who might skip it
You’ll probably love this tour if you:
- Want a real skill-based glacier experience, not just a scenic walk
- Enjoy structured instruction and clear safety coaching
- Prefer a small group and direct guide attention
It’s also a good fit for first-timers. The feedback pattern around guides being patient and reassuring suggests beginners can do well as long as they follow instructions and take the climb seriously.
Consider skipping if:
- You’re traveling with children under 12 (the trip isn’t suitable)
- You’re not ready for cold, damp conditions and physical effort
- You’re the kind of traveler who needs a totally low-stress pace on challenging terrain
If you’re worried about heights, know that nervous climbers have managed the climb with careful support. Still, you should be honest with yourself about whether the environment and the climbing motions are comfortable for you.
Quick tips to get the most out of your 4 hours
A few small things can make this day feel smoother:
- Wear warm, layered clothing and bring rain gear that blocks wind-driven drizzle.
- Use the right gloves. Cold hands make every step harder.
- Move at the pace your guide sets. Ice punishes rushed steps.
- Ask for reassurance if you’re uncertain. The guiding style here is built around patience and safety.
- Take a moment to enjoy the glacier textures and ice features while you’re moving between climbs. Once you start focusing only on the next step, you can miss how incredible it looks.
Should you book the Sólheimajökull Ice Climb and Glacier Hike?
If you want Iceland that’s active and genuinely memorable, this is a strong pick. You get certified instruction, a real ice climb with safety systems, and up-close glacier geology in a tight 4-hour window. The small-group limit keeps it personal, and the guides have a reputation for calm, patient support for people who are new to ice climbing.
I’d book it if:
- You’re excited to learn technique on real glacier ice
- You’re comfortable getting a bit cold and working your muscles
- You’re traveling without kids under 12
I’d pause if:
- You’re not willing to dress for harsh weather
- You don’t like physically demanding activities, even when guided
FAQ
Where is the meeting point for the Sólheimajökull glacier tour?
You meet at the Sólheimajökull Glacier parking lot.
How long does the experience take?
The duration is 4 hours.
What’s included in the price?
A certified glacier guide, climbing boots, glacier equipment (helmet, harness, crampons, ice axe, and ropes), plus coffee and chocolates are included.
What should I bring and wear?
Bring warm clothing, hiking shoes, rain gear, and gloves (gloves are necessary). You’ll also want clothing that works in wet, cold conditions.
Is this tour suitable for children?
No. It’s not suitable for children under 12 years old.
How big is the group?
It’s a small group limited to 6 participants.
What if my plans change?
You can cancel up to 24 hours in advance for a full refund, and you can reserve now and pay later.