REVIEW · VIK
Vik: Guided Glacier Hike on Sólheimajökull
Book on GetYourGuide →Operated by David The Guide Iceland · Bookable on GetYourGuide
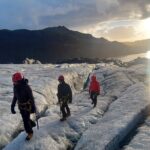
Walking on Sólheimajökull feels unreal. This guided glacier hike climbs over Sólheimajökull’s icy surface with crampons, harness, and an ice axe, plus plenty of time to look, learn, and take photos.
I especially like the way the tour turns a scary word like glacier into something practical. You’re set up with proper gear, coached step-by-step, and guided around the glacier’s murky edges before you hit the snowy walking zone.
One thing to plan for: you’ll need hiking boots (athletic sneakers usually won’t fit the crampons), and the conditions can get cold or wet fast.
In This Review
- Key things to know before you lace up crampons
- From Vik to the ice: how the 3-hour timing works
- Meeting Solheimajökull base camp: where to find your guide
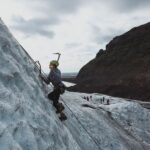
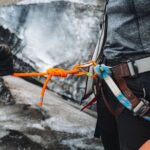
- Gear up right: harness, helmet, crampons, and ice axe
- The first walk: from the edge to the snowy glacier surface
- What you’ll see on Sólheimajökull: blue ice, black ash, crevasses, and caves
- Glacier water on the move: where that fresh drink comes from
- Views that earn your photos: mountains, Westman Islands, black sands, and lava
- Learning without lecturing: how guides teach glacier basics
- Pace, group size, and why “steady” matters on ice
- Price and value: what $120 buys you (and what it doesn’t)
- What to wear when the weather turns: warm, waterproof, and practical
- Who this glacier hike fits best (and who should skip)
- Should you book Vik: Guided Glacier Hike on Sólheimajökull?
- FAQ
- How long is the glacier hike on Sólheimajökull?
- Where do I meet for the tour?
- What language is the tour guide?
- What gear is included, and do I need to bring anything?
- What should I wear so the crampons fit properly?
- Is this hike technical or beginner-friendly?
- Can I drink glacier water during the hike?
- Are snacks or beverages included?
- Who is the tour not suitable for?
- What is the cancellation option if plans change?
Key things to know before you lace up crampons
- Non-technical glacier hike with a guided route that focuses on safe footing
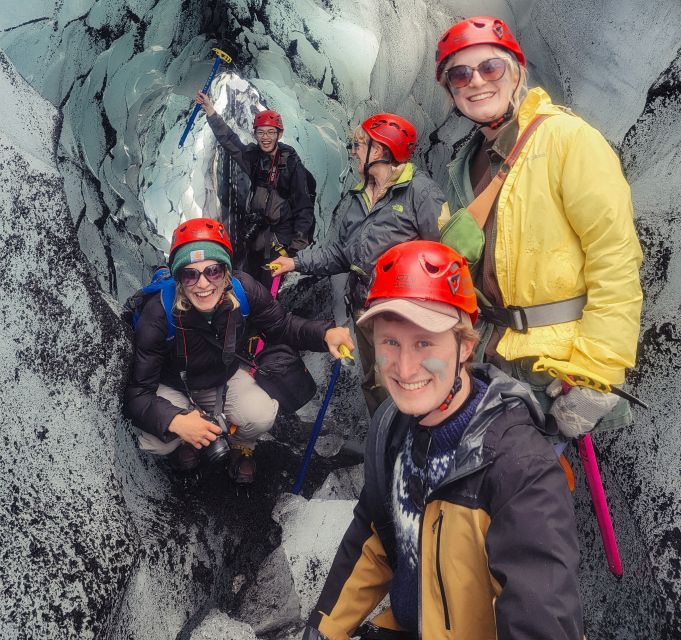
- Full safety gear included: harness, helmet, crampons, and an ice axe
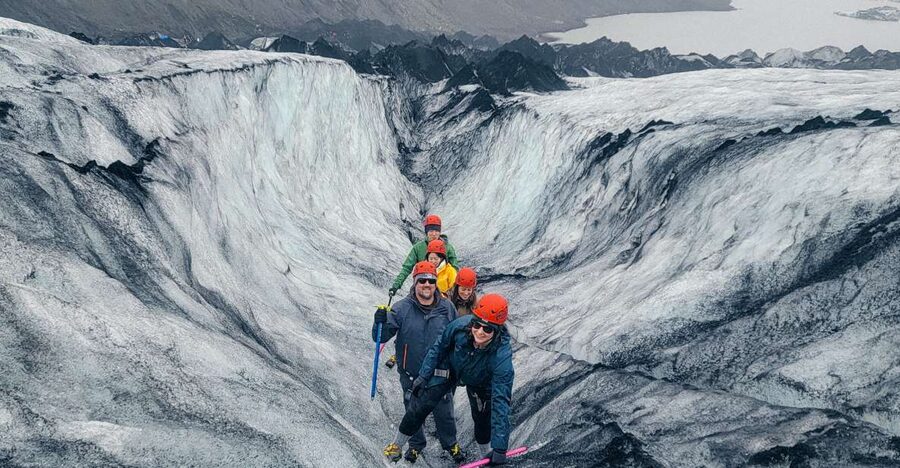
- Strong photo opportunities at glacier walls, crevasses, and viewpoints
- Refill glacier water from melt streams when conditions allow
- Guides make it feel doable, with clear instructions and patient coaching
- Ice caves can be part of the experience when access and conditions work out
From Vik to the ice: how the 3-hour timing works
This is a short tour in the best way. You’re not signing up for an all-day expedition—you’re getting a focused slice of Southern Iceland’s glacial world.
The action starts at the Solheimajökull base area near the Ring Road, just by Vik. You should plan to arrive early (the tour asks for 20 minutes ahead) so you can get your gear on without feeling rushed. That matters because glacier hiking is one of those activities where being calm from minute one makes everything easier.
Once you’re geared up, you’ll move at a steady pace. The goal isn’t speed. It’s time on the ice: enough walking to feel the environment, plus stop-and-look moments so the glacier doesn’t just become “cold feet and shadows.”
You can also read our reviews of more tours and experiences in Vik.
Meeting Solheimajökull base camp: where to find your guide
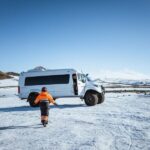
You meet in the parking lot at Solheimajökull Glacier, near Highway 1, with a guide who carries the David the Guide logo on their equipment. If you’ve ever shown up to a meeting point in Iceland and wondered where everyone went, this is where giving yourself extra slack helps.
A couple of small things can make the start smoother:
- Arrive early so you can hear the equipment explanation start-to-finish.
- Watch for the guide’s logo gear, not just people in winter coats.
- If it’s drizzly or foggy, take your time getting oriented; it’s a lot easier than sprinting to catch up.
Gear up right: harness, helmet, crampons, and ice axe
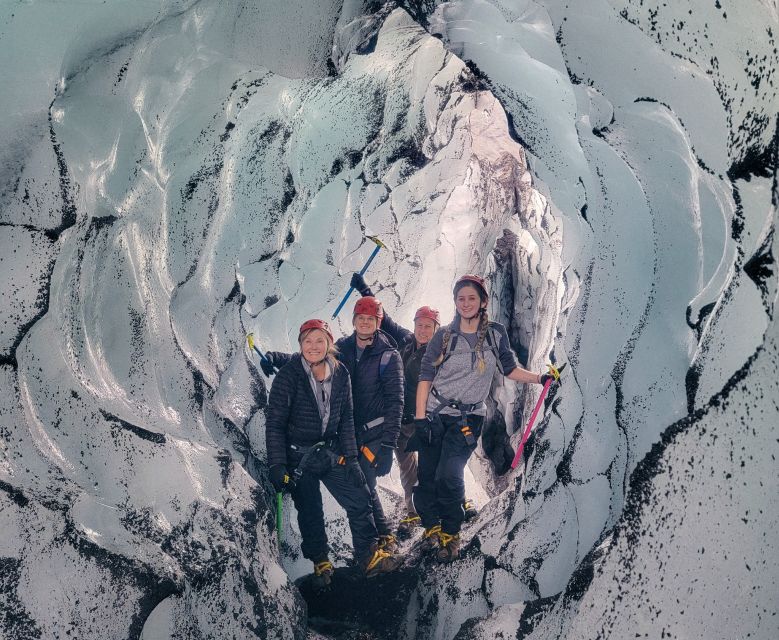
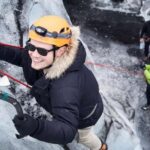
This tour includes safety equipment and a private guide. In plain terms, you’ll be outfitted like someone who’s walking on ice on purpose, not like a tourist hoping for good traction.
Here’s what you can expect during the fit-up:
- Harness put on you before you step onto the glacier
- Helmet for overhead safety
- Crampons attached to your boots for grip
- Ice axe handed over and explained so you know how to use it on uneven ice
The footwear requirement is real. The tour specifically asks for hiking boots, because crampons are made for boot shapes. In a place like this, the difference between “works” and “works safely” is a big deal.
If you don’t have the right boots, the activity provider says boot rental may be available if you contact them ahead. Don’t wait until the last minute; you want this handled before you’re standing on a cold parking lot in wind.
The first walk: from the edge to the snowy glacier surface
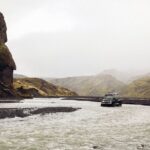
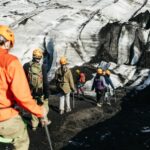
After the gear briefing, your guide leads the group around a murky glacier lagoon area before you reach the glacier’s snow surface. That early stretch is useful. You get comfortable with:
- walking in crampons
- keeping your steps controlled
- using the ice axe appropriately for balance
It’s also your warm-up for the glacier itself. Ice has its own rules. Even on a non-technical route, you’re not just “walking outside”—you’re moving across a changing surface where texture and angles matter.
If the weather is poor, the guide’s job becomes even more important. You’re relying on their route choice and pace so you don’t end up thinking too much and moving too tentatively.
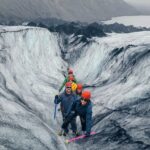
What you’ll see on Sólheimajökull: blue ice, black ash, crevasses, and caves
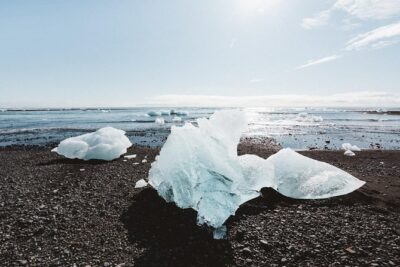
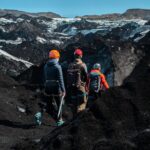
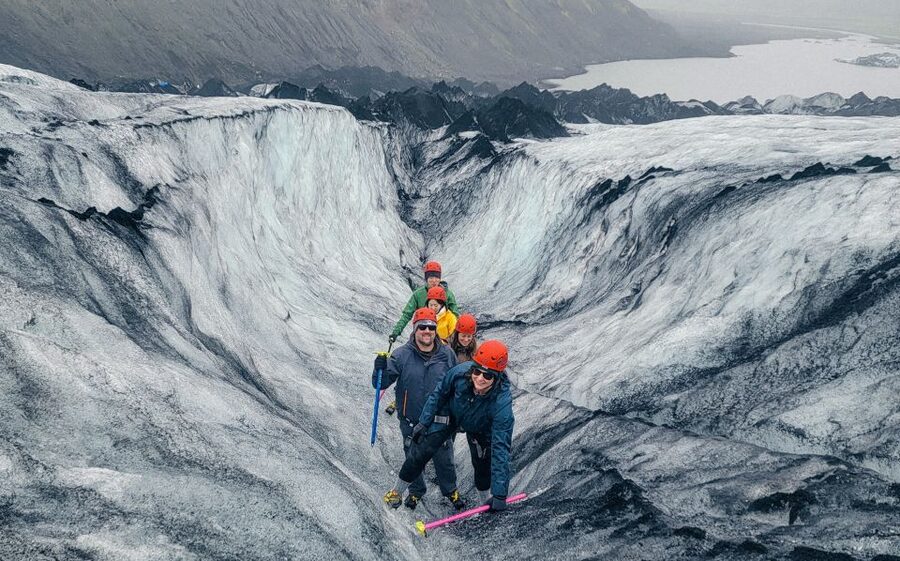
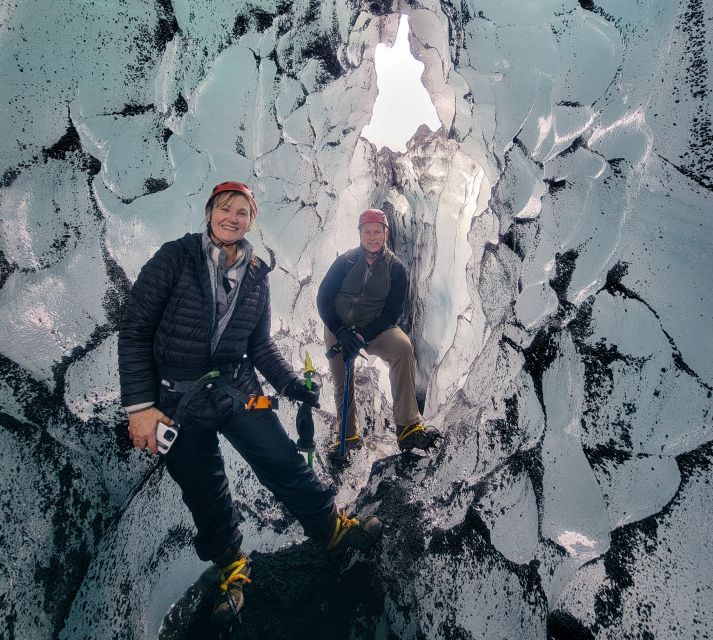
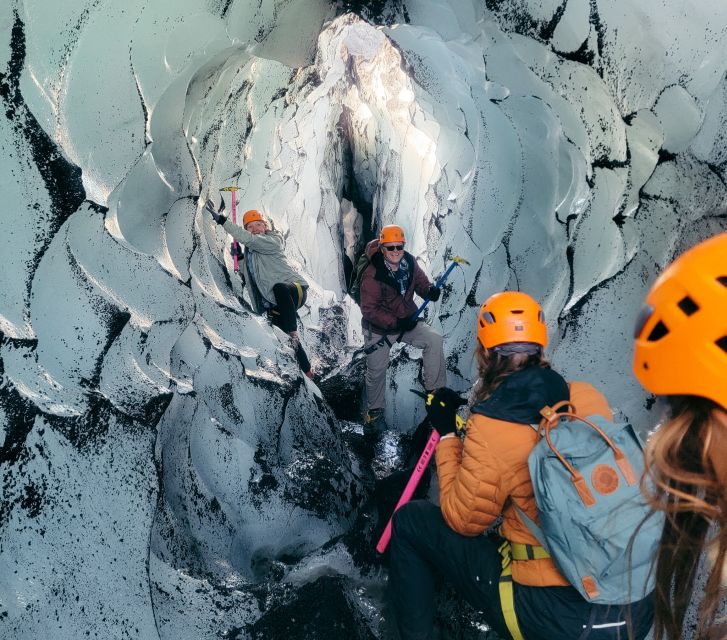
This glacier hike is built around scenery that looks staged, but isn’t. The glacier’s colors can be dramatic: bright blues, untouched white snow, and darker streaks created by black ash from past eruptions.
You’ll also be looking at glacier features that are hard to imagine until you’re standing near them:
- Icicles and glassy ice formations
- Towering ice walls
- Deep crevasses (seen from safe, guided distances)
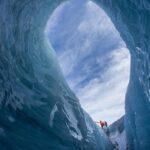
- Ice cave opportunities, which can happen when conditions allow
A few guides get especially praised for finding the right spots to stop for photos—so the hike tends to include multiple “wait, look at that” moments, not just a single viewpoint.
One practical tip: bring your camera mindset. This isn’t a “walk and keep going” hike. You’ll want to pause, check your footing, and take pictures while your guide positions the group safely.
Glacier water on the move: where that fresh drink comes from
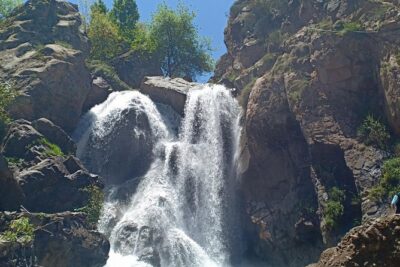
One highlight is the chance to drink glacier water. The hike includes opportunities to refill your water bottle in pure freshwater streams where meltwater runs.
This is more than a cute brag line. In Iceland, water access can be easy when you know where to look. On a glacier hike, the water is part of the glacier story—melted ice becoming liquid you can taste.
Two small cautions:
- Use what your guide tells you is safe and accessible.
- Keep it moving. Once you’re drinking and fiddling with caps, crampons and ice axes get less fun.
Views that earn your photos: mountains, Westman Islands, black sands, and lava
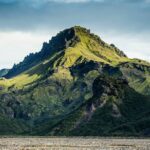
As you ascend, you’ll open up to bigger views if the weather clears. In good visibility, your guide may point out a lot of Southern Iceland’s signature features:
- dramatic mountains
- the Westman Islands
- the black sands of the South Coast
- lava terrain and volcanic textures
Even when clouds roll in, you’ll still get plenty of glacier detail at eye level—ice color, cracks, and walls are worth the trip on their own.
The best part is that your guide doesn’t just say where you are. They explain what you’re looking at and how it forms. That turns “pretty” into “I get why it looks like this.”
Learning without lecturing: how guides teach glacier basics
One of the strongest repeated themes from guides is how they balance safety talk with real explanation. You should expect your guide to cover:
- how glaciers form
- why Iceland is known for glaciers
- dangers glaciers face today
- how you can help protect them
You’ll also get time for questions, and the guides are comfortable answering everything from ice behavior to everyday life in Iceland.
It also helps that many guides are described as calm and attentive in how they manage the group. Names that come up across experiences include Susanna, Elias, Kamila, Agnes, Jesse, Norbert, Jon, Önundur, O’Neal, and O’Neal’s mix of humor and safety-focused pacing. While you can’t pick your guide, it’s a strong sign that the operator leans into coaching, not chaos.
Pace, group size, and why “steady” matters on ice
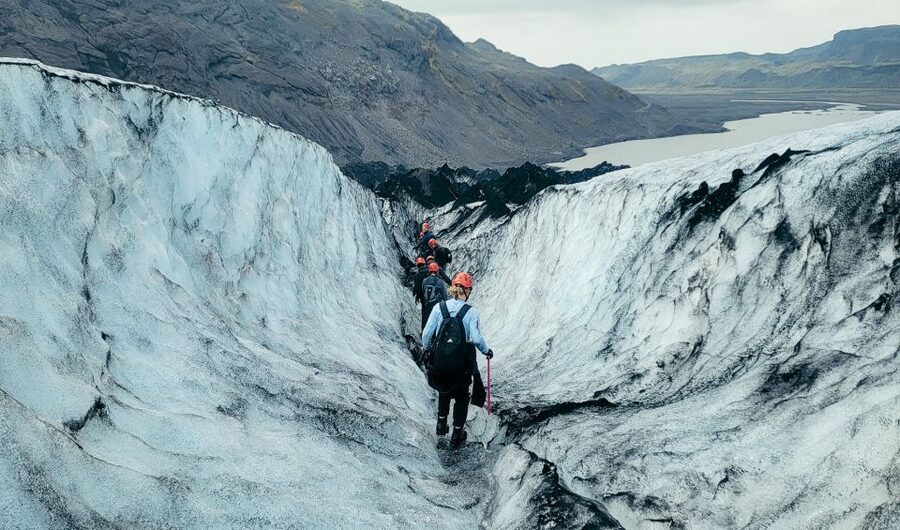
A glacier hike feels physical in a special way. Even if it’s labeled non-technical, you’re still working your balance muscles. Your pace tends to be controlled so everyone can:
- keep footing in crampons
- stop to look
- listen without losing traction
Some groups can be small, and that can make the experience feel more personal. You might also see larger groups (one example called out around 14 people), where crowding on the glacier could reduce how much space you get at each stop.
The upside: guides generally try to spread you out or keep you moving so you’re not stuck behind a line of people. A couple of experiences noted quieter ice time when conditions meant fewer competing groups around you.
Price and value: what $120 buys you (and what it doesn’t)
At around $120 per person for a 3-hour experience, this isn’t cheap, but it’s not outlandish for what you’re getting.
You’re paying for:
- a trained guide who knows glacier routes and safety routines
- complete safety equipment (harness, helmet, crampons, ice axe)
- time on a specific glacier near Vik, with photo stops and teaching
What you aren’t paying for:
- snacks and beverages
- transportation to the meeting location
To get your money’s worth, show up ready to spend your whole 3 hours on the ice, not negotiating gear. Bring the right boots, dress for cold and possible wet weather, and plan to eat or snack before or after the hike.
If you’re trying to choose between a glacier hike and another big “Iceland highlight,” this one earns its place because it gives you something you literally can’t replicate without real equipment and a guide.
What to wear when the weather turns: warm, waterproof, and practical
Glacier hikes live in a world of wind, mist, and wet ice. Even when the tour is only a few hours, you can get cold.
Here’s what the tour data tells you to prioritize:
- Hiking boots required (crucial for crampon fit)
- bring hiking shoes if that’s what you have, but understand the requirement still stands
- dress warm and be ready for wet patches (some experiences note wet conditions in the area)
Also, avoid the mistake of dressing for a “normal hike.” This is cold, reflective, and exposed. Layers help, and waterproof outerwear keeps the day from turning into a shivering exercise.
One more comfort note: if your knees or balance feel touchy, still go, but be honest with your guide during the briefing. Several accounts highlight guides being patient and offering extra help when someone needed it.
Who this glacier hike fits best (and who should skip)
This tour is listed as not suitable for:
- children under 8
- pregnant women
- people with mobility impairments
That makes sense on a traction-based route with harness gear and crampons. It’s not designed for accessibility needs.
It’s a good fit if you want:
- an intro-friendly glacier hike that isn’t described as technical
- strong photo opportunities with real glacier features
- a guide who teaches while still moving at a comfortable pace
It’s also a smart pick if you’re short on time but still want an experience that feels truly “Iceland.”
Should you book Vik: Guided Glacier Hike on Sólheimajökull?
Book it if you want a hands-on glacier experience near Vik with gear provided, a safety-first guide, and enough time on the ice to actually enjoy the ice textures, crevasse scenery, and big views when weather cooperates.
Skip it or think twice if you don’t have the right hiking boots, you can’t handle cold/wet conditions, or you fall into the listed groups who the tour says aren’t suitable (like under-8 kids, pregnancy, or mobility limitations).
If you’re flexible with timing, the operator also offers free cancellation up to 24 hours in advance and a reserve-now/pay-later option, which is useful when Iceland weather is doing its own thing.
FAQ
How long is the glacier hike on Sólheimajökull?
The tour duration is 3 hours.
Where do I meet for the tour?
Meet in the parking lot at Solheimajökull Glacier, near Ring Road (Highway 1), just off the highway near Vik. Your guide will have the David the Guide logo on their gear.
What language is the tour guide?
The guide provides the tour in English.
What gear is included, and do I need to bring anything?
Safety equipment is included, including a private guide and safety gear. You should bring hiking boots (hiking shoes are mentioned, but the tour requires boots for crampon fit).
What should I wear so the crampons fit properly?
Hiking boots are required because crampons need a proper boot fit.
Is this hike technical or beginner-friendly?
It’s described as a non-technical glacier hike.
Can I drink glacier water during the hike?
Yes. You can refill your water bottle in freshwater streams as the ice melts.
Are snacks or beverages included?
No. Snacks and beverages are not included.
Who is the tour not suitable for?
It’s not suitable for children under 8, pregnant women, or people with mobility impairments.
What is the cancellation option if plans change?
You can cancel up to 24 hours in advance for a full refund.