REVIEW · MOAB
Moab: The Windows Astro-Photography and Stargazing Hike
Book on GetYourGuide →Operated by Moab dark sky tours · Bookable on GetYourGuide
A dark-sky hike changes how you see Arches.
This 2-hour stargazing and astro-photography outing takes you away from town light and into the Windows rock formations, where the sky can look unreal. You’ll learn how to photograph what you’re seeing, with time to practice before you reach the area’s star highlight: Double Arch.
I really like the focus on getting usable images, not just spotting stars. The Milky Way can be visible to the naked eye, and your guide helps you capture it with your camera—or your phone—using practical settings and techniques. Another big plus is the small group size (limited to 6), so guides such as Sam and Brandon can slow down, check angles, and help everyone get comfortable fast.
One consideration: this is a real walk (roughly 2 miles) on uneven ground in the dark, and it’s not suitable for kids under 6 or for people with mobility impairments or wheelchair users. Also, if you want a DSLR camera and/or lens, expect an extra rental fee on top of the tour price.
In This Review
- Key takeaways before you go
- Why the Arches Windows are special after dark
- The 2-hour timing and roughly 2-mile hike plan
- What you’ll shoot: Milky Way, arches, and the Double Arch payoff
- Gear provided: red headlamps and tripods that actually help
- Using your phone vs renting a DSLR or lens
- How the guide teaches night photography basics on the move
- Lunar cycles and weather luck: what to expect in different skies
- Navigating the windows area with confidence
- Price and value: is $175 worth it?
- Who this tour suits best (and who should skip)
- What to bring for the best night results
- Should you book this Moab night photography hike?
- FAQ
- Where do I meet for the Moab Windows astro-photography hike?
- How long is the tour, and how much walking is involved?
- Is an Arches National Park entry pass included?
- Can I use my smartphone for photos instead of renting a camera?
- Can I rent a DSLR camera or lens?
- Are pets allowed on this tour?
Key takeaways before you go
- Milky Way first, arch scenery second: you’ll chase both at night, not just one or the other
- Small group pace: limited to 6 participants so you’re not lost in a crowd
- Smart gear support: red LED headlamps and tripods are part of the experience
- Phone-friendly instruction: guides help you shoot great night photos even without a dedicated camera
- Optional DSLR rentals: Canon EF/EFS or Nikon F-mount gear is available for an extra cost
- Practice time matters: you’ll work on settings before the final big-photo stop
Why the Arches Windows are special after dark
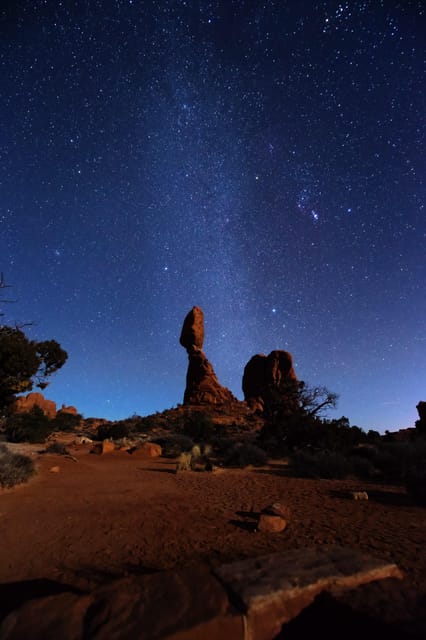
Arches National Park is famous in daylight. At night, it becomes something else. The rock forms act like framing devices, and the sky—far from city glare—takes over as the main event.
The route centers on the Windows area, including the North and South Windows and Turret Arch along the way. In moonlight or starlight, those openings look like architectural cutouts floating in darkness. It’s the kind of scene that makes you stop thinking in terms of photos and start thinking in terms of angles, exposure, and what the camera can reveal that your eyes might miss.
You can also read our reviews of more tours and experiences in Moab.
The 2-hour timing and roughly 2-mile hike plan
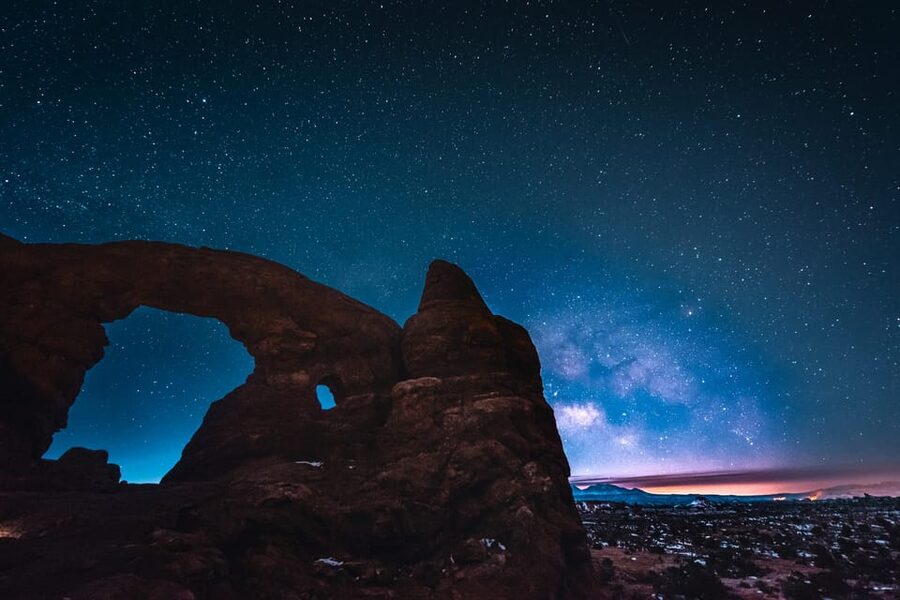
This tour runs about 2 hours and starts after dark at the Windows trailhead. You meet in the Windows parking area, in the first lot on the right. Expect to hike roughly 2 miles, following your guide through a rocky section that feels like a natural obstacle course made of slick-looking stone.
The practical trick here is mental. You’re not just “walking to a view.” You’re walking while setting up shots, taking a few tries, and moving before conditions change. That’s why a guide with a photography background helps—especially when everyone’s fumbling with tripods and trying not to trip over them. (Yes, it happens.)
What you’ll shoot: Milky Way, arches, and the Double Arch payoff
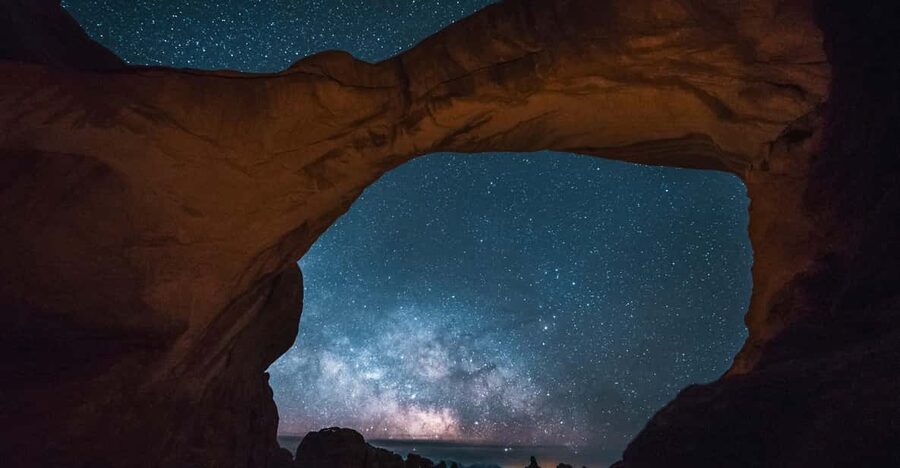
Your goal isn’t only to see stars. It’s to capture them in a way you can actually keep and share later.
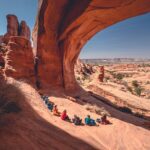
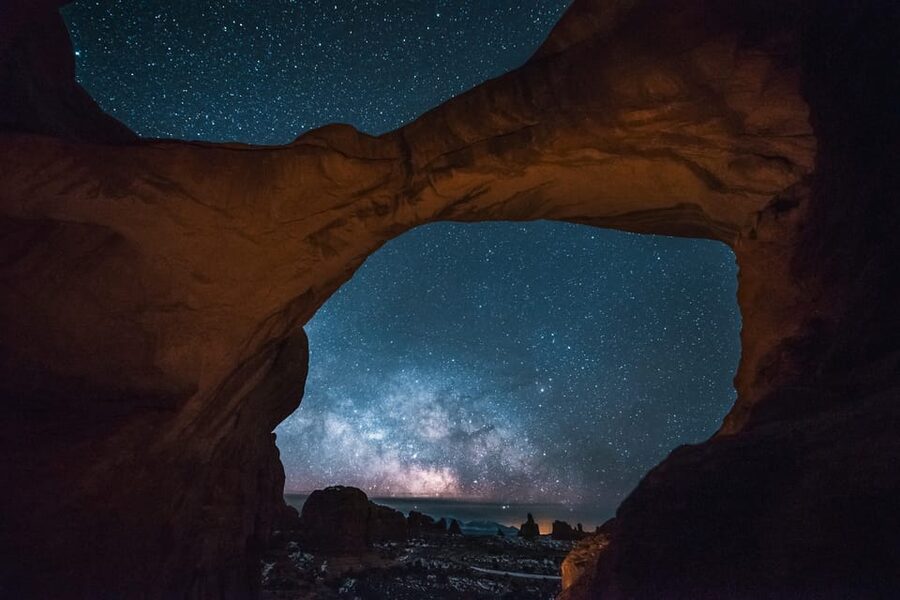
Early on, you’ll set up with your gear and learn the basics of night photography. Then you’ll work your way through the rock garden areas and key viewpoints: first the North and South Windows and Turret Arch, and then the big finish at Double Arch. Double Arch is the moment where the sky and the rock geometry finally sync up, giving you that classic “arch silhouette with stars behind” composition.
Timing helps here too. Night skies don’t wait for your battery to die. The tour structure gives you multiple chances to practice so you don’t show up at the final stop with zero settings confidence.
Gear provided: red headlamps and tripods that actually help
You don’t need to bring a full camera kit to start. The tour includes a guide, a walking tour, red LED headlamps, and tripods (if needed).
That red headlamp detail matters more than you’d think. White light kills night vision and ruins the vibe for everyone. Red LEDs keep you oriented while your eyes stay adapted to the dark. You can move safely, and you can still see enough to frame shots without looking like you’re running a campsite disco.
Tripods are the other key. Long exposure is how you pull detail out of a dark sky. Even if you’re using a phone, having the right setup habits (stable framing, timing, not bumping the device) makes a difference fast.
Using your phone vs renting a DSLR or lens
You can enjoy this tour with a smartphone, and the instruction is designed for that. In fact, guides such as Sam and Brandon have a track record of helping people get better night results using phones, not just fancy cameras.
If you want higher-end images, there’s an optional rental. Before the tour starts, you can request a rental for an additional fee:
- DSLR camera (with Canon EF/EFS and Nikon F mounts)
- DSLR lens (also matching those mount types)
The practical value of renting is simple: you get the right equipment without hauling your own gear across town and risking whether it’s even set up correctly for astrophotography. The tour is built to teach you how to operate your camera in real night conditions, so the rental doesn’t just hand you equipment—it puts it in context.
One small reality check: rental gear helps, but the night sky still rewards patience. You’ll still need to adjust and try again. That’s part of the process.
How the guide teaches night photography basics on the move
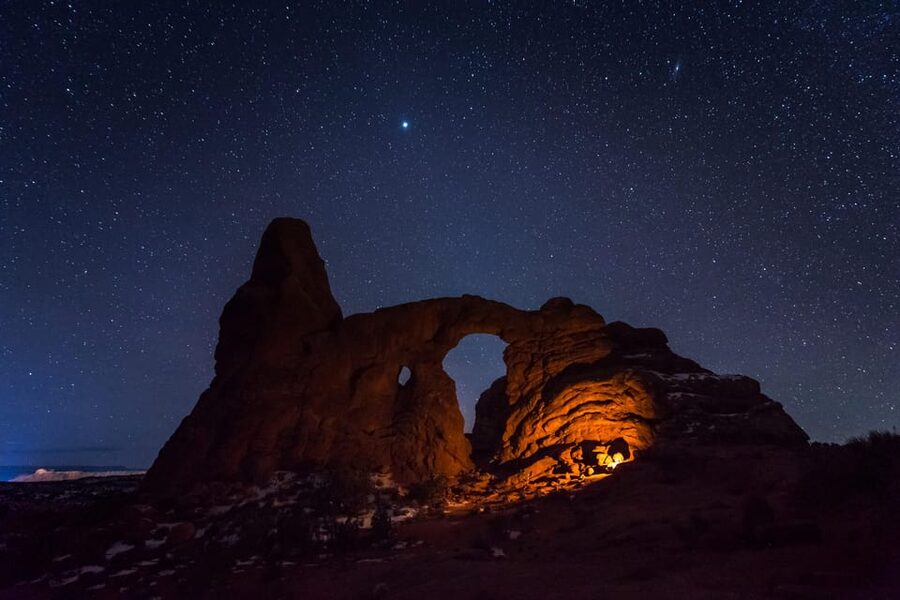
The best thing about this kind of tour isn’t the view alone—it’s the coaching method. Here, your guide helps you understand what matters most for night shots: exposure choices, how to frame arches against stars, and how to avoid common mistakes.
A big theme from the experience is patience. People get help both for camera controls and for phone settings. If you’re the type who freezes when a stranger hands you a tripod, you’ll likely appreciate that the guide works to get your setup right before you burn time at the wrong angle.
Another subtle win: safety guidance. Hiking in the dark means drop-offs and uneven rock become hazards. The guides keep the group moving with clear direction, so you can focus on the sky without worrying about where your feet are landing.
Lunar cycles and weather luck: what to expect in different skies
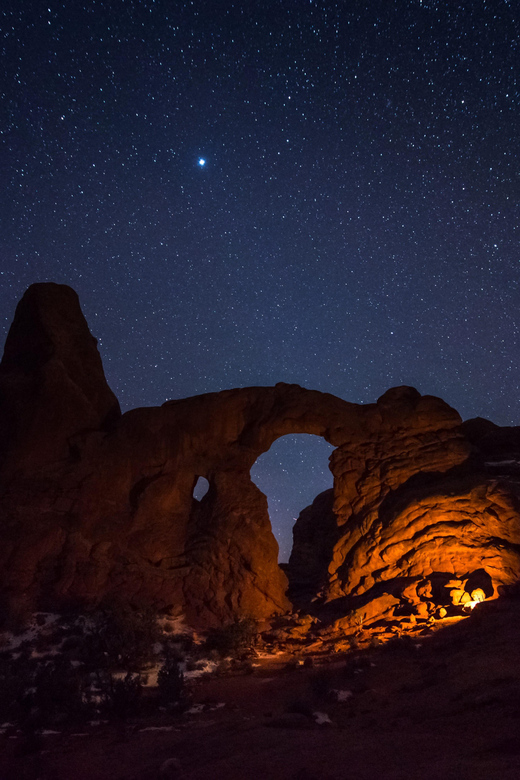
Your results depend on two things you can’t fully control: sky clarity and moon phase.
The tour intentionally works across lunar cycles. You might get better darkness for a classic Milky Way look, but even a full moon can still create a beautiful sky and strong contrast on the arches. One person described a clear night with the northern lights visible—luck is real in the desert.
Keep this in mind: pictures may pick up light that isn’t visible to the naked eye. Your camera might show more stars, faint glow, or details you wouldn’t notice looking up. That doesn’t mean something is wrong with your eyes. It’s what different exposure settings can reveal.
If you specifically want a darker-sky experience, you’ll want to contact the activity provider ahead of time so they can help match the timing. That’s the right move if Milky Way detail is your top goal.
Navigating the windows area with confidence
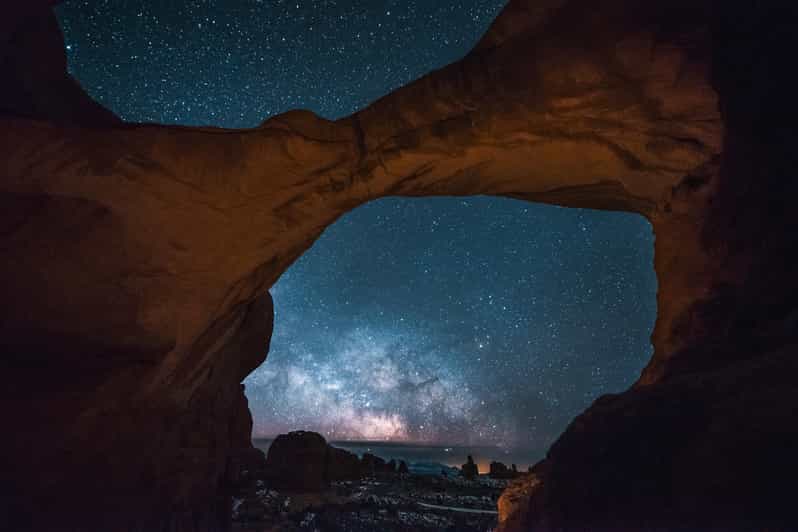
This hike is described as a rock garden treasure trove, which is a polite way of saying the ground isn’t a smooth sidewalk. You’ll be walking at night with a small group, and your guide handles navigation and pacing.
What helps most is that you’re not left to figure it out on your own. You follow the guide through the dark sections and key arch areas, with built-in stops for photography. It’s also why the tour duration stays tight: you get enough time to work on shots without spending the night in one spot.
If you wear hiking shoes, you’re already doing the smart thing. Bring water and plan for short breaks to reset your tripod and camera. Even at night, desert conditions can sneak up on you.
Price and value: is $175 worth it?
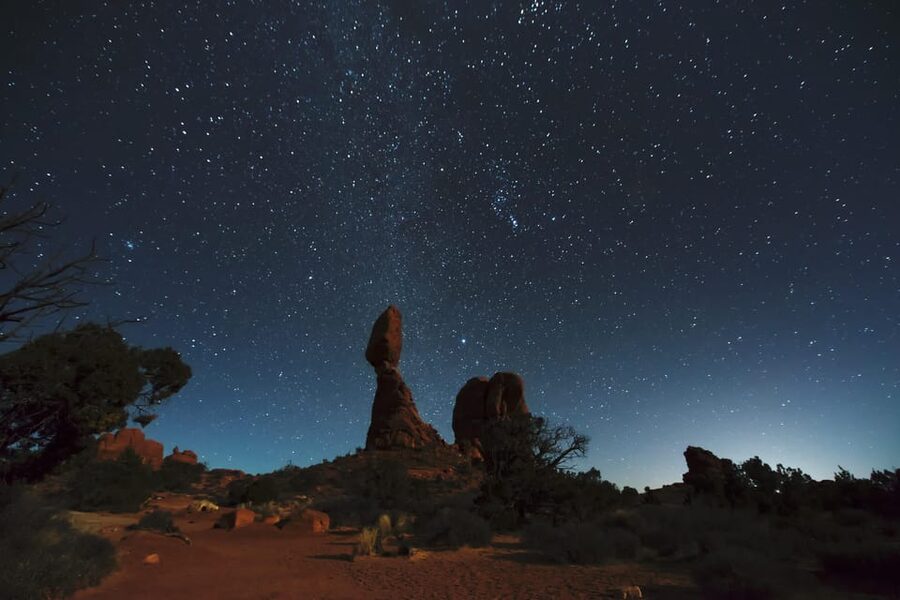
At $175 per person, this isn’t a casual stargazing walk. But when I look at what you get, it reads as value-focused.
You pay for:
- a live guide who can teach night photography fundamentals
- included red headlamps and tripods (if needed)
- structured time at the best arch stops for composition
- help using either a phone or, if you choose, a rented DSLR camera/lens
If you were to try this solo, you’d still face the same problems: finding a good dark-sky spot, figuring out settings, dealing with tripods at night, and trying to line up arches with your sky framing. Here, you’re buying the shortcut to all that complexity.
The optional DSLR rental is extra, but it’s a flexible add-on for people who want top-notch results without lugging gear. In other words, you can keep the experience simple with your phone—or pay more only if you truly want the upgrade.
Who this tour suits best (and who should skip)
This experience is a strong fit if you want more than a quick star check. You’ll like it if you:
- want to photograph the Milky Way and arches
- enjoy learning camera basics in a practical, hands-on way
- prefer a small group where you can ask questions
- don’t mind hiking about 2 miles on uneven ground at night
It may not be the right fit if you:
- are traveling with pets (pets aren’t allowed)
- need accessibility accommodations for mobility impairments or wheelchair use (not suitable)
- have young kids (not suitable for children under 6)
What to bring for the best night results
Bring what the tour asks for, because night conditions reward preparedness:
- your camera (or smartphone, with a charged battery)
- hiking shoes
- water
- a charged smartphone
Also, treat your phone battery like it’s made of glass. Night photography uses energy fast, especially if you’re previewing and adjusting settings in the dark.
And while the tour includes headlamps and tripods, your comfort matters. Clothing that handles cool desert air helps you stay focused on shooting instead of shivering and rushing.
Should you book this Moab night photography hike?
If your priority is a real dark-sky experience paired with actionable photo instruction, I think this tour is easy to justify. You get the Arches drama—North and South Windows, Turret Arch, and then the payoff at Double Arch—with the tools and coaching to turn what you see into images you’ll keep.
I’d book it if you’re excited about Milky Way shots and you want a guide to help you get the settings right, whether you’re using a phone or renting a DSLR. Skip it if you’re not comfortable with a roughly 2-mile nighttime hike on uneven ground.
FAQ
Where do I meet for the Moab Windows astro-photography hike?
Meet at The Windows parking area in the first parking lot on the right.
How long is the tour, and how much walking is involved?
The tour lasts about 2 hours and involves roughly 2 miles of hiking.
Is an Arches National Park entry pass included?
No. A standard vehicle Arches entry pass is not included and is listed as $30 per standard vehicle.
Can I use my smartphone for photos instead of renting a camera?
Yes. The tour provides guidance for capturing night images, and the included approach works with phones as well as cameras.
Can I rent a DSLR camera or lens?
Yes. You can request a rental (for an additional fee) for a DSLR camera and/or DSLR lens before the start of the tour. The listed mount types are Canon EF/EFS and Nikon F mounts.
Are pets allowed on this tour?
No. Pets are not allowed.