REVIEW · MOAB
Astro-Photo, Hiking and Stargazing Tour in Arches National Park
Book on Viator →Operated by Moab Dark Sky Tours · Bookable on Viator
Stargazing in Arches feels unreal. I love how this tour turns a dark-park stroll into real astro-photo progress, not just looking up, and I also like that the small group size (max 6) keeps the photo coaching personal. You’ll get helped with phone and camera settings, plus the gear to make setups safer and easier.
Your main consideration is that the night setting is less about comfort and more about patience. If you hoped for a big telescope experience, you may feel a bit surprised, and if you’re driving in after dark on your first day in Moab, the roads can feel slow and unfamiliar. Still, the meet-up is close to the trails, which helps you settle in quickly.
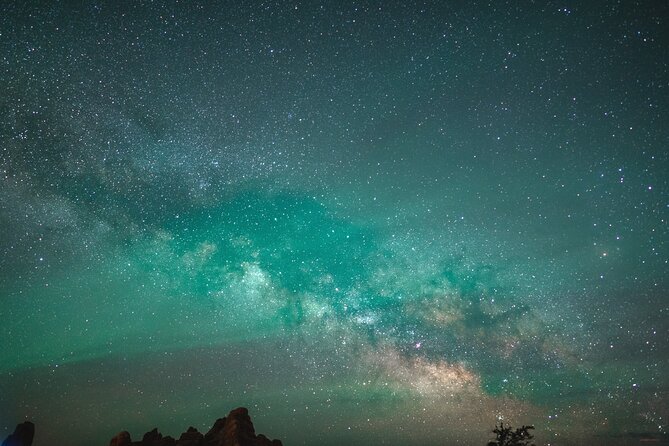
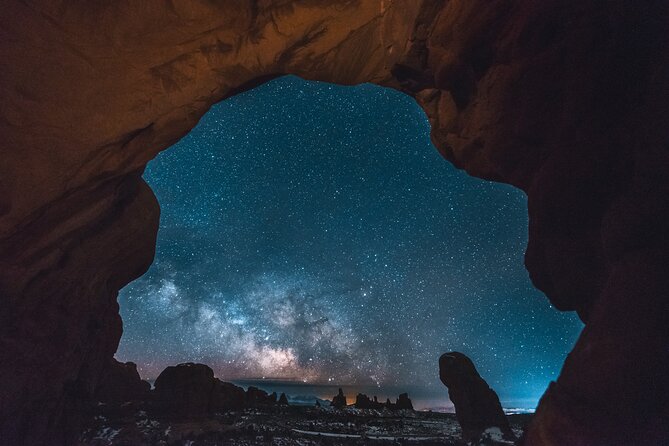
Here’s the good news: Arches is famous in daylight, but it’s a different planet after dark. With the Milky Way overhead and arches acting like natural photo frames, this is the kind of short tour that can change how you remember the park.
In This Review
- Key things that make this tour worth your time
- Arches after dark: why this works (and why it feels different)
- Entering the rock garden near the Windows Section
- Astro-photo gear: what you get and why it matters
- Phone and camera settings: the coaching that makes it click
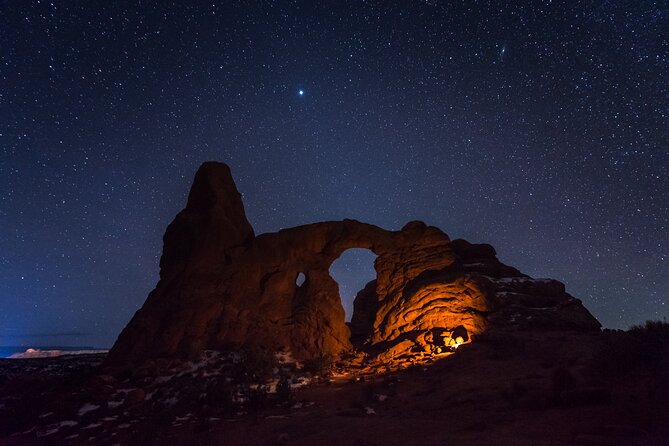
- The big moment: Milky Way + arches acting like picture frames
- Cool night air and zero-crowd advantage
- How long is the tour, and what you’ll be doing most of the time
- Is $175 fair for a two-hour night photo tour?
- Who this tour is best for (and who might prefer something else)
- Practical tips for your night at Arches
- Should you book this Astro-Photo tour?
- FAQ
- How long is the Arches National Park astro-photo, hiking and stargazing tour?
- Where does the tour meet?
- Is the admission ticket included?
- How many people are in the group?
- What equipment will I use for astrophotography?
- Can I participate if I’m not an experienced photographer?
- Will the guide help with phones as well as cameras?
- What language is the tour offered in?
- What happens if weather is bad?
Key things that make this tour worth your time
- Astro-photo focus, not just star spotting: you’ll photograph the sky with guided setup.
- Provided headlamps and tripods: practical tools so you can work safely and steady your shots.
- Small group (max 6): more help per person when you’re adjusting settings or angles.
- Arches as photo frames: the route is built around seeing stars align with iconic rock shapes.
- Guide coaching for phones and cameras: you don’t need an SLR to learn.
- Cool evening temps and dark skies: fewer crowds and better conditions for the Milky Way.
Arches after dark: why this works (and why it feels different)
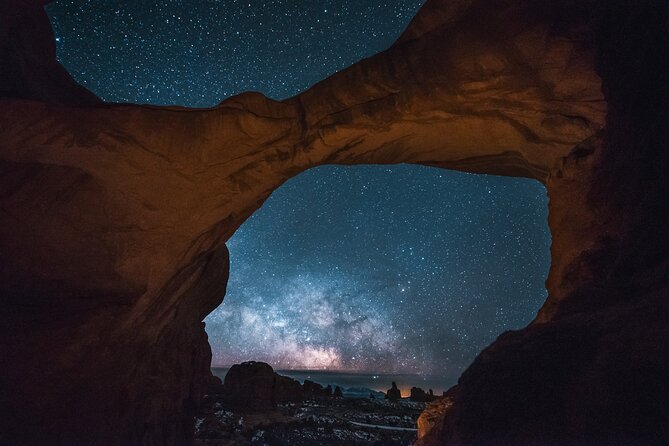
Daytime Arches is all about scale. At night, the park flips the story. Instead of bright sun and big views, you get contrast: sharp rock silhouettes, deep sky, and the Milky Way showing up because you’re far from city lights.
This tour is built around that contrast. You’re not just watching the sky drift by; you’re learning how to capture it while you walk between arch shapes. That combination matters because it keeps your brain engaged. You’re still sightseeing, but you’re also turning what you see into something you can keep.
One reason I like this format is that it respects your limited time. Two hours is long enough to get set up, take photos, and learn something, but short enough that you’re not exhausted by the end. And since you’re starting near the action, you’re spending less time commuting and more time making images.
You can also read our reviews of more tours and experiences in Moab.
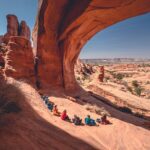
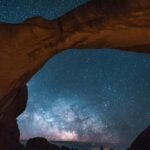
Entering the rock garden near the Windows Section
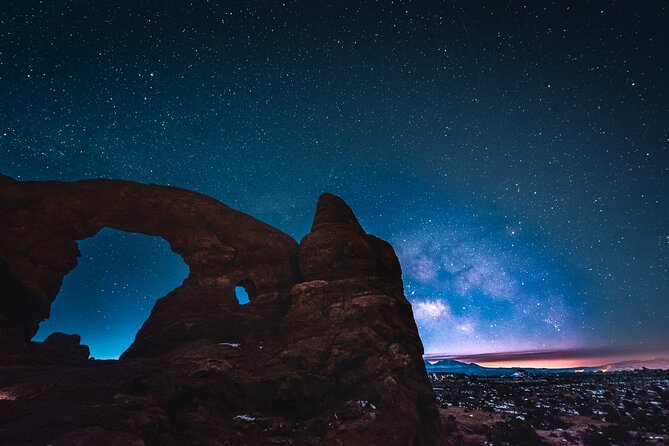
The meet-up is at the Windows Section Parking Lot area, and you’ll end back there too. That’s handy because it reduces the stress of figuring out where you are in the dark. It also means you can focus on the night experience instead of logistics.
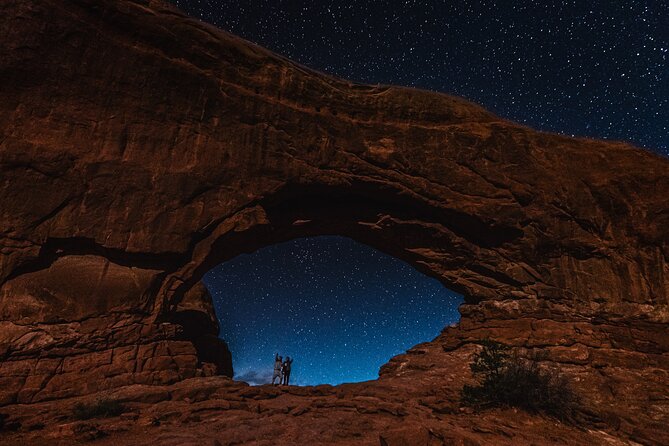
From there, the walk is about moving through a rock garden where arches repeatedly frame different directions of the sky. You’ll pause as the guide points out what you’re seeing and helps you line up shots. The route is designed so you can watch the sky background shift relative to the arches as you reposition.
The other big benefit of a trail-near meeting point: you’re not burning energy on long drives and long walks before you even start photographing. In reviews, people often note how the timing and location made the experience smoother than expected, especially if it’s your first night in the park.
Astro-photo gear: what you get and why it matters
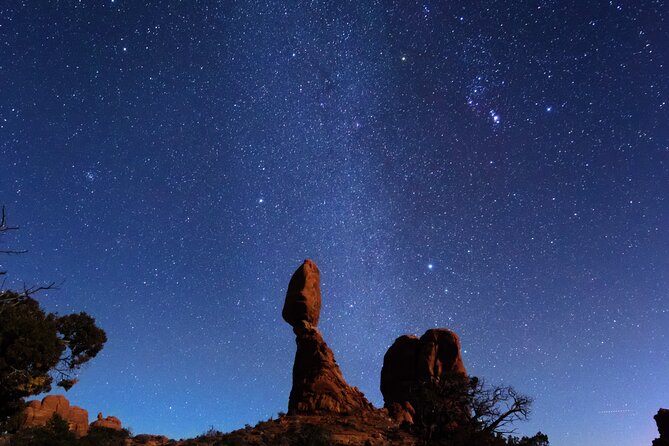
A huge part of the value here is that you’re not left to figure out night photography by trial and error. You’ll use provided equipment—especially headlamps and tripods—so you can both see where you’re going and steady your camera or phone setup.
That safety piece is real. In the dark, you need light that lets you navigate without blasting brightness into everyone else’s eyes. A headlamp gives you control, and tripods keep your framing consistent while you take longer exposures.
The tripod also changes what photos you can realistically pull off. Without one, star images often blur because you can’t hold perfectly still, even when you think you are. With one, you can slow things down, refine composition, and actually improve shot-to-shot.
Phone and camera settings: the coaching that makes it click
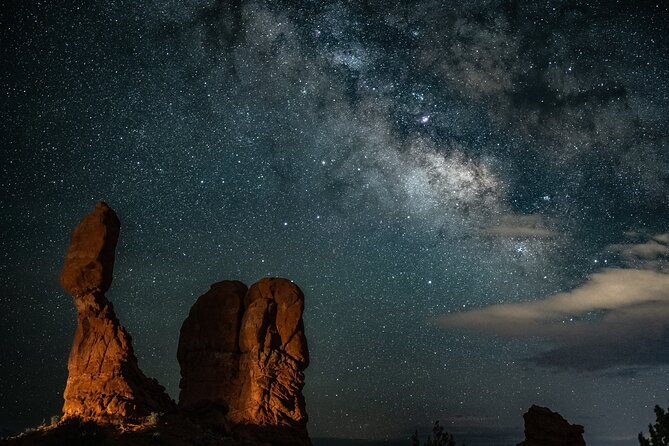
What people love most is the teaching. Guides like Sam and Brandon are described as friendly, engaging, and focused on the details that actually help. You get help with phone and camera settings, which is the difference between getting a few blurry pictures and walking away with Milky Way shots you’re proud of.
If you’re using a phone, the guide’s role is especially important. Phones are limited compared with cameras, but they can still produce great results when you use the right approach (and when you know what to prioritize). Expect the guidance to be practical: where to point, how to stabilize, and how to adjust for night conditions.
If you have a camera, you’ll still benefit. The guide will help you translate what you’re aiming at—arches, constellations, and the Milky Way—into a workable setup. And even if you’re not an expert, the instruction tone is geared toward getting you to a better result quickly.
One small but telling detail from reviews: guides were patient with people who were new to night photography. That matters because frustration is common here. Night shooting isn’t hard because the park is complicated; it’s hard because your setup takes time. Good coaching keeps you moving.
The big moment: Milky Way + arches acting like picture frames
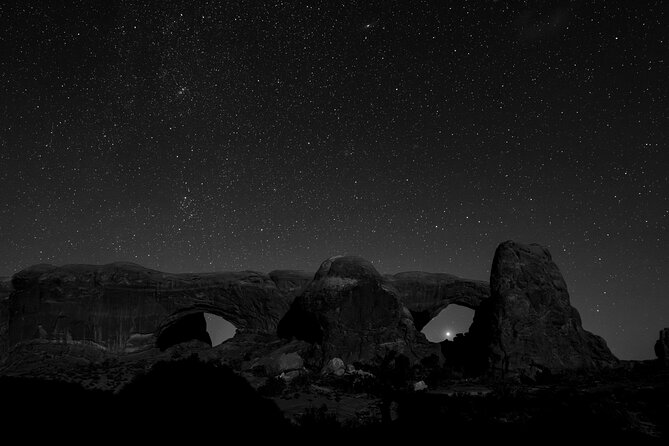
The signature idea of the tour is that you see the sky while you’re surrounded by arches. The guide helps you capture the feeling that the galaxy is moving while you’re navigating the rock formations. That can happen in different ways depending on your camera settings, but the end result is consistent in the best photos: stars appear in a way that makes time and motion visible.
Then comes the composition payoff. As you reposition, arches start to act like natural picture frames. Constellations feel less like a distant concept and more like something you can point to, photograph, and understand.
This is where the “Arches after dark” experience stops being just scenery. It becomes a focused photo walk. You’ll feel the park shift from a monument into a set for night sky photography—because you’re using the arches to shape the view.
Cool night air and zero-crowd advantage
You’ll be out at night, which usually means cooler temperatures. That’s not just comfort; it can help keep your brain alert. A cold evening also makes the dark feel more usable, because your body isn’t overheating while you wait between shots.
Another practical benefit is the crowd factor. Night gives you a quieter Arches experience. That matters for photography. Less foot traffic means fewer interruptions, and it’s easier to set up without constantly moving gear around people.
Also, the fewer crowds vibe is part of why this tour gets such strong ratings. The night sky is sensitive to light and movement, and a calmer park environment helps your photos and your enjoyment.
How long is the tour, and what you’ll be doing most of the time
Expect about 2 hours. Most of that time is spent walking at a comfortable pace, pausing for photo instructions, and shooting. You’ll also get time for learning—how to set up, how to adjust, and how to improve.
In that timeframe, the tour avoids the common problem of night tours that feel like you spend the whole evening waiting to start. Here, you begin close to where you need to be. That keeps the energy up, especially if you’re traveling with kids or you’re not sure how you’ll handle a dark outing.
The group size stays small (up to 6). That affects the whole pace of the tour. You’re not lost in the back while the guide teaches someone else. You get help when you need it, whether it’s lining up a shot or understanding a setting adjustment.
Is $175 fair for a two-hour night photo tour?
At $175 per person for roughly two hours, the price is not bargain-bin. But it can make sense depending on what you want.
Here’s the value equation I used:
- You’re paying for instruction, not just access to a dark place.
- You get provided equipment that removes some of the barriers to night photography.
- You’re going to a location that’s already strong at night, then getting help to frame it well.
- Small group size means more direct coaching per person.
If you already have a full astrophotography kit and you know exactly what settings to use, you might feel like you could learn on your own. But if you’re trying to get good Milky Way photos without a steep learning curve, the guidance is the whole point—and it’s where the cost starts to justify itself.
One review note that balances the mood: some people felt it was pricey and expected a telescope. This tour doesn’t promise that. If you’re imagining a guided viewing experience with specialized astronomy hardware, set that expectation aside and focus on what’s actually delivered: practical star photography with gear and coaching.
Who this tour is best for (and who might prefer something else)
This is a great fit if you:
- Want Milky Way photos and you’d rather learn on-site than read for hours
- Have a phone camera and want help getting better results
- Have your own camera but need help turning settings into real shots
- Prefer a small group with friendly, hands-on teaching
- Like seeing Arches in a completely different mood than daytime
It’s also family-friendly in spirit. One review specifically mentioned Brandon working well with kids, including helping them take a photo of a stuffed yellow belly marmot with the stars. That tells you the guide approach can scale down to shorter attention spans and less experience.
You might think twice if:
- You’re uncomfortable walking and pausing in the dark on uneven ground
- You expect a telescope or a lecture-only astronomy night
- You want a casual, no-effort stargazing session with zero photography focus
Practical tips for your night at Arches
You don’t need to be an astrophotography pro to enjoy this. But you’ll enjoy it more if you show up ready to do a little work.
First, plan clothing for cool evening temps. Even if it feels fine in daylight, the temperature shift at night can catch you off guard.
Second, bring patience for setup and adjustments. Stars and arches don’t line up instantly in your frame. You’ll do some trial and error, then the guide helps you tighten the results.
Third, think about your transportation plan. One review recommendation was to consider having transport to the park site, because driving at night on unfamiliar roads can be challenging—especially on the first day when you’re still learning the area.
Finally, decide early what device you’ll focus on. If you’re using a phone, embrace the phone approach and ask the guide for phone-specific guidance. If you’re using a camera, commit to that workflow so you can get the benefit of tripod stability and settings coaching.
Should you book this Astro-Photo tour?
I’d book it if you want a guided night photography experience at Arches that’s practical, gear-supported, and designed for results. The small group size, the headlamps and tripods, and the phone-and-camera coaching are the core reasons it scores so high.
If you’re mainly chasing a quiet stargazing view with no photography learning, you may find the focus a bit more hands-on than you expected. And if you want telescope-level astronomy, it’s worth aligning your expectations first.
For most visitors, though, this is a smart way to turn a famous park into a night you can remember—and bring home photos that look like you actually tried.
FAQ
How long is the Arches National Park astro-photo, hiking and stargazing tour?
It lasts about 2 hours.
Where does the tour meet?
The meeting point is the Windows Section Parking Lot in Utah 84532, USA.
Is the admission ticket included?
The activity notes admission ticket is free.
How many people are in the group?
The tour has a maximum of 6 travelers.
What equipment will I use for astrophotography?
The tour provides equipment used for photographing the stars, including headlamps and tripods.
Can I participate if I’m not an experienced photographer?
Most travelers can participate. Guides provide help, including support for people who are new to night photography.
Will the guide help with phones as well as cameras?
Yes. The tour includes help with phone and camera settings.
What language is the tour offered in?
The tour is offered in English.
What happens if weather is bad?
The experience requires good weather. If it’s canceled due to poor weather, you’ll be offered a different date or a full refund.