REVIEW · VANCOUVER
Photography, Hiking & Ferry to Bowen Island
Book on Viator →Operated by Nature PhotoHikes · Bookable on Viator
Ferry views plus photo coaching? That’s the setup here. You’ll take a BC Ferries ride to Bowen Island, hike through old-growth forest and waterfall country, and learn how to capture the season’s fall colors with a real photographer guiding you step by step.
I especially like two things about this experience. First, the ferry trip on Howe Sound is gorgeous in a very lived-in way—your “warm-up” for the day comes with real movement, real light, and even a chance of seeing seals near the dock. Second, the hands-on photo instruction is practical: you can borrow a DSLR, learn how to compose and shoot (not just click), and you’ll get complimentary photos from the guide too.
One thing to consider: the tour is only about 6 hours, so if you’re the type who wants long, slow wandering time, you may feel a bit of schedule pressure—especially if you’re eager to linger at every waterfall or overlook.
In This Review
- Quick hits
- Ferry-to-island days that don’t feel like a bus tour
- Horseshoe Bay Terminal: the first photo practice stop
- Snug Cove arrival: wildlife moments and real viewing angles
- Bowen Island Visitor Centre: where the day gets structured
- Killarney Lake area: old-growth forest, waterfalls, and fall color
- DSLR borrowing with Nafees: coaching that sticks
- How a max-6 group keeps you moving (without losing the moment)
- Stops 1 through 5: what each one does for your photos
- Value check: what you’re really paying for at $133.61
- What to bring for a comfy photo hike
- Who this tour is best for
- Should you book? My practical take
- FAQ
- Where does the tour start and end?
- Is pickup available?
- How long is the tour?
- Do I need to bring my own camera?
- What kinds of scenery will I see?
- Is food included?
- How many people are in the group?
Quick hits
- Small group (max 6) with lots of personal coaching instead of vague tips
- Howe Sound ferry ride as part of the fun, not just transportation
- DSLR loan plus guidance for cameras of all types, including phones
- Old-growth forest + waterfalls + wildlife with focus on how to photograph them
- Complimentary photos taken of you at the best spots
Ferry-to-island days that don’t feel like a bus tour
This tour starts where most Vancouver trips end: right on the water. You’ll meet at the corner by WB W Georgia St @ Granville St in downtown, and pickup is available from select downtown hotels or the starting area, so you’re not fighting transit before you even enjoy the view.
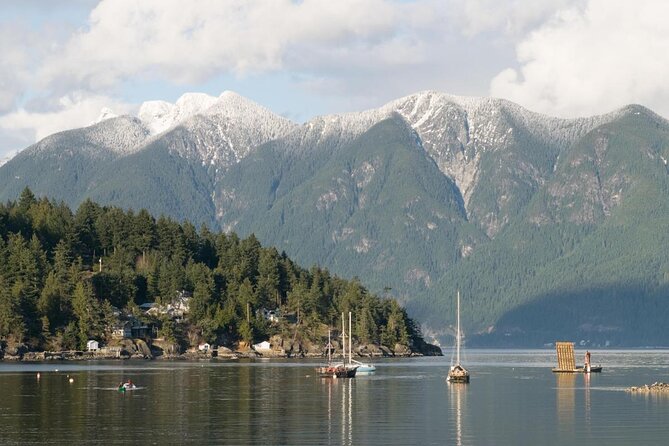
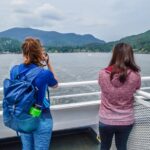
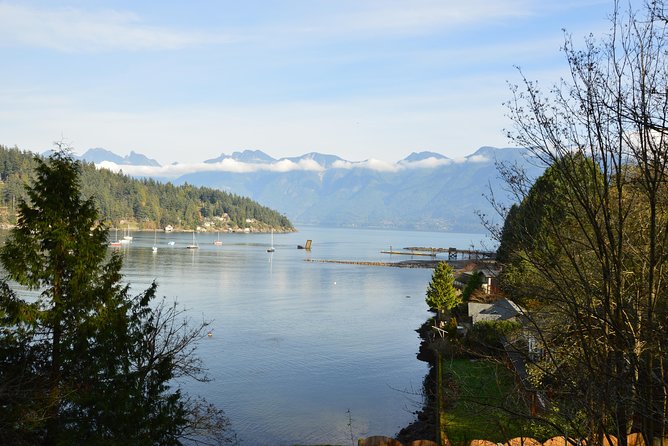
Then comes the part you’ll remember. The ferry crossing to Bowen Island has that special “Canada is big and quiet” feeling. From the deck, Howe Sound stretches out with islands and shoreline framing your shots—great for learning basic framing and exposure without needing perfect conditions. Even if you never plan to use a camera the same way twice, this ferry stretch is still a win.
Practical note: you’ll want to be ready for wind and changing light. Coastal weather can switch fast, and your best photos usually happen when you’re comfortable standing still for a minute or two.
You can also read our reviews of more tours and experiences in Vancouver.
Horseshoe Bay Terminal: the first photo practice stop
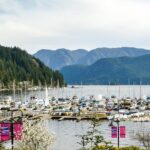
Stop 1 is Horseshoe Bay Ferry Terminal. It’s not just a pickup point—it’s your first chance to get your bearings, test settings, and get a quick sense of how your guide wants you to see the day.
This matters because photography instruction works best when you start with something familiar and move toward tougher scenes. Ferry terminals also give you a mix of textures: metal railings, distant hills, and movement from people and boats. Your guide can help you spot what makes a photo feel intentional: leading lines, simple backgrounds, and placing your subject so the scene tells a story instead of just showing “pretty.”
If you’re borrowing gear (or even if you’re not), this is the moment to ask questions. A tiny adjustment—like switching from auto to a semi-manual approach—can make a big difference once you step into the forest.
Snug Cove arrival: wildlife moments and real viewing angles
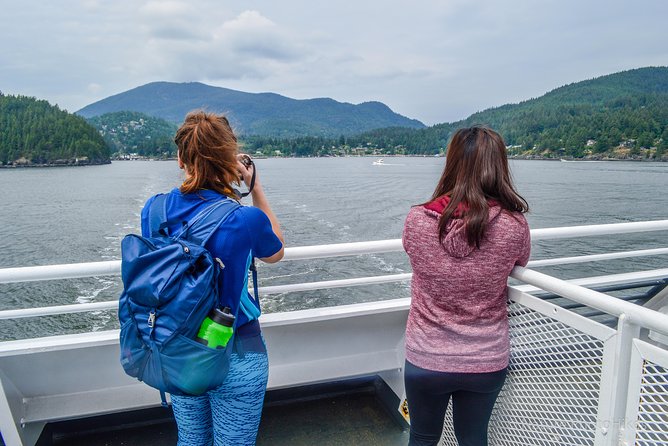
Stop 2 lands at the BC Ferries Bowen Island Snug Cove Terminal. Bowen Island is only about a 20-minute ride from Vancouver, but it feels like you step into a slower rhythm the second you arrive. The air changes. The light changes. And the camera instinct kicks in.
One of the nice bonuses here is wildlife potential. I’d keep an eye out around the ferry area, because seals have been spotted near the dock and sometimes around the island. Even if you don’t catch one, this arrival stop still gives you a classic “first look” angle—harbor views with the shoreline and mountains building depth.
This stop is also good for early “portrait + scenery” compositions. If the guide is taking complimentary photos of you later (and you’ll want those), it helps to start thinking about where you’ll look naturally: toward the water, toward the trees, or toward a cleared path with depth.
Bowen Island Visitor Centre: where the day gets structured
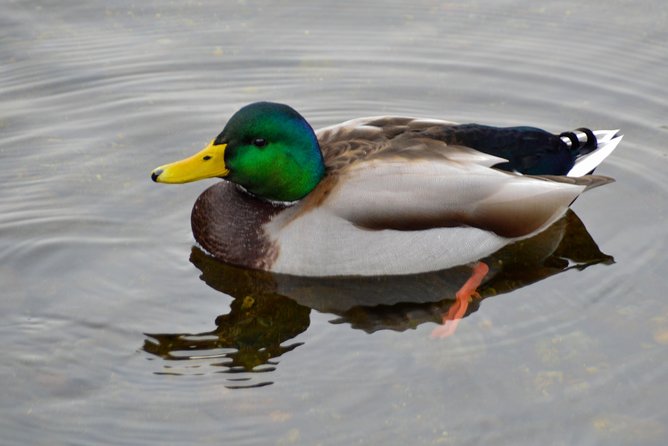
Stop 3 is the Bowen Island Visitor Centre. Think of it as the brain switch before you head into the woods. You get a chance to regroup, get oriented, and reset your plan for the next stretch—what kind of light you’re moving into, where the walk might be easiest, and what to focus on while the scenery does its own thing.
This is also a useful moment if you’re not used to photographing outdoors. Forest and waterfall scenes can feel chaotic fast. A short orientation stop helps you stop chasing everything at once. Instead, you learn to pick a target: a waterfall edge, a framing doorway of branches, or a patch of fallen leaves with texture you can actually highlight.
Stop 5 later brings you back to the Visitor Centre area again, which is handy. You’re not doing a one-way experience that ends with “good luck.” You’ll have a clean checkpoint for regrouping and wrapping up.
Killarney Lake area: old-growth forest, waterfalls, and fall color
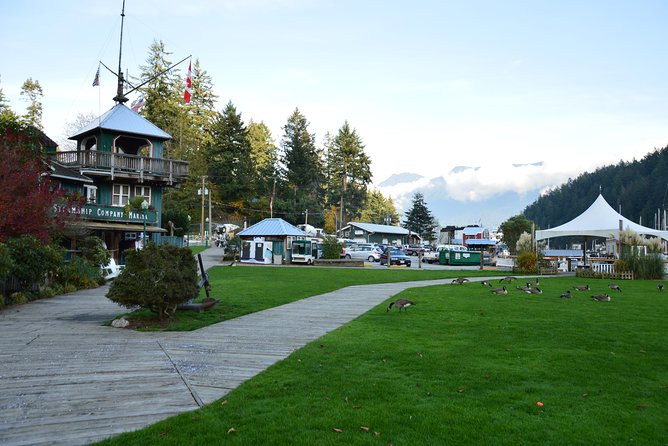
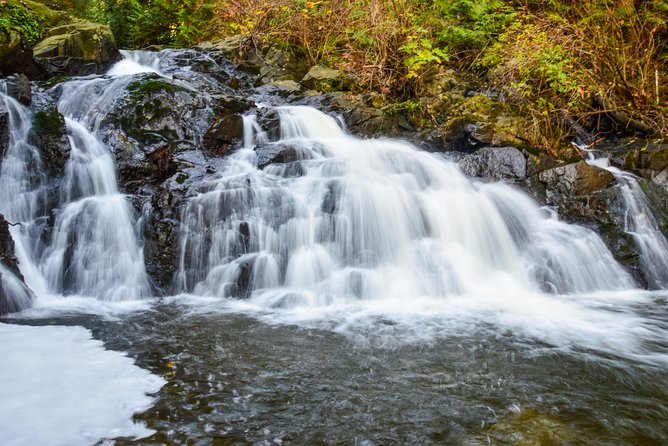
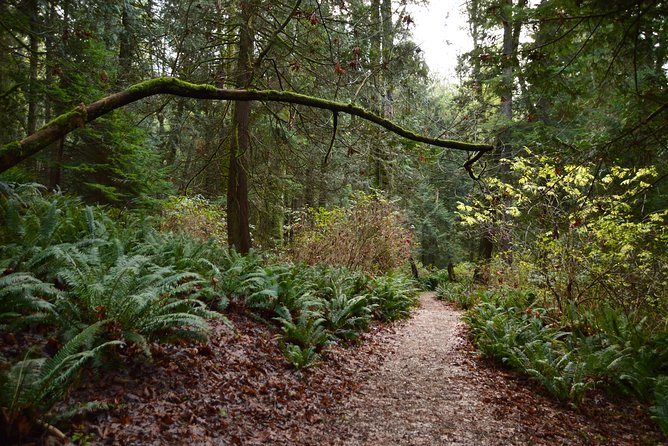
Stop 4 is Killarney Lake Parking, and this is where the tour’s “hike + photo lessons” side takes over. Bowen Island’s older forests and waterfall zones are made for learning. You get layers: bark and moss textures up close, brighter backgrounds farther away, and movement from mist, spray, or falling leaves.
The highlight for many people is fall color and fallen leaves at this time of year. That’s a gift for photographers because you’re dealing with color variety, but also because leaf litter creates natural patterns on the ground. Your guide can help you avoid the common trap of pointing the camera at a pretty tree and hoping it works. Instead, you learn to control what’s sharp, what’s soft, and how to shape the scene with your feet—moving a few steps can turn a cluttered background into a clean one.
What about waterfalls and wildlife? The tour is designed around them, so you’re not just hiking for the sake of steps. You’ll have moments where the guide helps you photograph the water and watch for signs of animals. Coastal forests can be quiet in a way that feels peaceful—but it also means you need patience. If you’re constantly moving, you’ll miss shots. If you’re comfortable pausing, you’ll get better results.
Also, wear real shoes. Forest paths can be damp, especially in shoulder seasons or after rain. Comfort here is part of good photography.
DSLR borrowing with Nafees: coaching that sticks
One of the most valuable parts is the DSLR you can borrow from your guide. This turns the tour into a true practice session instead of a “just follow along” walk. If you already own a DSLR, you’ll still benefit from the guide’s direction because it’s about how you use the camera—not only what camera you bring.
The best part is that instruction isn’t limited to DSLR users. The experience is built so different cameras can work. If you’re using a phone, you’ll still get guidance on composition and basic camera thinking. That means you’ll leave with habits you can use later, even when you’re traveling light.
And yes, the guide takes complimentary photos of you. That matters more than most people expect. When you’re the one behind the lens, you rarely get photos that look like you were part of the day. Here, you get both: you learn to shoot, and you also get images taken of you at strong spots.
Name note: the guide credited across the experience is Nafees (also seen in a few spellings). His teaching style comes through in how people describe the day—focused, practical, and centered on you getting better fast.
How a max-6 group keeps you moving (without losing the moment)
This tour is limited to 6 travelers, and it shows in the pace. With a small group, the guide can pause for your questions, check what your camera is doing, and adjust instruction based on what you’re trying to capture.
Still, you should know the structure is built for a full half-day. The hike is long enough to feel like you left the city, but short enough to finish with time to return and regroup. If your goal is ultra-slow hiking and extended time at every single waterfall, you might wish the day stretched longer.
For most people, that balance works. You get multiple “photo teaching moments” instead of one long lesson and a rushed ending. And if weather shifts, the guide adapts, since the tour runs in all weather and asks you to dress appropriately.
Stops 1 through 5: what each one does for your photos
Here’s the simple way to think about it: the route is designed to teach you how to handle different kinds of scenes.
- Horseshoe Bay Terminal (Stop 1): practice framing and settings in open light with movement.
- Snug Cove Terminal (Stop 2): quick “arrive and shoot” angles—harbor views and possible wildlife moments.
- Visitor Centre (Stop 3): orientation so the forest photos don’t turn into random snapshots.
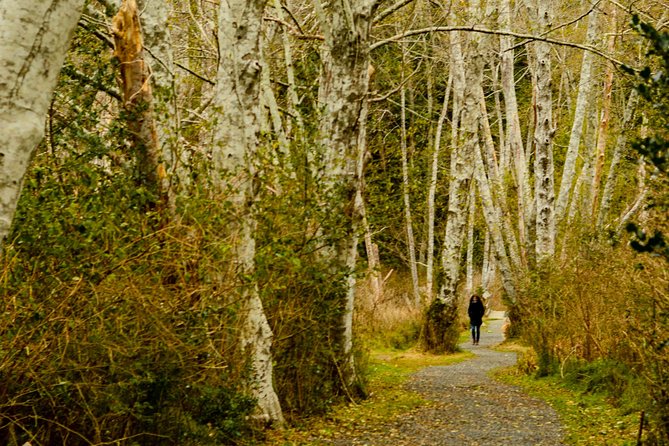
- Killarney Lake Parking (Stop 4): the core hiking area for old-growth texture, waterfall views, and leaf color.
- Visitor Centre again (Stop 5): a natural wrap-up point where you can regroup and keep your photos organized in your head.
This back-and-forth structure also helps you reset mentally. You’re not stuck with a single loop that ends with everyone exhausted and frustrated.
Value check: what you’re really paying for at $133.61
At $133.61 per person, the price sounds like it might be “just a ferry and a hike.” The value comes from what’s bundled:
- ferry transportation as part of the experience
- guided hiking with a photographer
- hands-on help during the walk
- a DSLR loan option
- complimentary photos taken by the guide
If you try to replicate this alone, you’d still need to solve the hardest parts: learning what settings to use, knowing where the best photo spots are, and getting photos of yourself while you’re out there. This tour removes those friction points for you, and the small-group size keeps the instruction personal.
Food and drinks aren’t included, so you’ll need to bring snacks and water. In practice, that’s not a dealbreaker—it’s normal for a half-day outdoors. It just means you should plan to keep your energy steady rather than hoping you’ll find time to eat.
What to bring for a comfy photo hike
The tour provides photography support, not a wardrobe. Here’s what you should plan around:
- Comfortable shoes you trust on damp paths
- Layers for changing wind and light on the ferry and in the forest
- Water and snacks (food isn’t included)
- Your camera (DSLR if you have it; otherwise you can borrow one)
- A small towel or bag for wet gear, if weather turns
If you’re borrowing a DSLR, treat it like a shared tool: keep it dry, don’t force it into wet leaf litter, and ask your guide how they want you to handle it. The better you protect the gear, the more time you’ll spend shooting instead of worrying.
Who this tour is best for
This works for a wide range because it isn’t stuck on one camera type or one hiking speed. It’s especially good if:
- you want ferry views and a guided nature walk
- you like photography but want real instruction you can apply quickly
- you’re traveling with a partner or solo and still want photos of yourself
- you want a small group experience that doesn’t feel crowded
It’s less ideal if you want a long hike, a full meal included, or a super slow paced walk with hours of free time to roam.
If you’re celebrating something, this kind of guided day often lands well because you end with images and a clear memory trail of where you stood and what you shot.
Should you book? My practical take
I’d book this if you want a half-day that combines scenery, coaching, and results. The ferry ride gives you instant payoff, and the guided hike gives you a reason to keep learning instead of just taking random photos. The DSLR loan and complimentary photos of you are the kind of “small extras” that actually change how your day feels.
Skip it only if you’re after a slow, open-ended exploration day or you’re not comfortable hiking on uneven forest paths. Otherwise, you’ll come away with better photo habits, stronger images, and that quiet Bowen Island feeling you can’t quite manufacture on your own.
FAQ
Where does the tour start and end?
It starts at the meeting point at WB W Georgia St @ Granville St in Vancouver, and it ends back at the same meeting point.
Is pickup available?
Pickup is offered from downtown hotel or rental accommodation, including the Hyatt hotel, as well as from the starting point area.
How long is the tour?
The tour lasts about 6 hours.
Do I need to bring my own camera?
No. You can borrow a DSLR from your guide, and the tour also works for different camera types, including phone cameras.
What kinds of scenery will I see?
You’ll enjoy a ferry ride on Howe Sound views and then explore Bowen Island with old-growth forests, waterfalls, and wildlife. Fall colors and fallen leaves are a highlight at this time of year.
Is food included?
No. Food and drinks are not included, so you’ll want to bring water and snacks.
How many people are in the group?
The group is limited to a maximum of 6 travelers.