REVIEW · ROTORUA
Rotorua Hiking: Mt Tarawera Guided Volcanic Crater Experience
Book on Viator →Operated by Kaitiaki Adventures Aotearoa · Bookable on Viator
Tarawera crater views come fast and wild. This half-day guided Rotorua hike takes you from geothermal Waimangu Valley trails up to the rim of Mt Tarawera and explains how the 1886 eruption reshaped the region.
I love the guide-led pacing—you get stories and geology tied directly to what you’re walking over, not just a lecture on the way. I also love the small-group vibe (max 20), which makes it easier to move as a team and ask questions as the scenery changes.
One thing to consider: this is not a stroll. It’s a moderate-to-challenging hike with steep, uneven sections (including an optional scree run), and wind can make the crater edge feel exposed.
In This Review
- Key things I’d bet you’ll care about
- Why Mt Tarawera crater is different from other Rotorua walks
- Pickup, vehicle ride, and how the half day flows
- Waimangu Valley and Rerewhakaaitu stops: context before the climb
- Waimangu Volcanic Valley stop
- Rerewhakaaitu and the road-to-rim build-up
- Crater walk details: views, footing, and the optional scree run
- The hike up: steeper than it sounds
- Optional scree run: controlled fun, not a must
- The views: why people come back
- Safety, fitness, and what to wear so you enjoy it
- Fitness level: moderate, but expect work
- Footwear and the scoria ankle problem
- Wind and cold at the crater edge
- Heights: know your line
- Value at $121: what’s included and what to bring
- Should you book this Tarawera crater hike?
- FAQ
- FAQ
- How long is the Mt Tarawera crater experience?
- Do I get pickup from my hotel in Rotorua?
- Is there a morning and afternoon option?
- What fitness level do I need?
- What’s included in the price?
- Is lunch provided?
- How big is the group?
- Is the crater run required?
- What if the weather is bad?
- How does cancellation work?
Key things I’d bet you’ll care about
- Hotel pickup included: you don’t have to stress about rental car logistics in Rotorua.
- Geology with context: you stop in Waimangu and then see the crater where the eruption story becomes real.
- 360-degree views are the payoff: you reach the crater rim for big panorama moments.
- Optional scree run: part walking, part controlled chaos—only if you’re comfortable.
- Footing is the real challenge: scoria and talus slope can irritate ankles and test balance.
- Guides matter here: people repeatedly praise the support and cultural storytelling from guides like Jesse, Hauri, Chucky, Deborah, and Dan.
Why Mt Tarawera crater is different from other Rotorua walks
Rotorua is known for geothermal sights you can visit at a low effort level. This hike is different: you’re not just looking at volcanic landforms—you’re climbing into them. Mt Tarawera is famous for its June 10, 1886 eruption, which created the world’s youngest geothermal valley of Waimangu and destroyed the legendary Pink and White Terraces. The guide turns that headline into a route you can physically follow.
What makes this feel special is how the day layers knowledge. You start with places that show the eruption’s fallout, then you move toward the crater’s edge where you get panoramic views and a clear sense of why this mountain became so consequential.
The crater is also where the emotional tone changes. Several guides are mentioned by name across trips, including Jesse and Hauri, and later guides like Chucky, Deborah, and Dan. That variety matters because this area connects geology to Māori history and place-based meaning—so the human storytelling is part of the value, not an add-on.
You can also read our reviews of more tours and experiences in Rotorua.
Pickup, vehicle ride, and how the half day flows
This is a 4.5-hour guided experience designed for an active morning or afternoon. The tour includes free hotel/motel pickup in Rotorua, which is a big deal in practice: you can sleep in a bit, avoid navigating unfamiliar dirt roads, and focus on packing for a real hike.
From there, you’ll travel off-road into the North Island backcountry. Expect a bumpy ride on rough tracks. Some people describe it like a proper 4WD approach, and even when the transport is fine, the road itself can be part of the day’s effort—so plan to sit back and avoid tight schedules right afterward.
Once you’re at the start, the day moves in segments rather than one long, punishing grind. A few reviews mention a restroom stop before the hike begins, which helps you settle in without rushing. Then you’re on the move, stopping at viewpoints as the terrain changes, and finishing with the crater-area experience before heading back.
If you prefer a day that’s structured but not rushed, this works well. If you hate exposure or slippery footing, you’ll need to plan your expectations carefully.
Waimangu Valley and Rerewhakaaitu stops: context before the climb
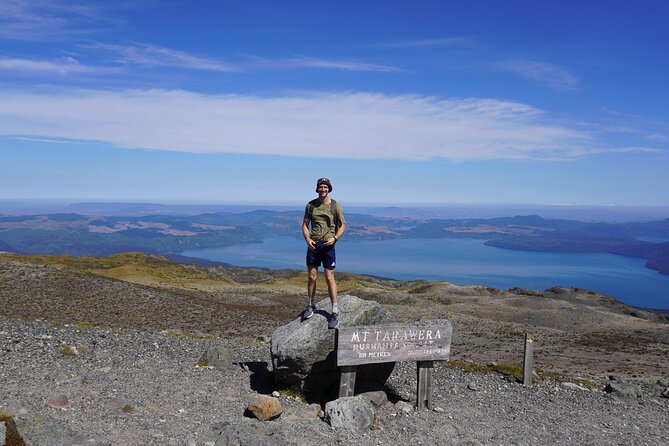
You won’t go straight to the volcano and hope it all makes sense. The day builds context with stops that relate directly to the eruption story.
Waimangu Volcanic Valley stop
Waimangu Volcanic Valley is where you get the geothermal “why.” It’s the valley created by the 1886 eruption, and it’s the kind of place where the land looks active even when you’re standing still. A guide can point out what you’re seeing—steam, mineral colors, geothermal textures—and help you connect those visuals to how the eruption reshaped the area.
For many people, this stop is the moment the trip stops being a workout and turns into a place-based lesson. You’ll likely find that easier to enjoy if you’re the type who likes to understand what you’re looking at, not just check off a hike.
Rerewhakaaitu and the road-to-rim build-up
The Rerewhakaaitu Bretts Road camping area stop acts like a transition point. You’re still moving through volcanic terrain, but now you’re getting closer to the physical reality of the climb. It also sets the mental pace: you’re getting gear and footwear ready, listening for safety guidance, and getting that sense that the crater rim is the main event.
One practical thing: because the terrain can be windy and cold near the crater edge, arriving with layers ready is smart. A half-day can feel shorter than it is, until you’re standing still and the wind starts doing the work your body didn’t.
Crater walk details: views, footing, and the optional scree run
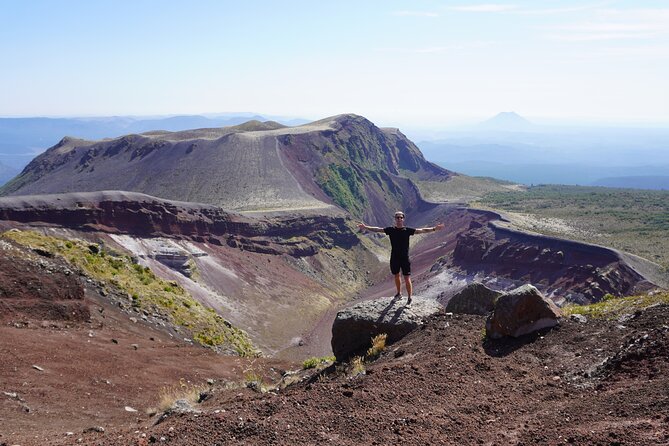
The heart of this tour is the guided walk up to the rim of Mt Tarawera, plus the chance to experience the crater interior in a controlled way.
The hike up: steeper than it sounds
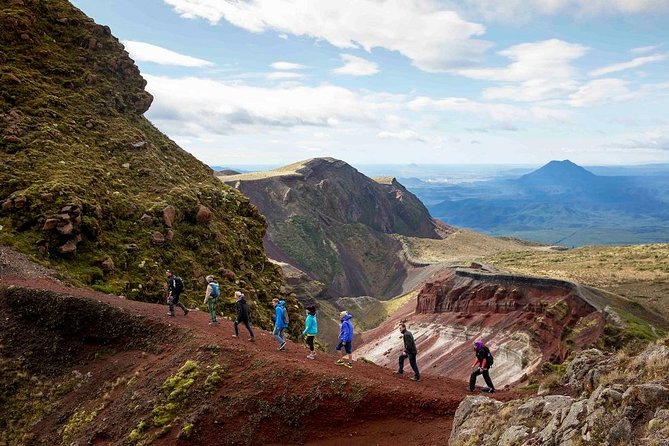
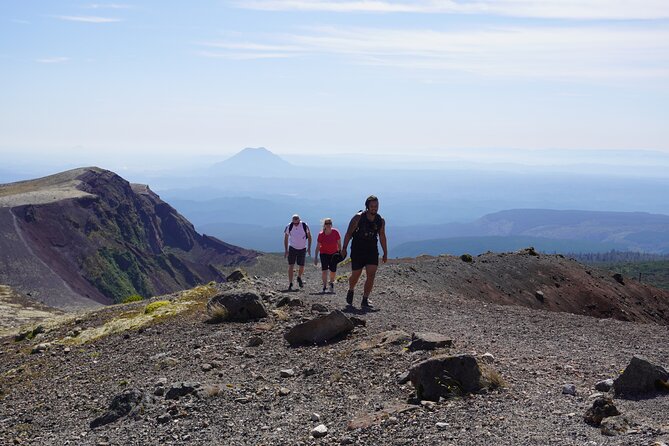
People repeatedly frame it as not easy, even when they call it doable for moderately fit hikers. The terrain includes uneven ground, and the slope sections can be demanding. If you’ve got decent balance and a hiking mindset, you’ll likely handle it fine. If you’re uncomfortable with steep drops or heights, you’ll want to think twice—this type of crater edge is the opposite of a gentle trail.
Also, this isn’t just about strength. It’s about foot placement. Scoria and talus can shift underfoot, and wind gusts can affect your balance near exposed areas. The best guide moment is when you’re not just pushed forward—you’re coached to move safely.
Optional scree run: controlled fun, not a must
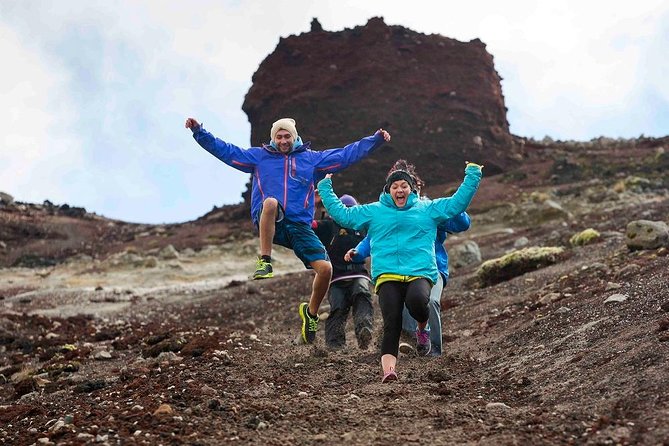
One of the most distinctive features is an optional scree run into the heart of the volcanic crater. This is not described like a stunt you have to do. It’s more like an offered experience if conditions and your comfort level allow.
If you take it, you get a fast way to feel the crater’s scale and texture. If you don’t, you can still enjoy the rim views and the volcanic formations. Either way, the guide’s job is to read the terrain and keep the group moving at a safe pace.
The views: why people come back
The crater rim delivers the reason this hike has such high satisfaction. You’re looking out over geothermal areas like Waimangu Valley with a sense of depth you don’t get from flat viewpoints. Many people mention 360-degree views from the summit area, plus the thrill of going from higher rim points down toward lower crater zones.
It’s also one of those hikes where the story sticks. You start the day hearing about the eruption that reshaped the region, then you walk into the geography that made it happen. That link between narrative and ground is the value you’ll feel most on the way down—because your legs are tired, but your brain is still tracking what you’ve seen.
Safety, fitness, and what to wear so you enjoy it
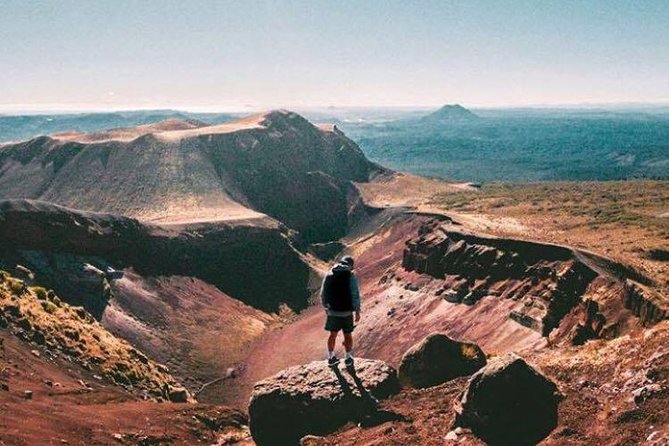
Let’s talk about what can make or break this tour: your feet and your comfort on steep, rough terrain.
Fitness level: moderate, but expect work
The tour is aimed at travelers with moderate physical fitness. In real terms, that means you should be comfortable hiking on uneven ground and handling inclines without stopping every five minutes. Some people describe it as strenuous at times. A few mention they were overwhelmed by the uphill or found the downhills steep with uneven footing.
If you’re moderately fit and coordinated, this is more “hard hike” than “impossible hike.” If you’re new to hiking, go slow, listen closely, and be honest with yourself about your comfort.
Footwear and the scoria ankle problem
A very specific tip shows up in the feedback: wear higher socks to stop scoria from cutting the skin around your ankles. That talus and scoria can work its way into boots, especially if your socks end too high. Good hiking shoes matter, and many people specifically recommend proper hiking boots rather than thin sneakers.
It’s not just about traction. It’s about avoiding that scratchy discomfort that makes you start bargaining with your legs. If you’re not sure your footwear is up to it, ask ahead about options during booking—some guidance around boot hire is mentioned in the tour’s responses.
Wind and cold at the crater edge
Bring layers. Early season and early autumn wind can make the crater feel colder than the town you left behind. Reviews also mention that guides actively avoid areas with severe wind gusts, which tells you the conditions can change quickly at altitude. I’d rather be slightly over-prepared than stand there wishing I had a warmer top.
Heights: know your line
If you’re afraid of heights, this tour may not be for you. Some people call it an epic adventure but clearly flag that the crater edge can feel scary. If that’s you, you’ll still get a workout, but your stress level will likely spike when the view gets too open.
Value at $121: what’s included and what to bring
At about $121 per person for roughly 4.5 hours, this sits in the “active, guided, and worth paying for” category. You’re not just paying for the walk—you’re paying for:
- A professional Kiwi guide who connects geology and eruption history to what you’re seeing.
- Free hotel/motel pickup, which saves time and prevents you from burning energy on logistics.
- A group format capped at 20, so it feels guided rather than crowded.
What you don’t get is lunch. So plan a light meal before pickup or bring something small if you’re allowed (the tour data only states lunch isn’t included, so you’ll want to follow any local guidance you’re given when you book).
When it’s good, the value is obvious: you get real context, crater views, and a memorable volcanic experience in half a day. When it’s not good—think poor conditions or your discomfort with steep, exposed terrain—the hike can feel like you spent money on something you didn’t fully enjoy.
So I’d match your booking to your hiking comfort level. This is a half-day adventure, not a sightseeing bus with a short stroll.
Should you book this Tarawera crater hike?
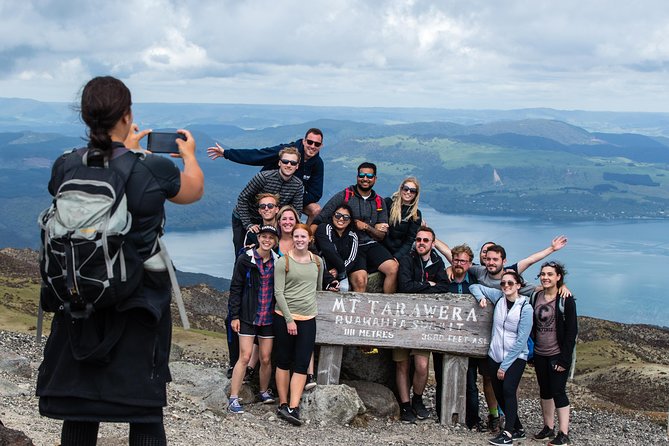
If you want Rotorua beyond geothermal boardwalks, book it. You’ll come away with crater views, an eruption story that makes sense because you walked it, and a guided experience that helps you move safely on rough terrain. The guides get repeated praise for caring, humor, and cultural storytelling—people mention names like Jesse and Hauri, Chucky and Deborah, and Dan when they talk about what made the day feel special.
I’d pass or choose a gentler option if you have limited hiking experience, get nervous on steep uneven paths, or strongly dislike heights. And if your footwear isn’t ready for scoria, fix that before you go—higher socks and solid hiking shoes/boots are part of the real game plan.
FAQ
FAQ
How long is the Mt Tarawera crater experience?
It runs for about 4 hours 30 minutes.
Do I get pickup from my hotel in Rotorua?
Yes. The tour includes free hotel/motel pickup and drop-off from your Rotorua accommodation.
Is there a morning and afternoon option?
Yes. You can choose either a morning or afternoon tour.
What fitness level do I need?
Moderate physical fitness is recommended. The hike includes steep, uneven sections, so it’s not an easy walk.
What’s included in the price?
The experience includes the 4.5-hour guided crater hike, a professional Kiwi guide, and free hotel pickup.
Is lunch provided?
No. Lunch is not included.
How big is the group?
The maximum group size is 20 travelers.
Is the crater run required?
No. There’s an optional scree run into the heart of the volcanic crater, offered as part of the experience.
What if the weather is bad?
This experience requires good weather. If it’s canceled due to poor weather, you’ll be offered a different date or a full refund.
How does cancellation work?
You can cancel up to 24 hours in advance for a full refund. If you cancel less than 24 hours before the start time, the amount you paid will not be refunded.