REVIEW · STAVANGER
Stavanger: Off-Season Hike to Kjerag + Packed Lunch
Book on GetYourGuide →Operated by Explore Lysefjorden · Bookable on GetYourGuide
Kjerag starts before most alarms. I like two things a lot: the early start that keeps you away from the biggest crowds, and the safety-first guidance at Kjeragbolten. The one drawback is simple—this isn’t a casual walk. It’s a demanding hike on technical parts, and if you’re brand-new to mountain trails, you may find it slow, steep, and tiring.
You’ll be picked up in Stavanger and taken about three hours toward the trail area, passing small villages and open pastoral country along the way. The timing matters here: you’re moving up when the day is still quiet, and you come back with enough daylight to grab a real meal in Stavanger rather than calling it an early night.
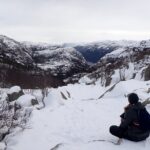
The off-season angle is the wildcard. In colder months, the trail can include ice and snow—so you’ll want the right boots and the mental willingness to go step by step. In later months, you might catch warm yellow and orange mountain color, which makes the long views feel extra earned.
In This Review
- Key things I’d underline before you go
- Why Kjerag Works Best in Norway’s Off-Season
- The Long Morning Drive: pickup options and Eagle’s Nest setup
- The 12 km, 800 m reality check: what the 6-hour guided hike feels like
- Kjeragbolten: turning the famous photo into a safer, more confident stop
- Nesatind lunch: packed food, a view, and time to breathe
- Coming back down to Stavanger with daylight on your side
- Price and value: what $273 buys you in the real world
- What to pack (and what not to wear) for Kjerag’s technical bits
- Who should book this (and who should skip it)
- Should you book Explore Lysefjorden’s Kjerag hike?
- FAQ
- What’s included in the packed lunch?
- How long is the hike and the full tour?
- Do I need hiking experience to join?
- Is pickup and drop-off included in Stavanger?
- Can I go on Kjeragbolten for photos?
- What footwear and clothing are required?
Key things I’d underline before you go
- Small group (up to 8) with trained local guides so you don’t get lost in the shuffle.
- A real Kjeragbolten moment, with the guide showing the safest way to get on the Boulder when conditions allow.
- Packed lunch at Nesatind, planned for Lysefjorden views when weather cooperates.
- Off-season trail conditions can mean ice/snow early and golden foliage late.
- No cancellation due to low turnout, so you’re not stuck hoping other hikers join.
Why Kjerag Works Best in Norway’s Off-Season
Kjerag is famous for a reason, but in high season you can feel like you’re hiking through a photo queue. Here, the whole rhythm is different. You start early enough that you’ll reach the big viewpoints before the wave of visitors really hits.
The off-season timing can be a mixed bag, and it’s worth planning for both possibilities. If you book in the early months of the year, expect the trail to sometimes be covered in ice and snow from winter conditions. If you book later in the year, the mountain foliage may glow in yellow and orange, and the hike feels more like an autumn hike than a survival mission.
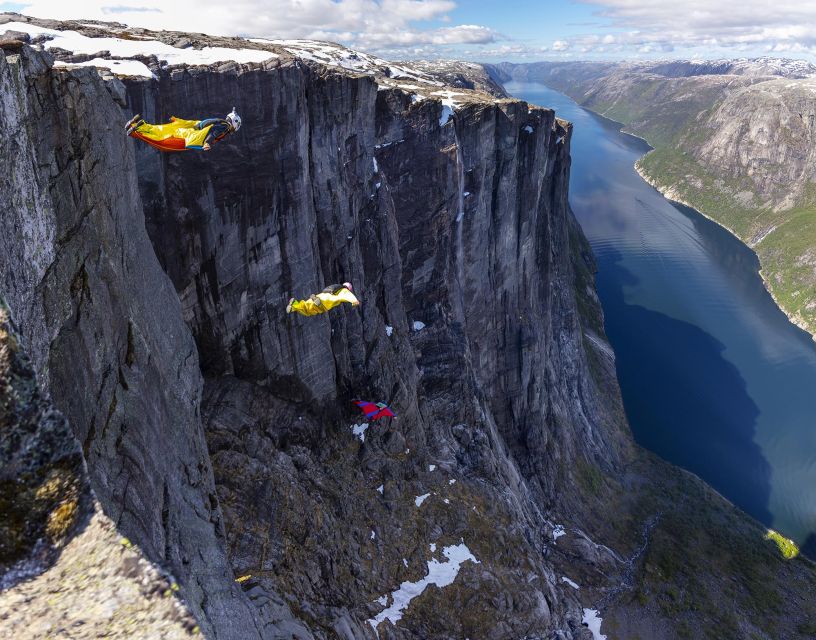
Either way, the payoff is the same: you get Kjerag Massif and the dramatic drop above Lysefjorden without the loud, slow crowds that make some popular stops feel rushed.
You can also read our reviews of more tours and experiences in Stavanger.
The Long Morning Drive: pickup options and Eagle’s Nest setup
You begin with pickup in Stavanger. You’ll pick from a set of meeting points across central Stavanger and nearby areas along the way, and you’re returned to drop-off locations at the end of the day. In plain terms: you don’t need to solve public transit, rental car logistics, or parking.
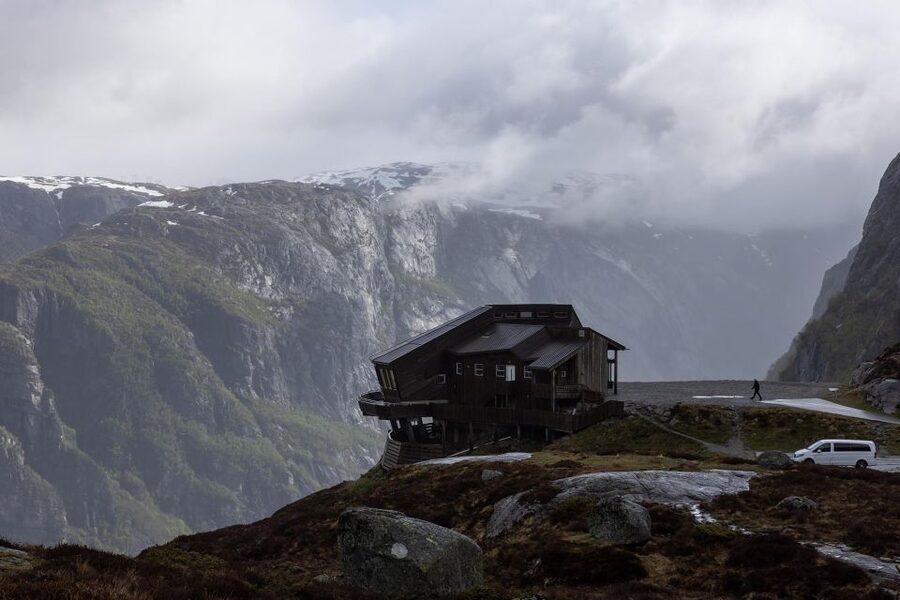
Once you’re in the van, it’s roughly a three-hour ride to the trail area. This is part of why the day feels worth it. You get scenery time without having to navigate it yourself. There’s also a practical stop at the Eagle’s Nest trailhead area, where you’ll find restrooms before the hike starts.
Before you step onto the trail, you’ll receive a briefing. This is where the guide sets expectations for the day’s route, technical sections, and what to do if the weather changes. If you’re nervous about the difficulty, this briefing is also the moment to tell the guide what you’re comfortable with.
The 12 km, 800 m reality check: what the 6-hour guided hike feels like
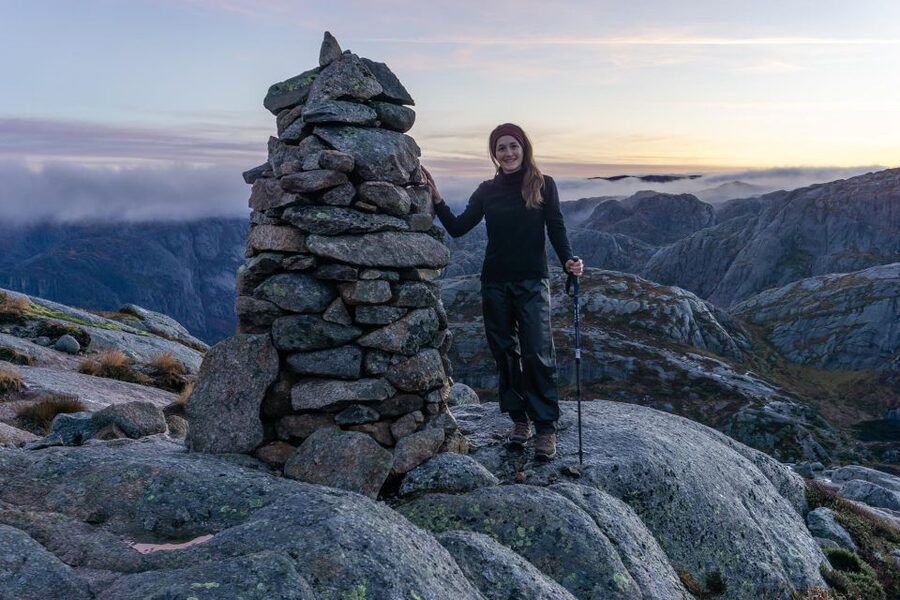
The schedule has two clocks running at once: a total day length of about 12 hours, and a guided hiking block of around 6 hours. The hike itself is about 12 km with roughly 800 meters of ascent.
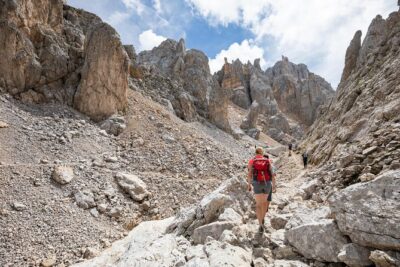
That’s a serious workout even for people who hike regularly. The key word in the fine print is technical. The trail includes varied terrain, and some sections can be a bit technical to traverse. If you’ve never done mountain hiking before, the guide specifically warns it might not be the right fit.
Here’s how to think about it before you commit:
- If you can handle a solid cardio effort weekly and you’ve got decent comfort on uneven ground, you’ll likely manage.
- If this would be your first mountain hike, plan for slower pacing and extra fatigue. You may still enjoy it—just go in with eyes open about time and effort.
The good part is that you’re not doing it alone. The tour runs with a small group limit of 8 participants, and you’ll have a trained local guide managing the route and your movement through tricky spots. You’ll also have seasonal technical equipment provided, which matters when the trail turns slick.
Along the way, you’ll pass sheep in the hills and get moments of quiet fresh air. It’s not just about the summit view—it’s about that long stretch of moving through the Ryfylke region on your own terms, before the loud tourist energy takes over.
Kjeragbolten: turning the famous photo into a safer, more confident stop
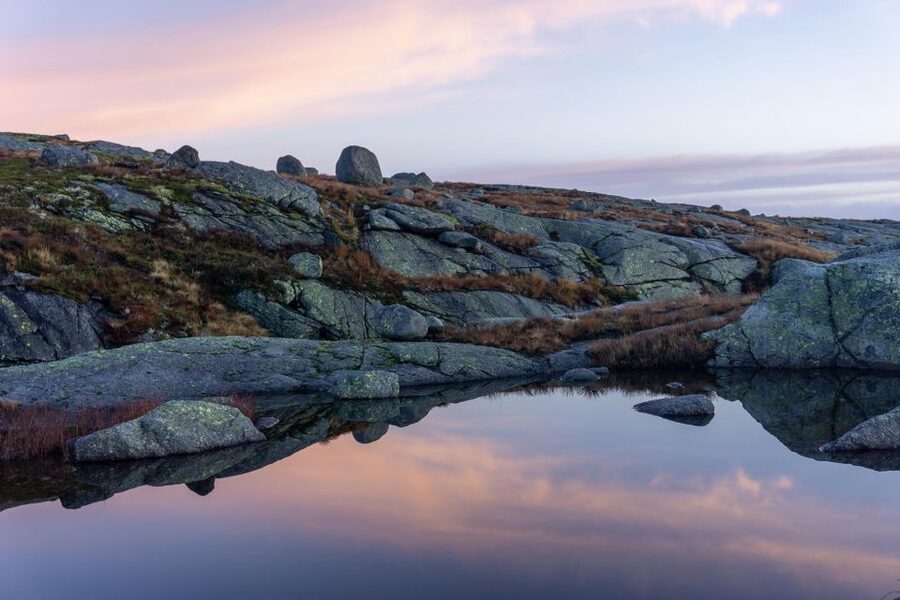
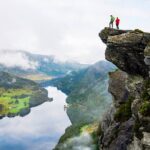
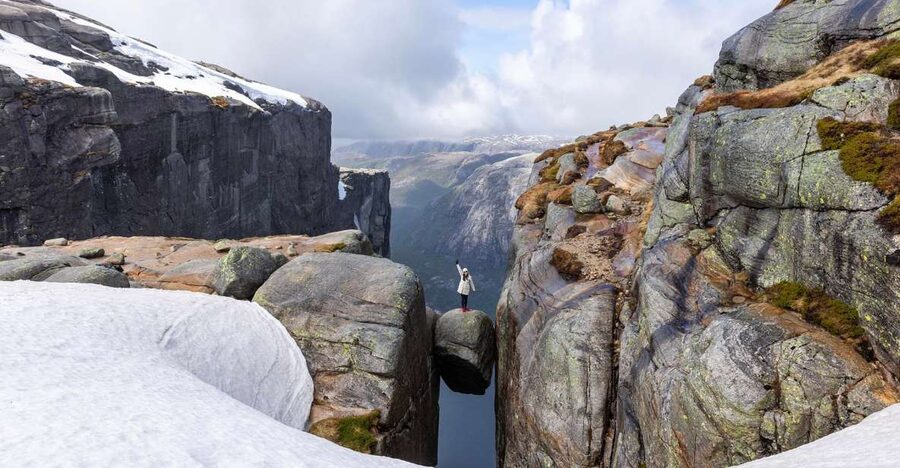
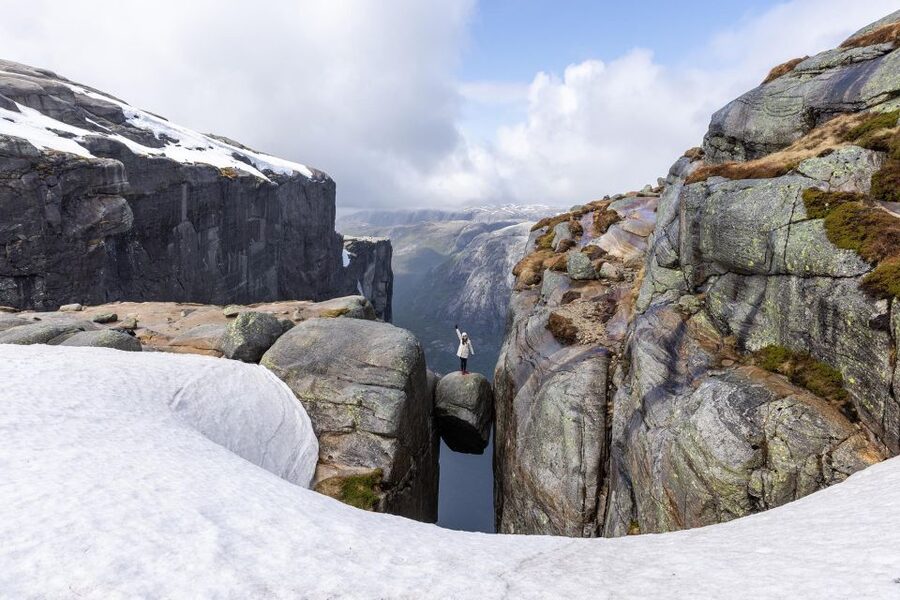
The headline stop is Kjerag Boulder, known as Kjeragbolten. This is where the hike becomes something you actually remember.
The guide helps you do the classic Boulder moment with safety in mind. You’ll get shown the safest way to approach and get onto the Boulder if conditions permit it, and the guide will guide your choices rather than forcing you to take risks. That matters because the difference between a good experience and a scary one is often a few careful steps, not bravery.
You can also take photos with your own camera or phone, and the guide will help you with photos. One of the strongest points from the guides’ approach comes through in how people describe it: guides like Stephan are known for giving practical advice while keeping safety first. Another guest noted a German guide who supported a first-time hiker with help through difficulties and still found time for great nature photos.
If you want extra help beyond that, there’s an optional photography package you can inquire about ahead of time. If you’re the kind of traveler who cares about getting clean shots without juggling your footing and your phone, that add-on can be a nice peace-of-mind move.
One more detail you should know: access to the Boulder can depend on conditions. So if you’re traveling in a season with more ice or harsher weather, the guide’s judgment isn’t a small factor—it’s the difference between this being thrilling and this being a no-go.
Nesatind lunch: packed food, a view, and time to breathe
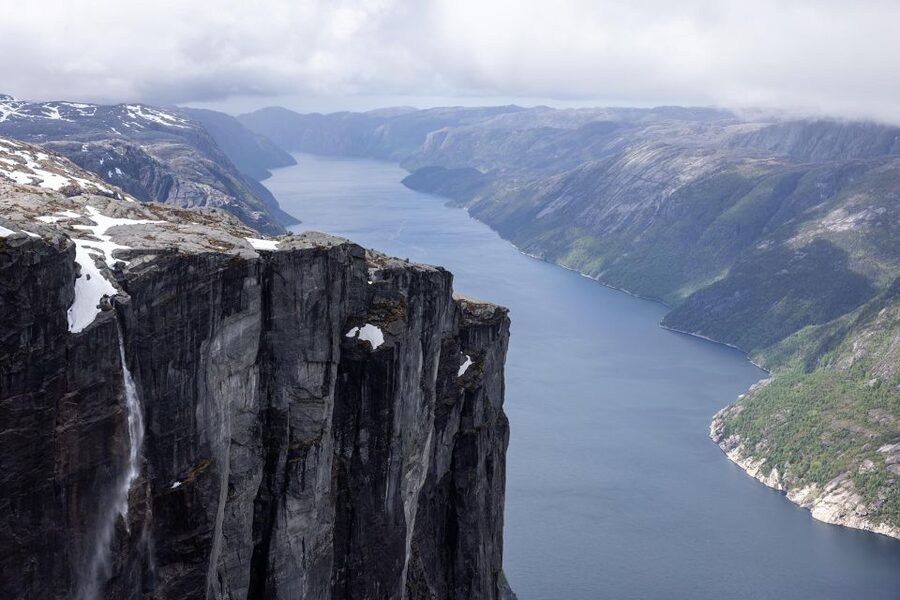
After Kjeragbolten, you move on to your lunch stop at Nesatind. This is where you sit down and let your legs recover while you take in Lysefjorden from above.
Packed lunch is included, and you’ll get it at the start of the hike at the parking area. If you have dietary restrictions, you need to tell the provider in advance so they can accommodate you. It’s also worth bringing any needed extras you like because you’ll be depending on that included lunch and snacks through the hike.
Weather matters here. The plan is to enjoy the view while you eat, but it’s explicitly weather-dependent. Even on cloudy days, there’s value in the pause: you’re breaking up the climb, checking your energy, and resetting before the descent.
Before all of this, you’ll also have a small snack and hot berry juice included. It’s a small thing, but it helps on a long morning when you’ve started early and you’ll be working steadily for hours.
Coming back down to Stavanger with daylight on your side
Once lunch is done, it’s time to hike down and return to the Eagle’s Nest parking area. Then the ride back to Stavanger begins, with drop-offs at your selected locations.
The tour is built so you don’t just crawl home after a full day outdoors. The early start and organized pacing are meant to get you back in time to dine out in Stavanger. That’s a practical detail I appreciate: it turns the hike from a one-and-done experience into a whole day you can still enjoy without being stuck with takeout and regret.
Keep in mind that hiking days can always have a small hiccup somewhere—weather, trail conditions, or timing around pickup points. I’d still treat this as well-run, because the overall guide support and safety focus are consistently highlighted, and people feel it’s worth it even when the end-of-day logistics aren’t perfect.
Price and value: what $273 buys you in the real world
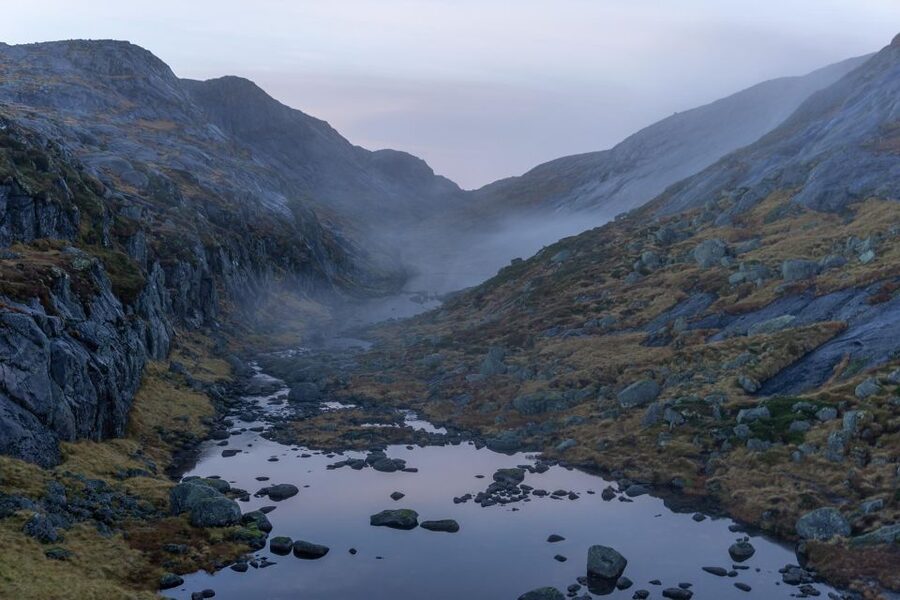
At $273 per person, you’re not just paying for the view. You’re paying for several things that are hard to replicate cheaply:
- Transport from Stavanger and return to multiple drop-off points
- A local trained guide who knows the route and how to handle conditions
- Seasonal technical equipment included
- Packed lunch plus a snack and hot berry juice
- A small group size cap of 8, which reduces chaos on technical terrain
For many travelers, the main value isn’t the hiking itself—it’s having someone manage the route and safety decisions, especially when the trail might be icy or snowy. If you tried to DIY Kjerag without local knowledge, you’d likely spend time figuring out logistics, routes, gear, and how to handle tricky sections safely. Here, that support is part of the price.
It’s also a comfort value: you’re not walking uphill while doing math on schedules and where you’ll eat later.
What to pack (and what not to wear) for Kjerag’s technical bits
This hike gives specific clothing and gear guidance, and you should treat it seriously. The tour says jeans aren’t allowed, and high-heeled shoes are also out. The idea is that you’ll be on uneven, potentially slippery terrain where flexibility and traction matter.
Bring:
- Proper hiking boots
- Two warm, thick socks
- Water-resistant pants
- A rain-proof jacket
- Fleece or a wool sweater
- Warm hat and gloves
- A small backpack
- Water and snacks
The tour also says some items can be rented, or you can inquire about gear for rent/purchase. If you’re unsure whether your current boots are up to the job, it’s worth asking before you arrive—boots are one of those choices that can ruin a day if they’re wrong.
Also, don’t underpack for conditions. Off-season means weather swings. Even when you don’t expect cold, Norway likes to remind you it’s not a warm-weather hike just because the sun is out.
Who should book this (and who should skip it)
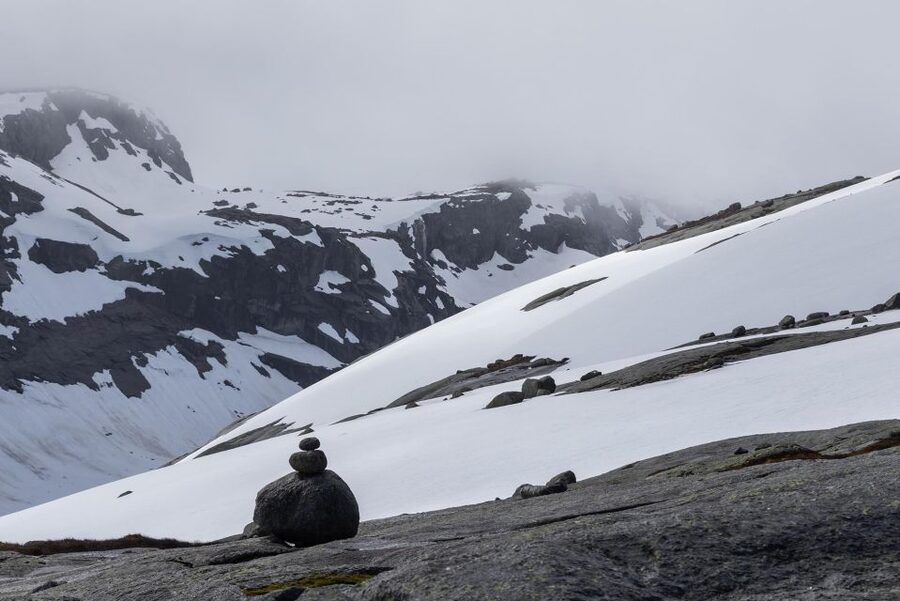
This experience is described as suitable for experienced hikers. It’s not positioned as a first-timer mountain outing, especially because of the technical terrain and the total ascent.
You’ll be a good match if you:
- Hike regularly and can manage long uphill effort
- Feel comfortable on uneven ground
- Want a guided day where safety decisions are handled by trained locals
- Enjoy early starts and want views with fewer crowds
You should skip if:
- You’re pregnant (not suitable)
- You’re under 16 (not suitable)
- You’re under 100 cm (not suitable)
- You’re expecting an easy “scenic walk” rather than a demanding 800 m climb
If you’re right on the edge—like you hike but haven’t done technical terrain—contact the provider with your questions before you go. It’s better to check than to suffer through day-after-day “I can’t do this” frustration.
Should you book Explore Lysefjorden’s Kjerag hike?
If your goal is Kjeragbolten with smart safety coaching, a real local guide, and a schedule that lets you return to Stavanger for dinner, this hike makes a lot of sense. The small group limit and the included lunch help it feel like a complete day, not just a ticket to walk.
But if you’re new to mountain hiking, treat the technical terrain and steep ascent as non-negotiable reality. If that part makes you nervous, it’s wiser to start with an easier hike first and come back to Kjerag when you’ve built comfort.
One last practical note: the tour includes transport, lunch, and guidance, and it’s designed to run even with low turnout. That means you’re less likely to get stuck with a “maybe it happens” plan. If you’re mentally ready for a serious hike and you pack for off-season conditions, you’ll likely come away with the kind of photo and view that actually feels earned.
FAQ
What’s included in the packed lunch?
The tour includes a packed lunch, plus a small snack and hot berry juice. You should let the provider know your dietary restrictions well in advance.
How long is the hike and the full tour?
The guided hiking portion is about 6 hours, and the total experience runs about 12 hours including transport and stops.
Do I need hiking experience to join?
This hike is suitable for experienced hikers. It includes a demanding 12 km hike with about 800 meters of ascent and some technical terrain. If you’re unsure, you should contact the provider.
Is pickup and drop-off included in Stavanger?
Yes. Transport to and from Stavanger (or any location along the way to the parking area) is included, with multiple pickup and drop-off options listed for you to choose from.
Can I go on Kjeragbolten for photos?
You can be shown the safest way to get onto the Boulder if conditions permit it. The guide can help you take photos with your phone or camera, and there’s also an optional photography package you can inquire about.
What footwear and clothing are required?
You should bring proper hiking boots. Jeans and high-heeled shoes are not allowed, and the tour asks you to wear water-resistant pants and a rain-proof jacket.