REVIEW · MAUI
Haleakala Summit Best Self-Guided Bike Tour with Bike Maui
Book on Viator →Operated by Bike Maui AND Haleakala EcoTours · Bookable on Viator
A volcano day, minus the stress, minus the guesswork. This self-guided Haleakala Summit bike tour mixes a summit crater visit with a long downhill you control at your own pace. You’ll pedal from about 6,500 ft down roughly 15 miles, then keep rolling through Upcountry’s historic Makawao and end back near Haiku.
I like the fact that you get real interpretation on the way up, not just a driver and silence. I also like the pacing: after the crater stop, you’re not stuck in a slow convoy. One thing to consider is that the ride is on shared roads, so you need recent biking comfort and you have to ride defensively around cars.
The “best part” is usually the downhill itself: steep, scenic, and famous for its hairpin turns. People rave about the ride’s signature switchbacks, and the overall experience stays fun because the bikes are set up for mountain riding. Still, you should plan your expectations around possible route changes if certain road sections are closed on the day you go.
In This Review
- Key things to know before you pedal
- Why this Haleakala Summit ride works better than a basic tour
- Getting to the top: your morning drive and the crater setup
- Haleakala crater time: what you’re doing before the descent
- The 15-mile downhill on Kona bikes: switchbacks, speed control, and safety
- No convoy, your pace: how self-guided really feels on the ground
- Makawao to Haiku: the Upcountry town finish after the big drop
- What to bring (and what to skip) for a smoother Haleakala day
- Who this tour fits best (and who should choose differently)
- Price and value: is $238.59 worth it?
- The practical risks to plan for on summit-bike days
- Should you book the self-guided Haleakala Summit bike tour?
- FAQ
- How long is the Haleakala Summit self-guided bike tour?
- Where does the tour start, and when does it begin?
- What is included in the price?
- Do I need to bring water, snacks, or money for lunch?
- What are the minimum age and fitness requirements?
- What happens if the tour is canceled due to weather?
Key things to know before you pedal
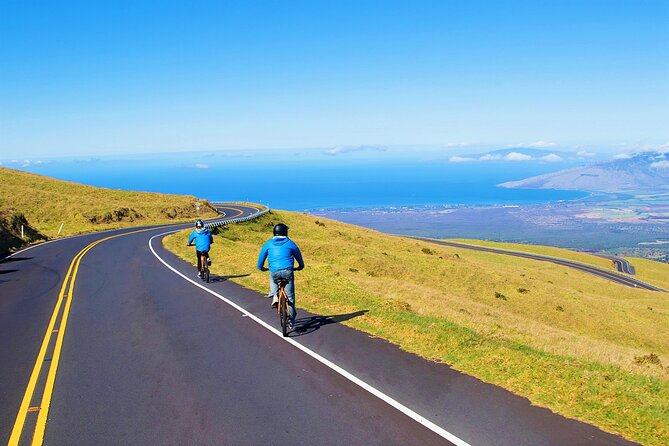
- 6,500 ft downhill, about 15 miles: it is a long descent, not a short spin.
- Fabulous 29 switchbacks: the hairpins are the moment most people remember.
- Self-guided after crater: you choose your pace with no convoy.
- Custom Kona mountain bikes + helmet + windbreaker: you’re riding with proper gear.
- Upcountry Makawao stop: you get more than just the summit views.
- Road traffic + weather swings: you’ll need layers and solid bike control.
Why this Haleakala Summit ride works better than a basic tour
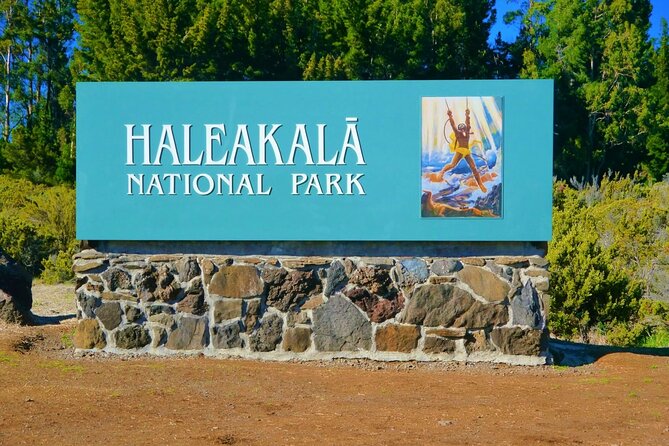
Haleakala is one of those places where the sky looks different and the world feels huge. This tour turns that drama into a day with motion, so you experience the summit view, then you get the payoff of leaving it behind on a bike. That makes it feel like you’re doing the Maui bucket list and getting a workout at the same time.
I also like the structure: you spend time getting oriented and then you get time to ride the way you want. The provided windbreaker and helmet help you feel ready quickly, even if you start out cold at the higher elevations. It’s a practical way to see the crater area and still have fun once you hit the downhill.
The main caution is comfort level. This is not for casual riders or people who are nervous around cars, because you will be riding near traffic at times. If you want a fully guided experience for every turn, you should seriously consider switching to a guided option when available.
You can also read our reviews of more tours and experiences in Maui.
Getting to the top: your morning drive and the crater setup
Your day starts in Haiku at 810 Haiku Rd, with a 8:00 am start time. You’ll be on an air-conditioned vehicle for the uphill stretch, and that matters because Haleakala weather can change fast. If you tend to get cold easily, plan to bundle up for the ride up.
On the way to the summit viewing area, there’s an interpretive guide included, focused on Hawaii’s history and culture. The guide is described as NAI certified, and the storytelling approach is part of what makes the crater stop feel more meaningful. One guide name you’ll hear is Kimo, and people highlight how his explanations made the visit click.
Here’s the practical bit: you should expect a fair amount of time in the vehicle before you start biking. That doesn’t make it bad, but it does mean you’ll want to eat something before you leave and bring anything you need for comfort while you’re waiting.
Haleakala crater time: what you’re doing before the descent
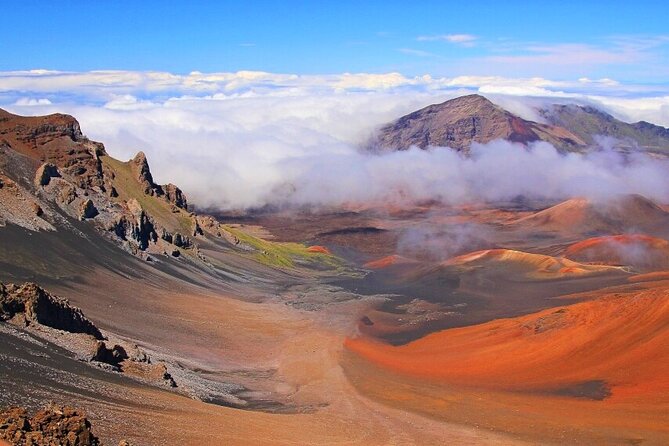
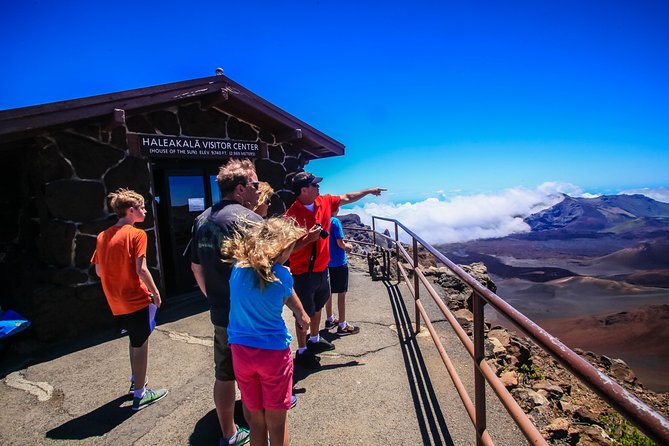
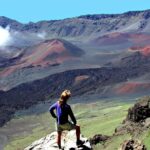
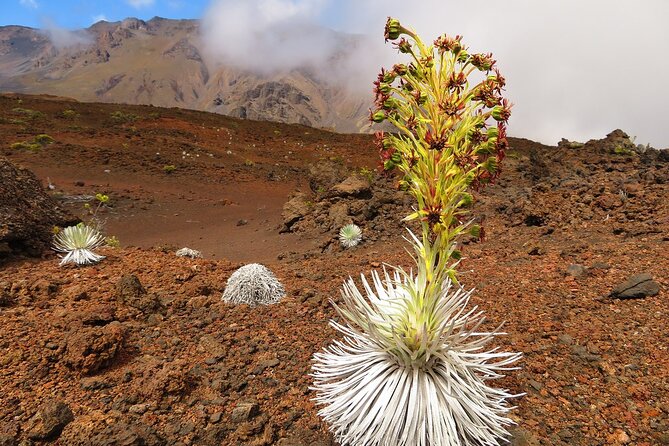
The schedule includes a first stop at Haleakala Crater. This is your moment to take in the summit scale and the otherworldly terrain. Since you’re starting at high elevation, it’s also when temperatures can feel especially sharp, even if it’s warm in the rest of Maui.
This is not just a quick drive-by. You’re set up to see the crater area first, then you shift gears into biking. The guide’s stories before the ride help connect what you see above to what you’ll experience once you descend.
Tip for your ride mindset: treat the crater stop as your mental warm-up. Before you start pedaling, look for landmarks and get a feel for where the switchbacks lead. When you have that picture in your head, the descent feels smoother even if you choose to go slow.
The 15-mile downhill on Kona bikes: switchbacks, speed control, and safety
After the crater experience, you’ll bike downhill on custom Kona mountain bikes with a helmet, plus a Da Kine backpack. You also get a Helly Hansen windbreaker top and bottom, which is a big deal on Haleakala where wind can cut right through. The bikes and gear help you focus on what matters: staying relaxed and reading the road.
The descent is about 15 miles and starts around 6,500 ft elevation. This is where the famous Fabulous 29 switchbacks come in, and it’s the section most riders talk about. Those turns are the payoff: you feel the drop, you get regular bursts of view, and the ride becomes a sequence of controlled decisions rather than one long straight line.
Now, the honest part about safety. You’ll be sharing roads at times, and you may need to ride close to the edge while still staying aware of traffic. The good news is the tour is organized with safety priorities, and you’ll get ride instructions for navigating the descent. If you’re new to downhill riding, keep it simple: brake early, pedal only as much as you need, and don’t try to force speed.
Also watch your route awareness. Even in a self-guided setup, you’ll likely depend on your own navigation at least once to confirm turns and check where you are. If that sounds stressful, go guided, or at minimum make sure your phone is charged and you know how to use directions offline.
No convoy, your pace: how self-guided really feels on the ground
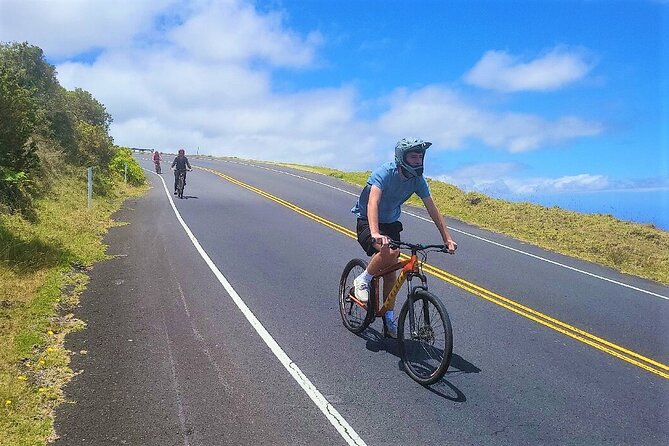
Self-guided here means you’re not riding in a tight pack. You’re free to take breaks and set your own rhythm, and that’s great when you want to stop for a photo without asking permission. It also makes the ride more personal: you can go slow through traffic-heavy stretches and enjoy the views without feeling rushed.
But self-guided also adds responsibility. You have to remember your instructions and keep your attention on the road, not just the scenery. The switchbacks are famous, and that can tempt you to look up too often, so balance both.
If you’re the type who likes structure, you might prefer a guided ride end-to-end. Some people did the self-guided option and later wished they’d been fully guided, especially for road navigation outside the park area. If you fall into that category, don’t force it. Better to choose the format that reduces your stress.
Makawao to Haiku: the Upcountry town finish after the big drop
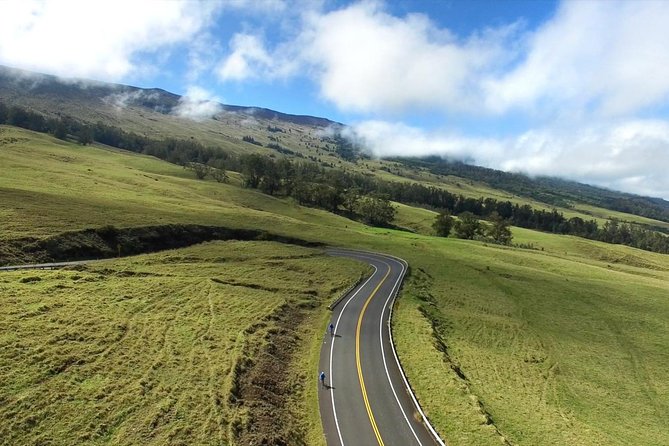
Once you’ve handled the main downhill, you’ll get a shuttle to a location just above Makawao. This is smart pacing because it keeps you from having to ride continuously down without context. From there, you bike through the Upcountry town of Makawao, then continue biking back toward Haiku.
Makawao is where the day changes from dramatic crater views to local-town Maui. Expect a different vibe: more human scale, more streets, and a chance to slow down after the adrenaline of the descent. The tour includes the chance for lunch on your own terms, in either Makawao or Haiku.
Practical note: lunch is no-host, and you’ll need a credit card or cash. If you’re prone to getting hungry after riding, bring a water plan from the start. Water and snacks are not included, so I’d rather you arrive prepared than spend your “ride brain” making last-minute store stops.
What to bring (and what to skip) for a smoother Haleakala day
The tour gives you key riding gear, but you still need personal essentials. The basics that matter most are staying hydrated and layering against wind.
Bring:
- Water and snacks (you’re told to bring your own)
- A charged phone for directions and photos
- Sun protection, even if you start cold
- Cash or a card for no-host lunch
Wear:
- Your windbreaker layer works well, but think in layers since Haleakala can swing from cold to sun fast
- Comfortable, grippy shoes for bike pedals
Skip:
- Anything you can’t secure. You’re on a mountain bike setup, and loose items are a distraction in traffic.
A key lesson from ride stories is that weather can change within the same day. People describe starting with chilly conditions, then seeing rain showers, then strong sun. Pack like you’ll experience all three, because you might.
Who this tour fits best (and who should choose differently)
This is designed for people with moderate physical fitness and recent biking experience. There’s also a minimum age of 15 and a minimum height of 4’10”. If you meet those needs and you’re comfortable riding a bike with real downhill grades, you’ll probably love it.
It can also work well for families with older kids or young adults who are ready for a serious ride day. The biggest “fit” factor is confidence: you should feel okay riding on roads where cars exist and where you may need to control your bike precisely through switchbacks.
If you’re nervous about traffic or braking control, the self-guided format might feel like too much responsibility. In that case, the guided option tends to make the day easier because a guide helps you navigate safely and confidently.
Price and value: is $238.59 worth it?
At $238.59 per person, you’re paying for a lot more than bike rental. You’re getting a structured Haleakala day with a high-elevation crater stop, an included interpretive guide on the way up, and an organized transition into a long downhill. You’re also getting the biking kit: Kona mountain bike, helmet, windbreaker, and backpack.
That value equation gets even better if you would otherwise spend money on separate activities. Here, you get summit views and a true downhill experience in one ticket. You’re also not paying for a private shuttle system; you’re placed in an air-conditioned group vehicle setup with a limited group size (maximum 48 travelers).
Is it expensive? It’s not cheap. But if you’re going to do Haleakala and you want an active way down, this is one of the more direct value plays because the biking is the core experience, not an add-on.
The practical risks to plan for on summit-bike days
Even with a solid plan, a few things can change your exact ride path.
Road closures can affect the route. Some riders mention missing parts due to closures, including a section through Kula being unavailable at the time of their ride. Others note that local laws removed part of the middle of the descent. You should treat the route as “mostly fixed” but not guaranteed to be identical day to day.
Weather is another factor. The experience requires good weather, and if it’s canceled for poor conditions, you’ll be offered another date or a full refund. On a mountain like Haleakala, waiting for weather stability is common sense.
So my advice is simple: keep your schedule flexible and don’t treat the ride as the one thing you can’t reschedule.
Should you book the self-guided Haleakala Summit bike tour?
Book it if you want Haleakala’s summit views and you’re ready to ride a real downhill on a road-bike-adjacent setting with traffic. If you’re confident on a mountain bike and you like the idea of choosing your own pace after the crater stop, this format makes sense. The 15-mile descent and the Fabulous 29 switchbacks are the kind of memory you’ll talk about long after Maui.
Consider skipping or switching to guided if you’re unsure about braking, if you get stressed near cars, or if you want someone to handle navigation end-to-end. Also book with eyes open if you hate route surprises, since closures can change which sections you get.
If your top priority is maximum fun with minimum complexity, self-guided works best when you bring solid biking skills and a calm approach.
FAQ
How long is the Haleakala Summit self-guided bike tour?
The tour runs about 7 hours (approx.).
Where does the tour start, and when does it begin?
It starts at 810 Haiku Rd, Haiku, HI 96708 and begins at 8:00 am. The activity ends back at the meeting point.
What is included in the price?
The price includes an air-conditioned vehicle, a custom Kona mountain bike, helmet, a Helly Hansen windbreaker suit top and bottom, a Da Kine backpack, and all fees and taxes.
Do I need to bring water, snacks, or money for lunch?
Yes. You should bring your own water & snacks. Lunch is no-host, so bring credit card or cash if you want to eat in Makawao or Haiku.
What are the minimum age and fitness requirements?
You should have moderate physical fitness and recent biking experience. Minimum age is 15, and minimum height is 4’10”.
What happens if the tour is canceled due to weather?
The experience requires good weather. If it’s canceled due to poor weather, you’ll be offered a different date or a full refund.