REVIEW · SKAFTAFELL
Skaftafell: Blue Ice Cave & Glacier Hike on Vatnajökull
Book on Viator →Operated by Arctic Adventures · Bookable on Viator
One step onto Vatnajökull feels like stepping into a living geological textbook, and the blue ice cave is the kind of sight you plan photos around. I love that this tour includes proper glacier gear and a certified glacier guide, so you’re not improvising on serious ice. The main drawback to know up front: the exact cave size and how photogenic it looks can change with melt and access.
You start at Skaftafell, drive by 4×4 to the glacier edge, get fitted with crampons and other safety equipment, then walk across uneven glacier terrain at an easy pace. Expect roughly 1.5–2 hours on the ice, plus time for the cave visit and photos. With a max group size of 12, it usually feels manageable on the move.
In This Review
- Key points to know before you go
- Why Vatnajökull’s blue ice cave is such a draw
- From Skaftafell base to the glacier edge: the flow of the tour
- Glacier gear isn’t optional, and that’s why the hike feels safer
- What you actually do on the glacier (rated easy, still real)
- The ice cave stop: why timing and conditions shape the photos
- Itinerary in plain language: stop by stop
- Stop 1: Skaftafell National Park
- Stop 2: Vatnajökull glacier (Fallsjökull)
- Price and value: what $167.74 really buys
- Who should book this glacier hike on Vatnajökull
- Practical tips that keep your day smooth
- Should you book Skaftafell’s Blue Ice Cave & glacier hike?
- FAQ
- How long is the Skaftafell Blue Ice Cave & Glacier Hike?
- Where does the tour start and end?
- Is food included in the price?
- What safety gear is included?
- What boots do I need?
- Can I rent clothing or boots?
- What shoe sizes can use the crampons?
- What age is the minimum?
- Is the hike really easy?
- What if the weather is bad?
- FAQ
- What’s the group size?
- Is the tour offered in English?
Key points to know before you go
- Certified glacier guiding plus full safety kit, so you’re set for crevasse-prone terrain.
- Small group (max 12), with guides sometimes splitting into smaller teams on the glacier for easier movement.
- Easy rating, real walking: plan for about 3 km over uneven ground even if you’re not a climber.
- Blue ice cave access can vary: cave shape and size aren’t guaranteed to match the most dramatic photos.
- 4×4 transport cuts the slog and gets you to Fallsjökull faster.
- Boot rules matter: ankle-support boots are mandatory, and crampons fit shoe sizes 35–50 EU only.
Why Vatnajökull’s blue ice cave is such a draw
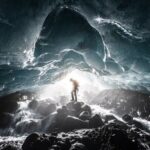
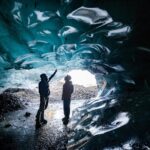
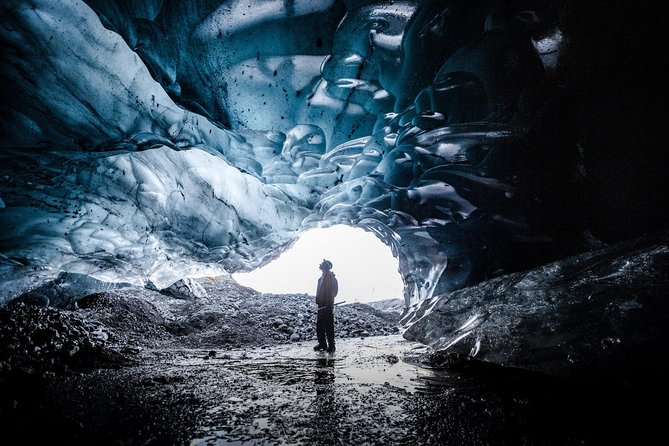
The headline here is the blue ice cave on Fallsjökull, an outlet glacier of Vatnajökull. The “blue” part isn’t a marketing trick. Glacier ice can look intensely blue when light filters through the ice and refrozen layers, and inside a cave the contrast usually feels extra striking—cool, bright, and very different from the gray-white outside.
What makes the experience worth your time isn’t just the color. It’s the sense that you’re seeing glacier ice at a close distance that you normally only get in documentaries. On the walk, you’re moving across features like ice ridges and uneven ground, and then you get a naturally formed cave stop where the ice walls become the subject.
One more point that’s easy to miss when you’re shopping online: a glacier is not a museum. The cave you can access depends on conditions. That’s why the tour is exciting when it works at its best—and why it can be disappointing if you expected a massive tunnel straight out of one perfect photo.
You can also read our reviews of more tours and experiences in Skaftafell.
From Skaftafell base to the glacier edge: the flow of the tour
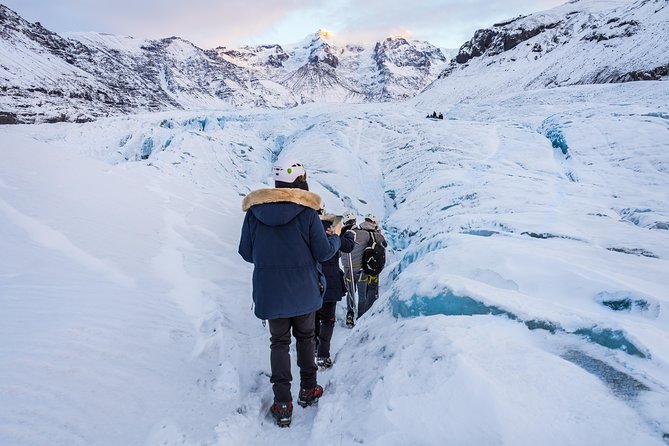
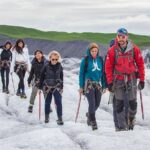
This tour starts at the Arctic Adventures base camp at Skaftafell. After you meet your guide, you gear up on site with the cold-weather essentials that make glacier walking possible: crampons, a helmet, and glacier footwear hardware like an ice axe plus harness equipment.
Then comes the quick 4×4 ride to the glacier edge. That ride isn’t just convenience. It matters because it gets you to the start of your walk without wasting energy on longer transfers over rough ground. It also helps you arrive when your guide wants to begin the on-ice portion.
Before anyone steps onto the glacier, you get a full safety briefing. This is a serious part of the value here. Glacier hiking isn’t about power; it’s about correct footing, spacing, and moving as a team over uneven ice where conditions can change.
Glacier gear isn’t optional, and that’s why the hike feels safer
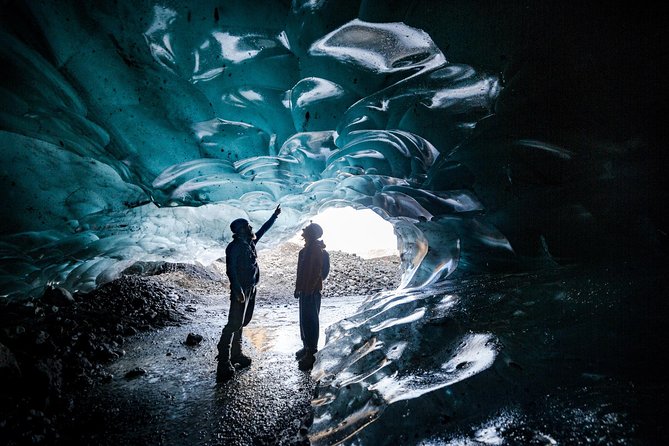
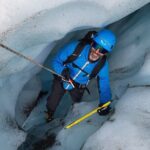
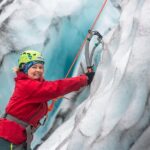
You’ll be provided specialized glacier equipment: glacier crampons, an ice axe, a harness, and a helmet. That removes a lot of risk and hassle for visitors who don’t own gear that’s specifically designed for this kind of terrain.
The tour also has clear shoe/fit rules, and I’m glad they do. Your crampons only work for EU shoe sizes 35–50, and the tour requires ankle-support hiking boots. You may rent waterproof pants, a jacket, and hiking boots for a small fee, but the key is that you must show up prepared. If your boots don’t meet the ankle-support requirement, you’re not getting a “mostly okay” substitute on the ice. The whole experience depends on stable footing.
Why this matters for your day:
- Crampons only work well if they fit correctly.
- A harness and helmet are part of the system that keeps you secure while you learn how to walk safely.
- The ice axe isn’t there for show—it supports balance and technique on uneven glacier terrain.
What you actually do on the glacier (rated easy, still real)
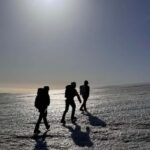
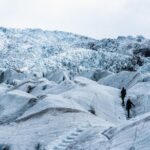
The activity is rated easy, but don’t let that word trick you. You’ll hike about 3 km over uneven terrain. Think steady, watch-your-step walking. You’re not doing technical climbing, but you are on ice that can be bumpy, angled, and visually confusing.
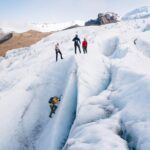
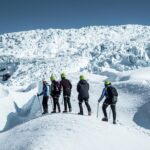
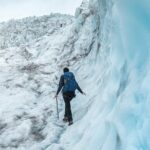
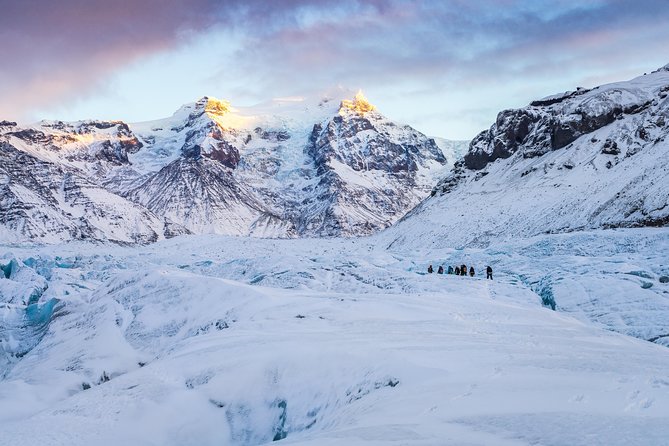
Expect sweeping mountain views along the way. The best part of the glacier portion is that you’re close enough to see ice formations up close—crevasses and ice ridges become part of the “route” your guide explains and navigates with the group.
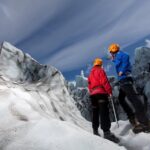
Your time on the glacier is about 1.5–2 hours at an easy pace. Guides tend to keep the group together, and with a max of 12 people total, it doesn’t turn into a chaotic shuffle. In fact, when groups fill to the top end, guides may split into smaller teams to move more smoothly and get into the ice cave without bottlenecks.
If you can walk for a few hours on rough ground, you’ll probably be fine. If you’re expecting a gentle stroll, you’ll want to adjust your expectations.
The ice cave stop: why timing and conditions shape the photos
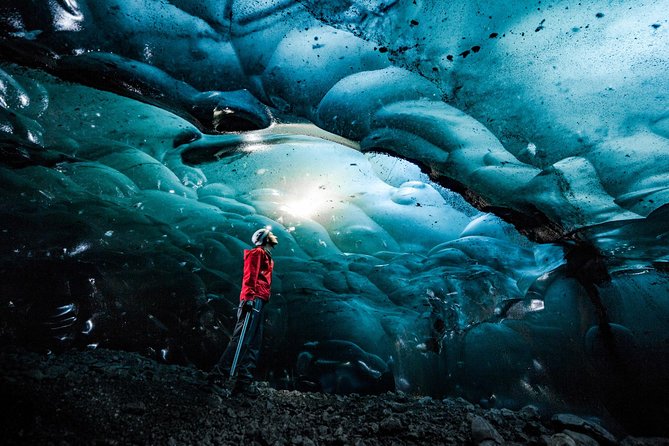
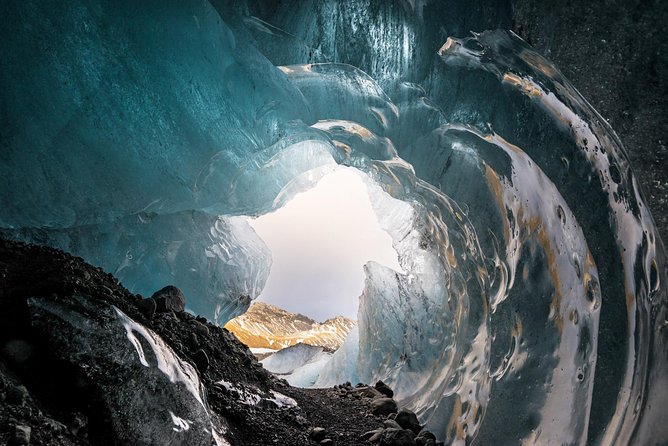
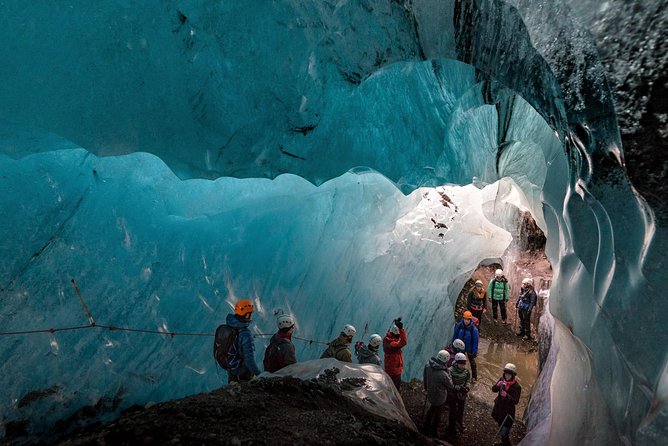
The ice cave is the star stop. You’ll visit a naturally formed blue ice cave and get time to explore inside and take photos of the ice walls. This is where your sense of scale really changes. Inside a small ice structure, the walls can look cathedral-like, and the light can make ice look layered and textured.
Here’s the honest caveat: cave shape and size can vary, sometimes a lot. Some people have been disappointed because the cave ended up smaller than the images they expected. Other issues can happen when access changes because the glacier surface changes and melt alters where a cave can be safely entered.
So how do you set yourself up for success?
- Go in expecting a real ice cave that’s accessible in that moment, not a guaranteed massive tunnel.
- Take photos, but keep your attention on your footing and your guide’s instructions first.
- Let the guide lead the pace. This isn’t a place to wander around freely.
When conditions are right, this stop can be unforgettable. When they’re less ideal, you can still come away with great memories of the glacier hike plus close-up ice textures you wouldn’t see any other way.
Itinerary in plain language: stop by stop
Stop 1: Skaftafell National Park
This is your start zone—where you meet your guide and get fitted out. It’s also where you’ll likely take a quick mental breath before cold, technical walking starts.
Why this stop matters: getting the gear right early prevents stress later. Crampons, helmets, and boots aren’t details; they’re the difference between confident walking and a day where you’re thinking about your footing every second.
Stop 2: Vatnajökull glacier (Fallsjökull)
This is where the day earns its reputation. You’ll drive to the glacier edge, get a safety briefing, then walk across glacier terrain with your guide.
The flow on the ice generally works like this:
- walk across crevasses and ice ridges with guide-led technique
- arrive at the ice cave entrance area
- spend time inside the cave for photos and close viewing
- continue with the glacier hike at an easy pace until your tour time wraps
Potential drawback at this stop: weather and ice conditions can impact what you can access. The tour is designed for cold conditions, but the day still depends on safe conditions.
Price and value: what $167.74 really buys
At $167.74 per person for about 4 hours, you’re not just paying for a walk. You’re paying for trained leadership, specialized glacier equipment, and the 4×4 transfer.
Here’s what stands out as good value:
- Certified glacier guide for a high-risk environment.
- Safety gear included: crampons, ice axe, harness, helmet.
- Small group size (max 12), which usually means more attention and less crowding.
- 4×4 transport to the glacier edge, so you spend your energy on the ice hike rather than logistics.
What isn’t included:
- food and drinks
- waterproof outerwear and hiking boots (rentals can be available for a fee)
If you’re already fully kitted out with proper boots, the value is even better. If you’re arriving with regular shoes, factor in the rental costs and time to fit boots correctly. Getting this wrong can turn an “easy” hike into a frustrating day.
Who should book this glacier hike on Vatnajökull
This is a strong match for:
- active travelers who can walk for a few hours on uneven terrain
- people with no prior glacier experience who want a guide-led safety system
- photographers who want close-up ice textures and an ice cave stop
It may be less ideal if:
- you want a super-short walk with minimal uneven ground
- your shoe size falls outside the crampon range (EU 35–50)
- you’re not able to wear ankle-support boots
Also, if you’re the kind of person who needs lots of flexibility on the day of booking, read the fine print early. Glacier tours are weather-sensitive, and changing plans close to departure can be handled strictly.
Practical tips that keep your day smooth
Cold-weather success comes down to a few basics, and the tour already pushes you in the right direction by requiring proper boots and offering rentals.
- Bring or rent waterproof pants and a waterproof jacket. Snow/rain/elements are part of Iceland glacier days, and you’ll feel it after 90 minutes.
- Wear ankle-support hiking boots. This isn’t a “nice to have.”
- Plan for getting photos without holding up the group. Your guide will manage when you can pause.
- If you’re booking at the last minute, double-check your boot fit and shoe size for crampons.
- If you care deeply about seeing the cave in the most dramatic condition, understand that access and shape depend on melt and safety.
Should you book Skaftafell’s Blue Ice Cave & glacier hike?
Book it if you want a guided glacier hike that includes the hard parts—safe gear and trained instruction—plus a real ice cave visit that can deliver some of Iceland’s most memorable ice views.
Don’t book it (or book with tempered expectations) if your entire goal is a huge, Instagram-perfect cave every time. The glacier changes, and the cave stop is only what’s safely accessible in that moment.
My final take: this is one of those experiences where the value is in the system. You’re paying for correct equipment, a guide who knows how to move on glacier ice, and the chance to see Fallsjökull up close—blue ice cave included.
FAQ
How long is the Skaftafell Blue Ice Cave & Glacier Hike?
It’s about 4 hours total.
Where does the tour start and end?
It starts and ends back at the meeting point at Arctic Adventures (Skaftafell Base Camp), 228J+CPM, 785 Skaftafell, Iceland.
Is food included in the price?
No. Food and drinks are not included.
What safety gear is included?
You get glacier crampons, a walking ice axe, harness, and a helmet.
What boots do I need?
Hiking boots with ankle support are mandatory.
Can I rent clothing or boots?
Waterproof pants, jacket, and hiking boots are available to rent for a small fee.
What shoe sizes can use the crampons?
Specialized glacier crampons are available for shoe sizes 35–50 EU.
What age is the minimum?
Minimum age is 8 years old.
Is the hike really easy?
It’s rated easy, but you should expect about a 3 km hike over uneven terrain.
What if the weather is bad?
The tour requires good weather. If it’s canceled due to poor weather, you’ll be offered a different date or a full refund.
FAQ
What’s the group size?
Maximum group size is 12 travelers.
Is the tour offered in English?
Yes, it’s offered in English.