REVIEW · CAPE TOWN
Cape Town: Table Mountain Hike via India Venster Morning
Book on GetYourGuide →Operated by Cape Escape Tours · Bookable on GetYourGuide
Table Mountain, but with teeth. This hike tackles a steeper ascent than the typical stroll, and I like that you get real scenery rewards plus hands-on scrambling rather than just sightseeing. You’ll love the India Venster window photo stop and the dramatic panoramas (Cape Town, Lion’s Head, Signal Hill, and even out toward Robben Island), but the trade-off is simple: it takes balance and stamina, especially early on.
You climb with a registered hiking guide who has 15+ years of experience, and the day is built around a tight 3.5–4 hour rhythm—safety briefing, technical route work, and a snack break with photos/videos along the way.
In This Review
- Key Highlights You’ll Care About
- Why This India Venster Route Feels Different Than the Usual Table Mountain Walk
- Meeting Up and the Morning Timing That Keeps the Climb Stress-Free
- The Tough First 15 Minutes Behind the Lower Cable Station
- Getting to the Contour Path at 480m, Then Choosing the Right Line
- India Venster Window: The Photo Stop That’s Worth the Effort
- Across the Amphitheater: Where Balance and Stamina Actually Matter
- Biltong Break on a Grassy Terrace (and Why It’s Smart)
- Cable Car Down and Planning Your Afternoon in Cape Town
- What to Bring (So You Don’t Regret It at the First Rock Step)
- Is This Hike Worth $110? Value vs. Effort
- Safety Notes, Fitness Reality, and Who Should Rethink This
- If You’re Choosing Only One Table Mountain Morning, Here’s My Call
- FAQ
- How long is the Table Mountain hike via India Venster?
- Where do we meet the tour guide?
- Is hotel pickup included?
- What’s included in the price?
- How much is the cable car ticket down?
- What should I bring?
- Who is this hike not suitable for?
Key Highlights You’ll Care About
- Scrambling climb, not a casual walk with low rock steps, gully sections, and moderate climbing
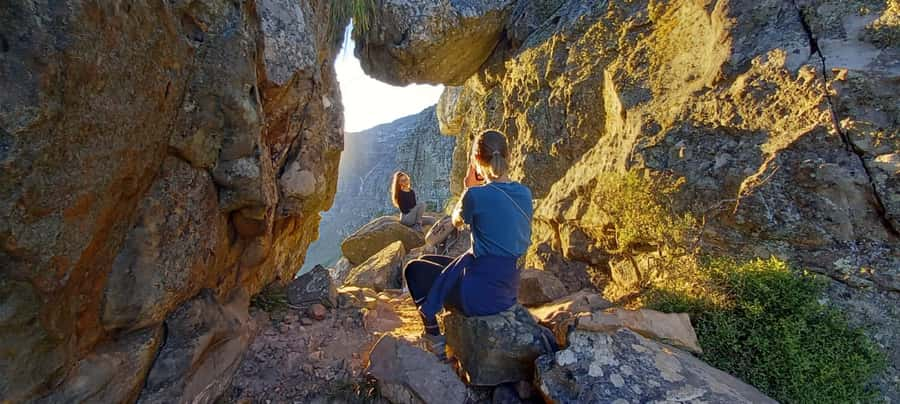
- India Venster window for a standout photo stop over Table Mountain’s rock formation
- Amphitheater traverse with pitches using staples and chains in a few spots
- Fynbos biome learning—you’ll get plant-focused context while you hike
- Biltong break on a grassy terrace after crossing boulders by cairns
- Final payoff on the plateau with the most incredible morning views
Why This India Venster Route Feels Different Than the Usual Table Mountain Walk
Most Table Mountain hikes are about getting to a viewpoint. This one is about getting your legs, feet, and confidence working along the way. The India Venster morning route is built for hikers who want a more technical line—scrambling, climbing, and a few pitch-like steps where you’ll notice the route is very much designed for people with good balance.
I also like that it doesn’t treat nature as background scenery. You’re shown Table Mountain flora and you learn about the Fynbos biome, the distinctive vegetation of southwestern South Africa. So yes, you’re climbing for views—but you’re also climbing with context, which makes the effort feel more purposeful.
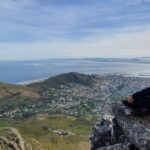
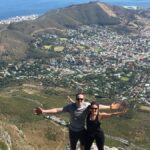
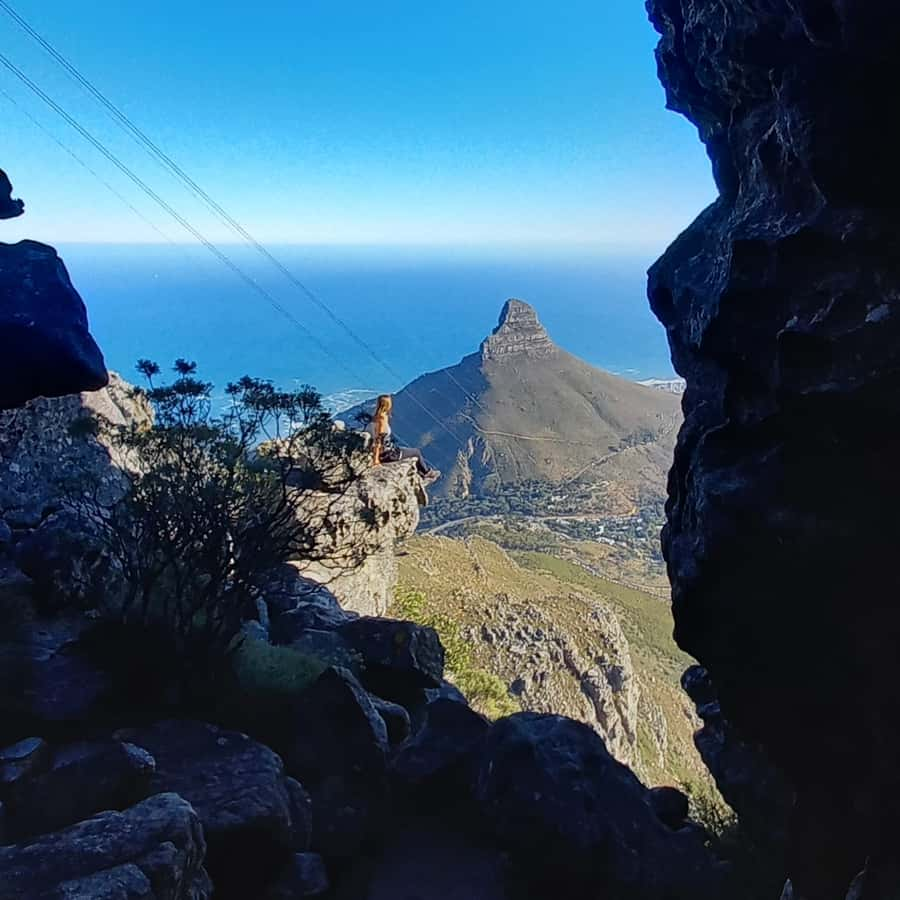
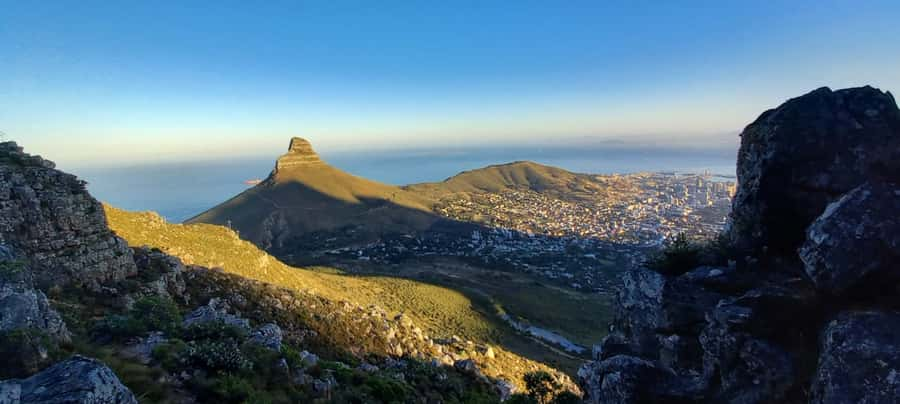
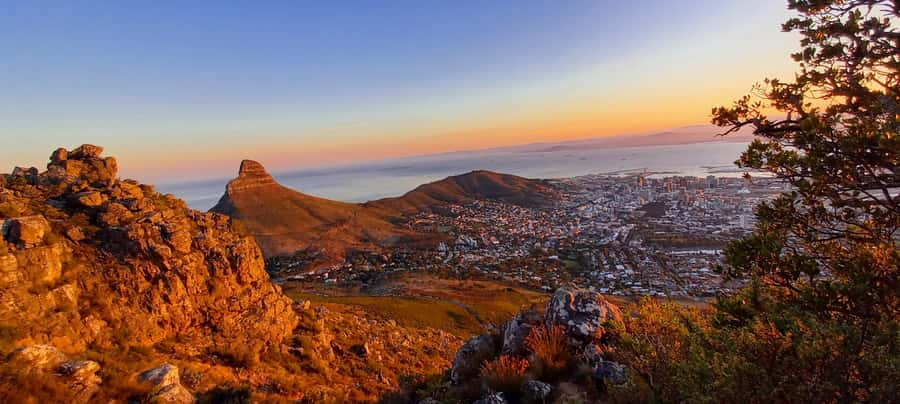
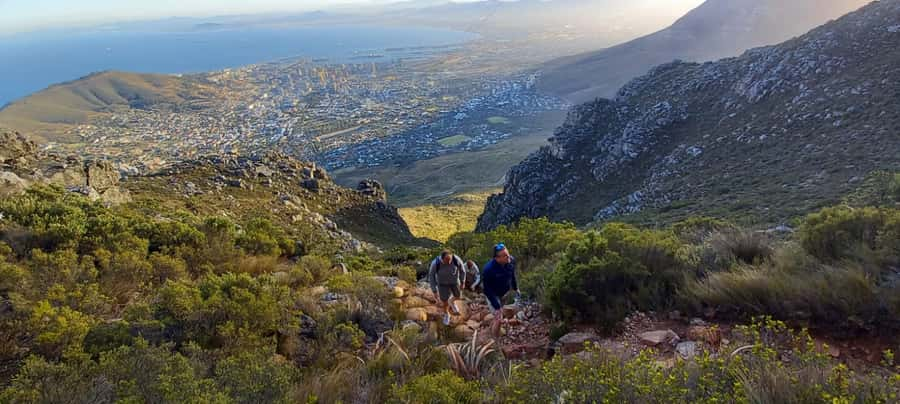
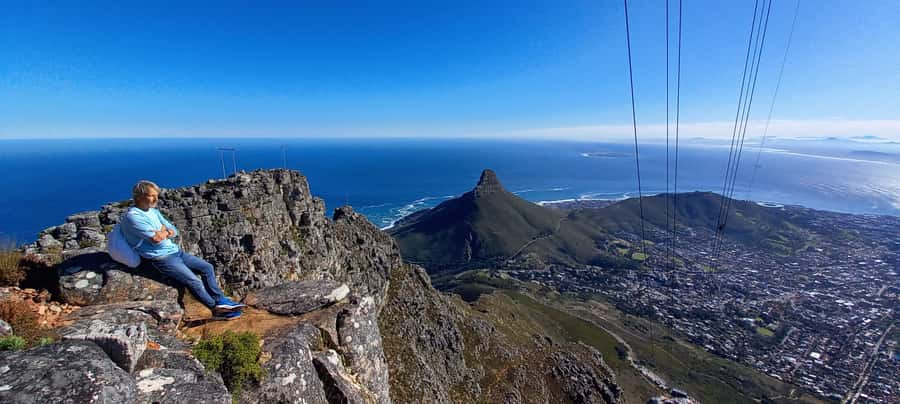
One more thing: you don’t just see Cape Town from a distance. As you gain height, you get layered angles on the city and surrounding landmarks, including Lion’s Head and Signal Hill. Later, the route swings you toward views of the Atlantic coast, and on clear mornings you can even look far up the west coast and toward Robben Island.
You can also read our reviews of more tours and experiences in Cape Town.

Meeting Up and the Morning Timing That Keeps the Climb Stress-Free
Your tour meets at the Table Mountain lower cable car station at the Vida e Caffè store. If you chose hotel pickup, you wait at your hotel or guesthouse within the defined Cape Town pickup area—then you roll toward the start as a small group or private group.
The active hiking portion runs about 3.5 hours, plus a ~30-minute break, with the total experience landing around 3.5–4 hours. Before you move, there’s a short safety briefing (around 5 minutes). That matters on this route, because the terrain changes—first steep and rocky, then scrambling, then chain-and-staple assisted sections.
Down the hill, you take the cable car for about 4 minutes. The big practical point for your planning: this is a morning option. It’s well-suited if you want your Table Mountain time done early so you can eat, explore Cape Town, or head to another stop without feeling rushed.
The Tough First 15 Minutes Behind the Lower Cable Station
The hike starts behind the lower cable station. The first 15 minutes are the toughest—steep and physical. It’s the kind of start that can trick people into going too fast, so your best move is to take it slow until you reach the contour path at around 480 meters above sea level.
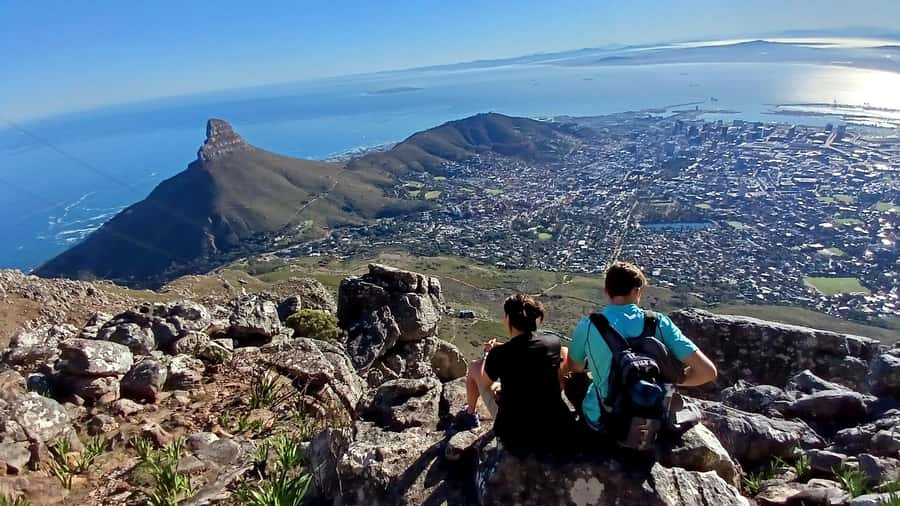
This is also a key mental shift moment. Once you hit that contour path, the steepness settles down and your eyes get to do their job. From here, you can start enjoying wide views over Cape Town, with Lion’s Head and Signal Hill coming into focus. It’s a good place to pause, take a breath, and consider removing layers if the sun is warming you up.
After this, the route splits. The scrambling part gets more interesting, and you’ll start trading easy uphill for low rock steps, rocky platforms, and narrow gully lines. In other words: the day becomes less about walking and more about careful movement.
Getting to the Contour Path at 480m, Then Choosing the Right Line
Once you’re on the contour path, you’ll cross over it and head right up a series of low rock steps toward a platform on the skyline of the buttress. This is where you’ll feel why the hike is rated for experienced hikers: the route is steeper than it looks, and the ground isn’t uniform.
Your guide will help you read the terrain and stay on track, but the terrain still asks things of you. Your feet need to find purchase, and you want good shoe traction. If you’re expecting a smooth trail, you’ll be surprised—if you’re expecting rocks and variety, you’ll feel at home.
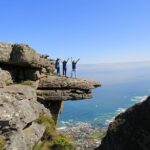
Keep an eye on the gully as you go. The Venster (window) is on your left a little way up, and it’s a natural photo stop because it frames Table Mountain’s rock formation. This stop isn’t just for pictures; it’s also a chance to steady yourself before the route continues upward through the gully and toward the lower Venster buttress area.
India Venster Window: The Photo Stop That’s Worth the Effort
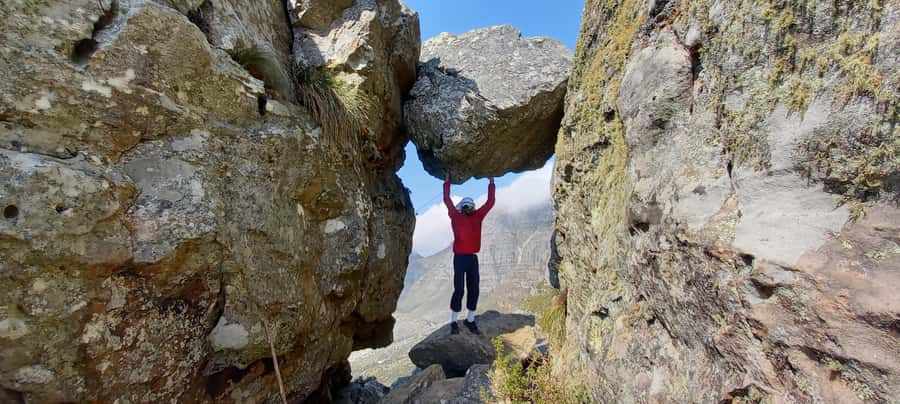
The India Venster window is the moment most people remember because it’s both dramatic and specific. You’ll see it in the gully, on the left, then you’ll get the chance to pause and take in the shape of the rock formation.
From there, the route carries on back up the gully to the main path and over the top of the lower Venster buttress. At that point, the views open up in a more serious way. You’ll be able to take in the upper parts of the hike you’ve just tackled, plus a wider horizon—Robben Island and far up the west coast on clear days.
I like how the hike structures this: you don’t get the big views until you’ve “paid” in effort. That makes the payoff feel earned rather than automatic. And if you’re the kind of traveler who likes to understand what you’re seeing, this is also where the guide’s natural-history talk (flora and local context) makes the rocks feel less random.

Across the Amphitheater: Where Balance and Stamina Actually Matter

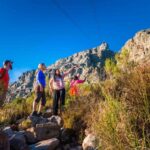
After the Venster area, your route follows the path and traverses the base of the amphitheater. This is where the hike shifts into moderate scrambling and climbing. You’ll hit a few rock pitches, and while the terrain is challenging, it’s not left to chance: you’ll use many staples and chains on the steeper sections to help you climb more safely.
This part isn’t a test of athleticism for its own sake. It’s a practical route feature on Table Mountain—handholds exist for a reason, and they make the difference between sliding forward in fear and moving forward with control.
Once you climb those pitches, you’ll come out on to a small gully and then a boulder field. You’ll pick up cairns across the boulders to reach a grassy terrace. Cairns help you stay oriented in a place where the “obvious line” isn’t always the right one.
Biltong Break on a Grassy Terrace (and Why It’s Smart)
You’ll take a break on that grassy terrace after crossing the boulder section by following the cairns. This is when you’ll refuel with biltong, one of South Africa’s favorite snacks. It’s a simple food choice, but it’s exactly what you want mid-hike—salty, energy-rich, and easy to eat while you catch your breath and regain rhythm.
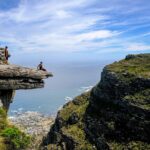
This break also helps because the route doesn’t go easy right afterward. After the biltong, the path veers left into shade and you move along a ledge with amazing views over the glittering Atlantic coast. That ledge walking feels more exposed, so having eaten and cooled down a bit is genuinely helpful.
Then comes the final push up to the Table Mountain plateau. If you’ve been paying attention, you’ll notice the route has been “building” you up: steep start → viewpoint layers → technical middle → terrace refuel → ledge views → plateau reward.
Cable Car Down and Planning Your Afternoon in Cape Town
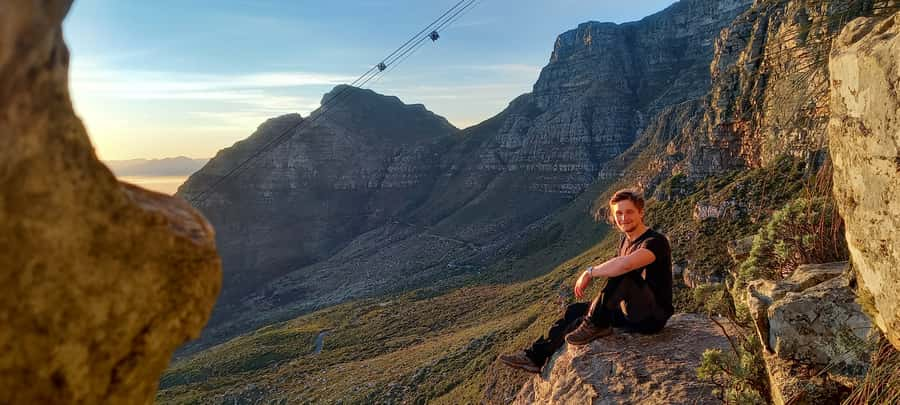
At the end of the hike, you take the cable car down. The cable car ride is about 4 minutes, but the ticket isn’t included. You’ll need to budget R 280 per person for the way down, and you should bring cash or a credit card to pay.
Where do you go after? Drop-off can be at one of three points: Table Mountain Aerial Cableway, Cape Town, or Cape Town Station. If you’re planning the rest of your day, I’d treat this as a finish-and-transfer situation. You’ll likely be ready for food and a slower pace, because the climb includes scrambling and some pitch-like climbing.
One practical weather note: the day before, you’ll be contacted if the forecast isn’t suitable for hiking on Table Mountain. That’s not just admin—it’s a real safety factor, since rock can get slippery and wind can change how exposed the route feels.
What to Bring (So You Don’t Regret It at the First Rock Step)
This hike is short in hours but serious in terrain. Pack for traction and weather swings, not just sun.
Bring:
- Comfortable hiking shoes (real grip helps on rock)
- A windbreaker (wind on the mountain can change fast)
- Water
- Snacks (and remember drinks aren’t included)
- Sunscreen
Leave behind:
- Luggage or large bags
- Slippers
- Drones
Also, bring payment for the cable car down (cash or credit cards). It’s one of those small logistics items that can otherwise turn your ride into a scramble.
Is This Hike Worth $110? Value vs. Effort
At $110 per person, you’re paying for a guided, technically challenging ascent with support that goes beyond “follow the leader.” Your hike includes:
- A registered hiking tour guide
- A first aid kit
- Photos and videos
That last part matters more than it sounds. On a route with scrambling, exposed moments, and specific photo stops like India Venster, you don’t always want to be juggling your phone at the exact moment the view opens.
You’re also getting a structured experience: safety briefing, planned route segments, and a scheduled snack break with biltong. The cable car down ticket is extra, but it’s a small add-on compared with the guide effort and the time on the mountain.
So the value question comes down to fit. If you want a mild walk, this price won’t feel worth it. If you want a real climb with scenery and learned context, the cost starts to make sense—because you’re buying both time and expertise.
Safety Notes, Fitness Reality, and Who Should Rethink This
This route isn’t for everyone. It’s not just long; it’s technically demanding. It may not suit people with back problems, mobility impairments, heart problems, respiratory issues, low level of fitness, or fear of heights. It’s also not intended for children under 12.
There’s also a practical rule: guests must have enough stamina to hike down if needed. And there’s a specific caution for people who’ve had knee or hip replacement surgery.
If you’re unsure, be honest with yourself about two things: balance on uneven rock and comfort with exposure. If both are shaky, choose a different Table Mountain route. If both are solid, this hike can be a standout morning because it blends physical accomplishment with views you can’t fake.
If You’re Choosing Only One Table Mountain Morning, Here’s My Call
Book this hike if you want more than a summit photo. You’re coming for the scramble, the India Venster window moment, and the chain-and-staple assisted sections that make technical terrain manageable with a guide. You’ll also enjoy the route if you like nature details—especially Table Mountain flora and Fynbos context—rather than just a view and a return.
Skip it if you need a low-effort outing, if you’re anxious around heights, or if your body can’t handle uneven scrambling and pitches. For the right hiker, though, this is one of those Table Mountain mornings that turns into a full memory set: rock formations, Atlantic views, and that final plateau payoff.
FAQ
How long is the Table Mountain hike via India Venster?
It takes about 3.5 to 4 hours total, including a short safety briefing, about 3.5 hours of guided hiking, and a break with photo time.
Where do we meet the tour guide?
Meet at the Table Mountain lower cable car station at the Vida e Caffè store.
Is hotel pickup included?
Hotel pickup & drop-off are included when you select that option. Pickup is available within a defined Cape Town pickup area.
What’s included in the price?
Included items are a registered hiking tour guide, a first aid kit, and photos & videos. Cable car down and drinks are not included.
How much is the cable car ticket down?
The cable car ticket for the way down costs R 280 per person.
What should I bring?
Bring comfortable shoes (hiking shoes), a windbreaker, sunscreen, water, and snacks.
Who is this hike not suitable for?
It’s not suitable for children under 12, people with back problems, mobility impairments, heart problems, respiratory issues, low level of fitness, or those afraid of heights. It may also not be suitable after knee or hip replacement surgery.