REVIEW · ARUSHA
7-Day Machame Kilimanjaro Summit Tour from Arusha
Book on Viator →Operated by Climb Kili · Bookable on Viator
Kilimanjaro never feels casual. This 7-day Machame route from Arusha takes you through changing climates while keeping the group small, so you get real attention on the climb. I especially like that the day-by-day plan includes the tough parts you need for a summit attempt, and the trek is led by a team that many hikers describe as steady, safety-focused, and encouraging, including guides like Herment Mosha and Steve.
What I like most is the value of what’s included: camping gear, meals, and park-related costs are bundled in, so you’re not constantly adding extra bills mid-trip. The other big plus is how the schedule builds in time to adjust at altitude, not just push forward every day.
One thing to consider: this is the tougher Machame trail and it demands a strong fitness level. If you’re looking for a soft hike or you get nervous on exposed ridges, you’ll want to think twice and plan carefully with your guide.
In This Review
- Key highlights at a glance
- The Machame Route: Why This 7-Day Plan Makes Sense
- Price and What You Actually Get for $2,695
- Day 1: Machame Gate to Machame Camp Through the Rain Forest
- Day 2: Shira Camp and the Shift Into Moorland
- Day 3: Lava Tower Acclimatization, Arrow Glacier, and Barranco Camp
- Day 4: Barranco Valley to Karanga Camp in the Alpine Cold
- Day 5: Kosovo Camp, Barafu Views, and the Exposed Ridge Warning
- Day 6: Midnight Summit to Stella Point and Uhuru Peak Sunrise
- Day 7: Mweka Gate Walkout and the Return to Arusha Comfort
- The Climb Kili Crew: Why People Feel Safe on Kilimanjaro
- How to Prepare for a Tougher Machame Trek
- Who Should Book This Machame Summit Tour (and Who Might Rethink It)
- Should You Book This 7-Day Machame Summit Tour with Climb Kili?
- FAQ
- Is pickup included from Arusha?
- How long is the Machame Kilimanjaro summit tour?
- How big is the group?
- What route does this itinerary follow?
- What time does the summit-day start?
- What’s included in the price?
- What fitness level do I need?
- Can I cancel and get a full refund?
Key highlights at a glance
- Small-group format (max 6 travelers) for closer guidance and smoother logistics.
- Machame to Kibo progression through rainforest, moorland, and a big move into the alpine/arctic feel.
- Acclimatization built into the itinerary via a Lava Tower day before the summit push.
- Midnight summit strategy with Stella Point for sunrise, then continuing toward Uhuru Peak.
- All camping setup and meals included, so you can focus on walking (and breathing) instead of running camp logistics.
- Round-trip transfers from your Arusha hotel plus an end-day transfer back for a shower.
The Machame Route: Why This 7-Day Plan Makes Sense
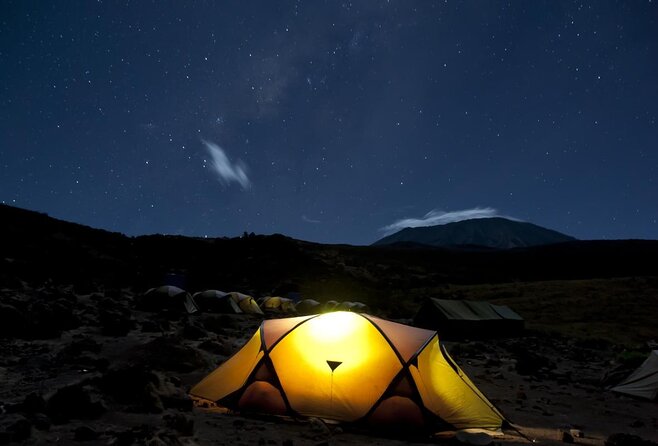
If you want Kilimanjaro, but you also want a route that feels serious, Machame is a popular choice for a reason. You’ll climb over several climatic zones in one week, starting in the wetter, darker forest area and working your way upward into zones that feel colder, drier, and more “high-mountain” as the days go on. The point is not just scenery. It’s also training your body for altitude in a more gradual way than short, fast itineraries.
This trip also aims for a calmer pace because it’s a small group. With fewer people on the trail, your guide can notice who’s moving well, who needs an extra check-in, and how your breathing is holding up. That matters when you’re heading toward a midnight start on Day 6.
Machame is described as tougher than Marangu, and that matches what the itinerary is showing: multiple long days, steep stretches, and exposed sections. So if you’ve done a few solid hikes before, you’ll likely feel more comfortable. If you haven’t, treat this as a “train first” situation, not a “wing it and hope” plan.
You can also read our reviews of more tours and experiences in Arusha.
Price and What You Actually Get for $2,695
At $2,695 per person, this is not a cheap vacation add-on. But for Kilimanjaro, the question is what’s included and how smoothly the logistics are handled.
Here’s what you’re getting based on the provided details:
- Round-trip transfers from your Arusha hotel
- All camping equipment
- Meals included
- Fees included (park-related costs are covered within the itinerary)
- Admission ticket included each day in the plan
- Small group up to 6
- Mobile ticket
Then there’s the “hidden” value: how the route is paced and supported. Many summit trips fail for reasons that have nothing to do with willpower and everything to do with slowing down correctly, keeping a steady rhythm, and making good decisions when altitude starts biting. The included acclimatization day (Lava Tower) and the structured summit-night schedule are part of what you’re paying for.
One practical note: the itinerary starts from a specific meeting point in Arusha (Summit Lodge at Sakina Raskazone). If you’re coming from elsewhere in town, make sure your local hotel and pickup time line up, so Day 1 doesn’t start in “running late panic mode.”
Day 1: Machame Gate to Machame Camp Through the Rain Forest
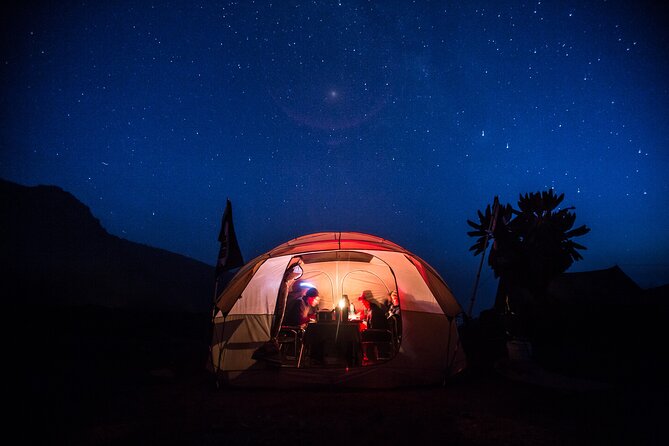
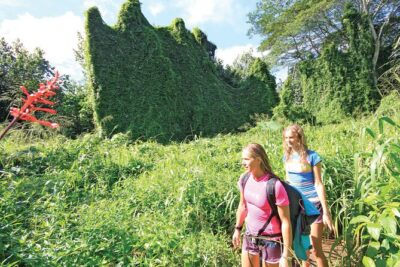
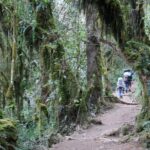
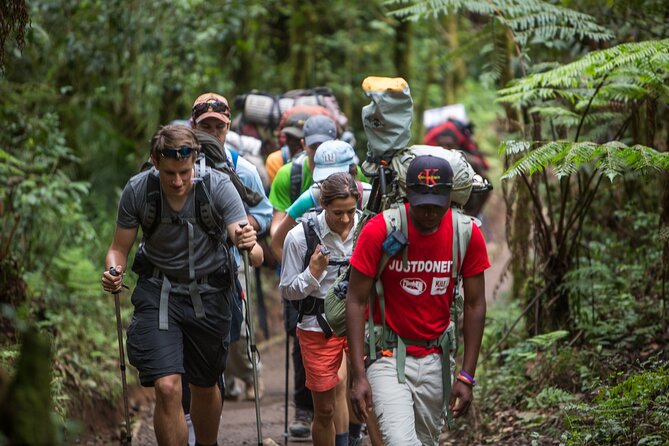
Day 1 is your on-ramp. You start with breakfast, then you’re met by your Climb Kili mountain guide and crew and transferred from Arusha to the Machame Gate area. After leaving the park gate, the hike begins through rain forest, moving up a winding trail along a ridge.
This is where you’ll feel the first “trail truth”: lower down, it can be muddy and slippery. That’s not a dramatic warning. It’s just real. Pack and use trekking poles if you have them, and consider gaiters to keep damp grit out of your shoes. Even if you’re in great shape, bad footing at the start can knock the wind out of you.
You finish Day 1 at Machame Camp, with your tent set up and your personal belongings made ready. That’s a small thing that becomes a big one on Kilimanjaro. When camp is already handled, you can spend energy on adjusting, not reorganizing your life.
Day 2: Shira Camp and the Shift Into Moorland
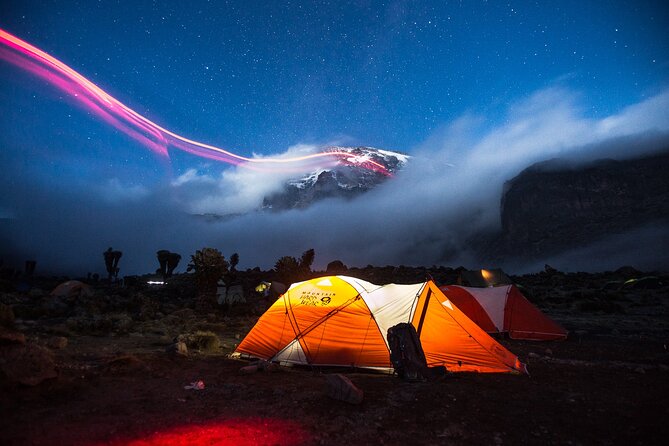
Day 2 starts with altitude and a change in feel. You leave the rainforest glades and move into higher terrain along an ascending path. The trail includes crossing a little valley and then walking along a steep rocky ridge before entering the moorland zone covered with heather.
In practical terms, the walking changes even if your legs don’t. The ground becomes different, and the air tends to feel thinner as you go higher. You’ll also start to notice how careful pacing becomes more important here than in lower-elevation hikes. Speed is tempting. Altitude punishes it.
You reach Shira Camp, with time for rest, dinner, and overnight. The big win on Day 2 is that it sets you up for acclimatization the next day, instead of trying to jump too fast.
Day 3: Lava Tower Acclimatization, Arrow Glacier, and Barranco Camp
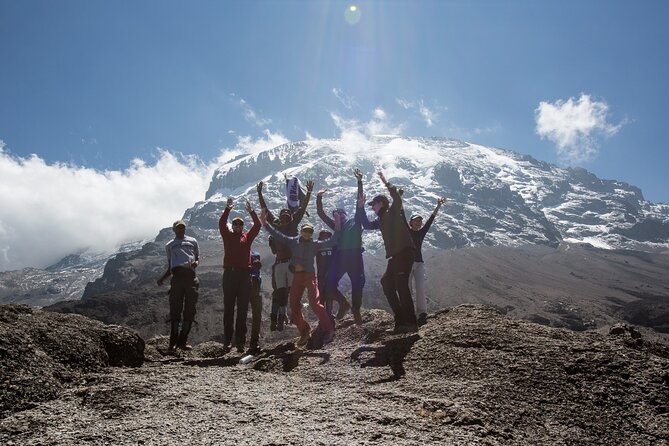
Day 3 is built for acclimatization, which is exactly what you want before the more dramatic days. You take a hike up toward Lava Tower, around 15,000 ft / 4,500 m. Shortly after, you reach a junction that brings you up toward the Arrow Glacier area.
This is the day where you’re not only hiking. You’re also learning what it feels like to gain altitude while still staying in control. You rest at the tower, then descend through the Senecio forest. The route includes a waterfall before finishing at Barranco Camp.
Barranco is a mood. The camp sits with the Barranco wall nearby, and you can often get breeze and cloud movement from the valley area. That’s not just “pretty atmosphere.” It can also affect temperature and how you feel at night, so plan to layer up even if the day felt mild.

Day 4: Barranco Valley to Karanga Camp in the Alpine Cold
Day 4 has a clear purpose: you tackle the Barranco Valley and then go up the Barranco wall. Expect an adventurous stretch, and then a continued trek on the South Circuit path through the Karanga Valley.
This is when the “arctic zone feeling” starts coming through in a more real way. Even though you’re not climbing anything technical, your body handles cold and altitude differently when you’re higher and the wind has more room to get to you.
You end at Karanga Camp. The main value of Day 4 is that it transitions you further toward the higher ridges you’ll deal with later. If you’ve had any stomach or fatigue issues building up from altitude, this is also the day to rely on your guide’s pace and stop for breath when needed.
Day 5: Kosovo Camp, Barafu Views, and the Exposed Ridge Warning
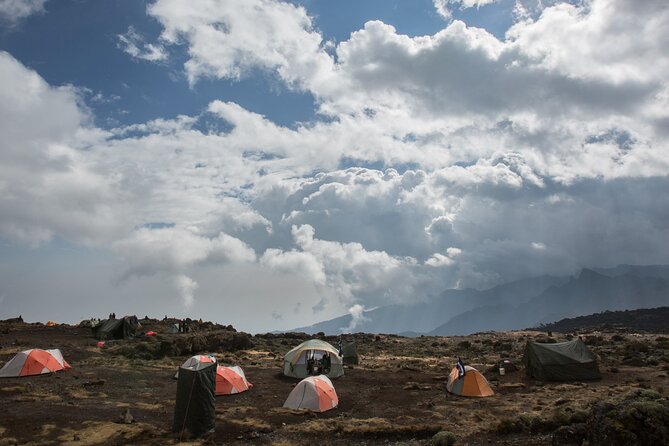
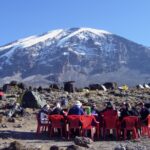
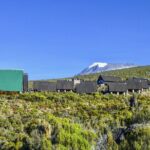
Day 5 is a slower pace to Kosovo Camp, and you’re given time to acclimatize and prepare for the next big step. Along the way, you pass Barafu Camp, which offers excellent views of Kibo and Mawenzi peaks.
Then comes the practical consideration: Kosovo Camp is on an exposed ridge. That means wind can be real, and darkness can make foot placement feel harder. The plan specifically suggests you should familiarize yourself with the terrain before dark. That’s good advice for anyone. In these camps, you don’t just sleep. You recover, pack your summit-day essentials, and get ready to move at midnight.
The psychological benefit of Day 5 is underrated. You’re not staring at the summit all day. You’re resting, preparing, and turning that midnight hike into something more manageable mentally.
Day 6: Midnight Summit to Stella Point and Uhuru Peak Sunrise
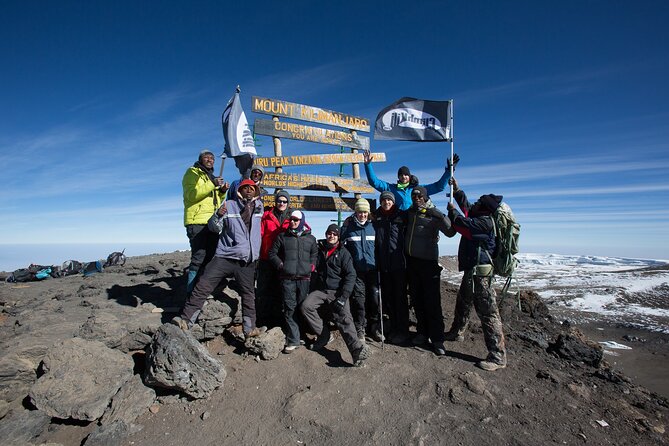
Day 6 is the day you came for: a midnight start to reach the highest point in Africa. The itinerary notes this section is one of the steepest on the non-technical paths of Kilimanjaro. Translation: you’ll be working hard, and you’ll need to keep your breathing smooth, even when it feels like it’s not improving fast enough.
The route takes you toward Stella Point for sunrise. You climb heavy scree on the crater rim as you go, moving through the area between the Rebmann and Ratzel glaciers. The plan also notes that the most mentally and physically challenging portion can come during this climb, which matches what altitude does to your focus.
From Stella Point, the summit is about one more hour to Uhuru Peak. After that, you descend down to Mweka Camp for dinner and celebration.
This day also rewards planning energy. You don’t just need motivation. You need steady pacing, a calm mindset, and the willingness to accept that the climb can feel slow even when you’re doing it correctly.
Day 7: Mweka Gate Walkout and the Return to Arusha Comfort
Day 7 is your release valve. You walk to Mweka Gate, and then your vehicle is waiting to transfer you back to your hotel in Arusha. The itinerary calls out a very welcomed shower after days on the mountain.
On Kilimanjaro, Day 7 isn’t a victory lap. It’s more like a slow exhale. Your body has been under stress, your sleep has been broken into camp segments, and even when the hike feels easy, it still takes effort. A shower matters because it signals the trip is ending for real.
The Climb Kili Crew: Why People Feel Safe on Kilimanjaro
What stands out from the experience with this operator is how often climbers highlight the crew’s personal attention. In recent journeys, guides and leaders named Herment Mosha, Florian, Steve, and Godlove come up in a big way. You’ll also see praise for porters and support staff, including people like Masanja, Innocent, Ibrahim, and John in one group account.
You should expect more than route knowledge. The best guides manage the small stuff: monitoring how you’re coping, keeping a steady rhythm, and giving encouragement when altitude makes you doubt yourself. Several accounts also mention that guides and porters actively helped people feel safe and cared for from the start, not only on summit night.
One more detail I appreciate: the group size cap (max 6 travelers) makes it easier for the lead guide to keep tabs on everyone. You’re not one more name on a crowded roster.
How to Prepare for a Tougher Machame Trek
This itinerary is built for people with previous hiking experience and a strong physical fitness level. So prepare like you’re training, not like you’re booking a scenic day hike.
A few practical preparation tips based on what the trail demands:
- Bring trekking poles. Day 1 mud and slippery sections are the kind of thing poles help with immediately.
- Plan for cold and wind as you go higher. Layering matters more as the trek climbs toward alpine and arctic-feeling zones.
- Keep your expectations realistic for summit night. The route is steep and includes scree. Slow pacing is a feature, not a failure.
- Use the acclimatization day wisely. If you feel off, communicate early to your guide and stick to the plan.
Also, don’t underestimate mental prep. A midnight summit start changes everything about fatigue and routine. The more you treat it like a process (not a jump into hero mode), the smoother it tends to feel.
Who Should Book This Machame Summit Tour (and Who Might Rethink It)
This tour is a great fit if you:
- Want the Machame route with its step-up difficulty
- Have done hiking before and can handle a steady, higher-altitude workload
- Prefer small-group support and a guide who can pay close attention
- Are ready for a steep summit-day climb that includes scree and a midnight start
You might rethink it if you:
- Are aiming for an easy hike or aren’t comfortable with steep, exposed terrain
- Know you struggle with altitude or long days without frequent breaks
- Want a trip that feels more like a casual tour than an expedition-style trek
If you’re unsure, talk honestly about your fitness level and hiking background before you go. This isn’t a criticism. It’s how you protect your summit chances.
Should You Book This 7-Day Machame Summit Tour with Climb Kili?
I’d book this if you want a structured, serious Kilimanjaro climb with included gear and meals, and you like the idea of a small group moving together. The itinerary’s focus on acclimatization (Lava Tower), the logical progression through camps (Shira → Barranco → Karanga → Kosovo), and the summit plan (Stella Point sunrise, then Uhuru Peak) all make sense for people who want their summit attempt to be taken seriously.
At the same time, go in with eyes open. Machame is tougher than easier options. You’ll deal with slippery ground on Day 1, exposed conditions near higher camps, and a steep, intense summit night.
If you do book, do these two things: train your legs ahead of time, and commit to the guide’s pace once you’re at altitude. That’s the difference between feeling like you’re surviving the mountain and feeling like you’re working your way through it.
FAQ
Is pickup included from Arusha?
Yes. The tour includes round-trip transfers from your Arusha hotel, with pickup arranged through the operator.
How long is the Machame Kilimanjaro summit tour?
It runs for 7 days (approximately).
How big is the group?
This tour has a maximum of 6 travelers, which is part of why you get more direct attention from your guide.
What route does this itinerary follow?
It follows the Machame trail, moving through camps such as Machame Camp, Shira Camp, Barranco Camp, Karanga Camp, Kosovo Camp, and ending at Mweka Camp and Mweka Gate.
What time does the summit-day start?
Day 6 is a midnight start. The plan focuses on reaching Stella Point to see sunrise, then continuing toward Uhuru Peak.
What’s included in the price?
The package includes all camping equipment, fees, and meals, plus admission ticket coverage in the itinerary. Transfers are also included.
What fitness level do I need?
You should have a strong physical fitness level and the trip is described as suitable for people with previous hiking experience because Machame is tougher than the Mangaru route.
Can I cancel and get a full refund?
Yes. You can cancel for a full refund up to 24 hours before the experience start time.