REVIEW · LOMBOK
Private 2 Days and 1 Night Summit in Mount Rinjan
Book on Viator →Operated by Rinjani Hero · Bookable on Viator
Sunrise at 3,700 meters is the point. This 2 days / 1 night Rinjani summit trek takes you from Sembalun’s cool start around 1,100 m up to the crater rim camp, then into the early-morning summit push with views timed for sunrise. I especially like the way it includes real mountain support—camping gear, headlamp, and trekking poles—so you’re not scrambling for essentials. The main drawback: you’re asking a lot of your body (steep climbs, very early wake-up, and cold at the top), and there’s an extra park/entrance fee on top of the tour price.
What makes this version feel more comfortable is the private setup: it’s just your group, guided and handled end to end. In the Rinjani Hero crew, the logistics and safety briefing have names you can remember—boss Ialu handles the prep the night before (and even helps with items when needed), while guide Ir is described as experienced, friendly, and willing to match your pace.
If you’re weighing value: at $195 per person, you’re not just paying for a guide. The trip includes meals, safe drinking water, insurance, and the big-ticket camping items. Still, you’ll want to plan for what’s not included: trekking shoes, long pants/gloves, tips, and the stated entrance fee (listed as Rp 200k/day/person, shown as Rp 600k total).
In This Review
- Key highlights before you commit
- Why the Sembalun approach fits a 2D1N summit
- Day 1: Sembalun village pickup to crater-rim camp at sunset
- Day 2: The 2:30 am wake-up and the summit timing for sunrise
- Guides and porters: what private support really means here
- Price and logistics: where the $195 holds up, and what to budget extra
- What’s included at camp: comfort you’ll thank yourself for
- Packing and fitness: the real make-or-break factors
- Who should book this trek, and who should skip it
- Should you book Mount Rinjani’s 2D1N summit trek?
- FAQ
- What time do we start this Mount Rinjani 2D1N trek?
- Do I need to pay an entrance fee, and how much is it?
- Is this a private tour or shared group?
- What meals and drinks are included?
- What camping and trekking gear comes with the trip?
- What should I bring since it’s not included?
Key highlights before you commit
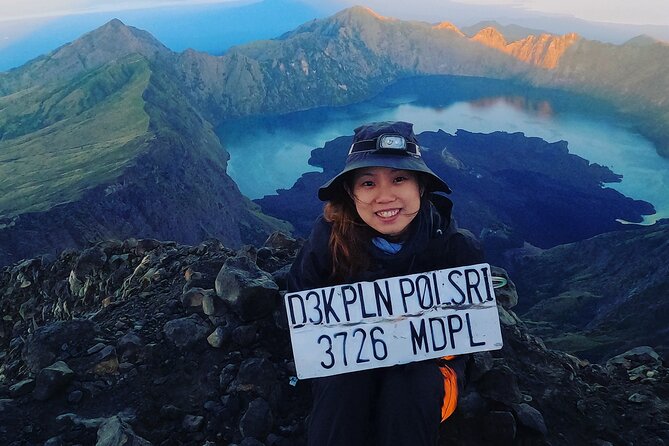
- Crater rim camping built into the schedule: you’re not rushing past the best high viewpoints.
- The summit push starts at 3:00 am: sunrise timing is the whole game.
- Gear is mostly covered: headlamp, sleeping bags, tents, toilet tent, and trekking poles are included.
- Private guiding means pacing is personal: your guide can adjust to you, not the other way around.
- You’re driving in, then climbing in stages: starting near Sembalun at about 1,100 m helps set up the big day.
Why the Sembalun approach fits a 2D1N summit
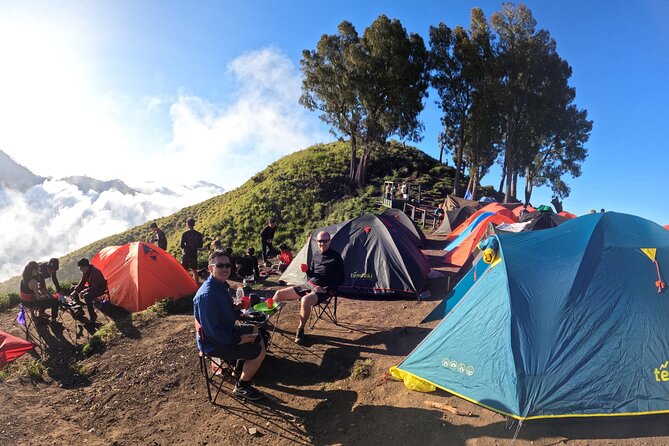
This trek is designed around a classic Rinjani rhythm: climb high, sleep high, then go higher. You start around Sembalun village at roughly 1,100 m, then work your way up toward the crater rim area around 2,600–2,639 m. That part matters because your body gets at least some time adapting before the summit attempt.
The route also gives you variety. You’ll cross meadows where heat can feel real, then shift into steep climbs that include the kind of uphill grind that makes your legs negotiate with gravity. The description highlights multiple high hills (five very high ones on the way up to the crater edge), so expect a day that’s more climbing than strolling.
The upside for you: if you’re physically fit and steady, this kind of staged ascent is exactly what makes a 2D1N summit plan work. The potential downside: if you go out too fast, you’ll burn energy early and pay for it later on the summit day.
You can also read our reviews of more tours and experiences in Lombok.
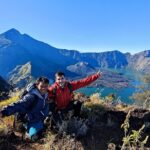
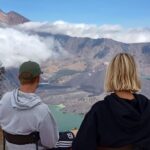
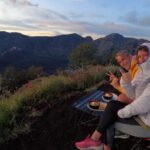
Day 1: Sembalun village pickup to crater-rim camp at sunset
Your day begins with a start time around 7:30 am, meeting in the Senaru/Bayan area (North Lombok). Then you transfer by mountain car toward the Sembalun area to start the trek from there.
Once you’re in position, the first major “checkpoint” is the crater rim area. You’ll aim for the Sembalun Crater Rim / Pelawangan Sembalun zone around 2,639 m, with time set aside for a steep climb. The trek portion on Day 1 is described as about 3 hours to the rim, though you’ll also spend hours moving overall and settling camp.
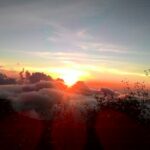
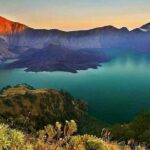
Then comes the part people remember: the camp view at sunset. After hiking up, you’re not just sleeping anywhere—you’re sleeping in a high viewpoint zone where the sky plays to your camera. And because camping is part of the plan (not an optional add-on), you’ll go through the rhythm of setting up, eating, and resting where you’ll need to be ready for the summit night.
Practical note: Day 1 can include meadow crossing in heat, so even though you’ll be going high, don’t assume it’ll feel cool the whole time. Pace yourself, drink steadily, and don’t treat every uphill like a sprint.
Day 2: The 2:30 am wake-up and the summit timing for sunrise
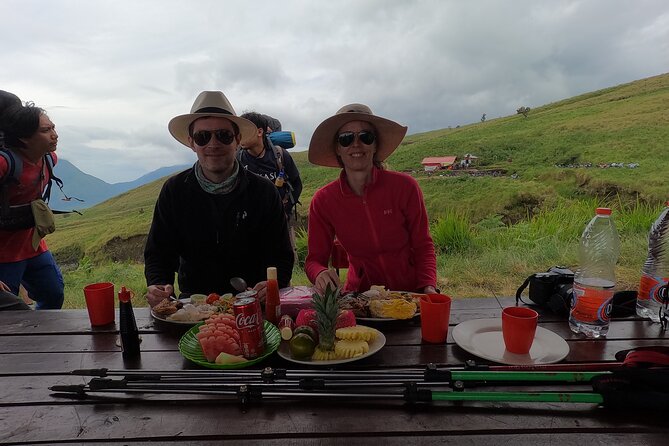
Day 2 runs on a schedule that feels brutal at first—wake-up is around 2:30 am, followed by a light breakfast, and then the summit climb starts around 3:00 am. The summit hike is described as taking about 3 hours 30 minutes.
This is the essential trade: you’re climbing in the dark or near-dark to earn sunrise on the summit. That’s why a headlamp is included, and it’s why the planning matters. You want good footing, controlled speed, and enough focus to keep your footing steady when you’d rather just roll over and sleep.
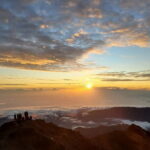
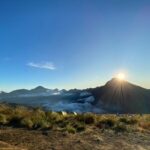
Altitude-wise, the description lists the summit around 3,672 m, while the overview also mentions 3,726 m. Either way, it’s high enough that you should expect cold and a body-on-alert feeling. One review note specifically flags that it can get freezing at the top, so plan mentally for discomfort—not just effort.
What you’ll likely feel most on Day 2:
- the mental squeeze of an early start
- the physical grind of sustained uphill
- the payoff when sunrise breaks and you finally get that top-of-the-world feeling
After the summit segment, you head back down toward Sembalun to close out the 2 days and return to the meeting point area.
Guides and porters: what private support really means here
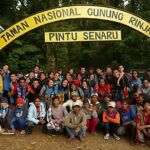
With this trek, the guide is not just a person holding the leash. It’s a whole team system—guide, porters, and logistics—built around safety and pacing.
Two names show up clearly in the experiences shared: boss Ialu and guide Ir. Ialu is described as personally involved in arranging logistics and running a safety briefing the night before. That pre-hike briefing matters because it sets expectations: what you’ll do, what you need, and how the team wants you to hike.
Ir is described as friendly and experienced, with a habit of being supportive and adjusting pace to fit the group. In one account, Ialu even lent a backpack to help make things easier. That’s not something you can count on every time, but it’s a sign of how hands-on the team can be.
Porters do a lot of the heavy lifting for your camp setup. You’re still hiking yourself, but the camping comfort you get—tents, sleeping bags, toilet tent—would be far harder if porters weren’t handling that side.
Price and logistics: where the $195 holds up, and what to budget extra
The listed price is $195 per person, and that’s for the core guided trekking experience with meals and camping infrastructure. For value, I look at what’s included that would otherwise cost you:
Included highlights:
- Meals: breakfast, lunch x2, dinner
- Safe drinking water
- Camping equipment: double-size tent, camp chairs, toilet tent, sleeping bags, pillows, mattress, plus camp setup support
- Trek essentials: headlamp, trekking poles and sticks
- Guide and porter coverage: a trekking guide and porters to carry camping equipment
- Safety: insurance is included in the package
What’s not included:
- Trekking shoes, long pants, gloves
- A small bag/day pack (you’ll want one, but it’s not included)
- Tips for guide and porters
- Travel insurance (separate from the trip’s included insurance)
- Entrance fee: listed as Rp 200k/day/person, with a total shown as Rp 600k per person
So is $195 good value? For many hikers, yes—mainly because camping gear and mountain tools (like poles and headlamps) are included. You’re not paying extra to rent basic gear, and you’re not adding the cost of tent setup and camp logistics. The one thing to watch is the entrance fee and tipping. Budgeting those in advance keeps you from feeling surprised later.
What’s included at camp: comfort you’ll thank yourself for
Camping on a mountain can be miserable if you’re underprepared. This trek tries to reduce that stress by providing the practical items that matter at altitude and in the dark.
You’ll get:
- Tents (double size), camp chairs
- A toilet tent (important for basic comfort)
- Sleeping bags, pillows, and a mattress
- A headlamp so you can move safely at night and early morning
That list matters because the summit day is exhausting. You don’t just need a place to sleep—you need a place to actually recover. With sleeping gear sorted for you, you can focus on pacing, calories, and hydration instead of juggling rentals.
Still, bring the basics for your body: trekking-appropriate clothing and footwear. The trekking shoes and long pants/gloves are specifically called out as not included. And since the top can be freezing, you’ll want gloves for sure if you tend to feel cold.
Packing and fitness: the real make-or-break factors
This is not a casual hike. The plan is physically demanding, with steep climbs and an early summit night start. The experience is best suited for people who already handle multi-hour uphill hiking without panic.
Here’s what you should treat as non-negotiable based on what’s included vs not:
- Trekking shoes you trust
- Long pants
- Gloves (especially for the cold summit conditions)
- A small day pack (not included, so plan your carry)
You’ll also want your own layer strategy. The info you have doesn’t spell out clothing layers, but it does flag cold at the top, and that lines up with how sunrise summit attempts usually feel.
If you’re unsure about readiness, be honest with yourself about how you handle:
- steep climbs over time
- early mornings with little sleep
- slow, steady pacing when your heart rate wants to surge
This trip rewards people who go steady and consistent.
Who should book this trek, and who should skip it
This is a strong fit if:
- you want a true summit-at-sunrise experience
- you’re comfortable with a steep hike and an early start
- you like the structure of a team-led trek with camp support
- you want private guiding for your group
It’s not the best match if:
- you have low fitness and you’re relying on adrenaline
- you hate cold mornings and quick turnarounds
- you aren’t willing to budget for extras like entrance fees and tips
Also, because it’s private, it works well for couples and small groups who want their own pace. You won’t be squeezed into a giant crowd vibe.
Should you book Mount Rinjani’s 2D1N summit trek?
If your dream is sunrise on a high Indonesian volcano, and you want the hard parts handled with real support—meals, camping gear, headlamp, poles, and an experienced team—then booking makes sense. The $195 price holds up especially because so much camp gear and guiding infrastructure is already included.
But book only if you’re ready for the reality check: early wake-up around 2:30 am, steep uphill days, and cold conditions at the top. Also remember the entrance fee isn’t wrapped into the base price, and the listing says the experience is non-refundable and not changeable. So if your schedule is fragile, think twice.
If you’re set on doing it, do it with respect for your pace and your body. This trek doesn’t need bravado. It needs steady steps.
FAQ
What time do we start this Mount Rinjani 2D1N trek?
The experience has a listed start time of 7:30 am, with pickup/meeting in the Senaru and Bayan area, then a transfer to begin trekking.
Do I need to pay an entrance fee, and how much is it?
An entrance fee is not included. It’s listed as Rp 200k/day/person, with a total shown as Rp 600,000 per person for this activity.
Is this a private tour or shared group?
This is a private tour/activity, meaning only your group participates.
What meals and drinks are included?
Meals and drinks include breakfast, lunch (2), and dinner, plus safe drinking water during the trek.
What camping and trekking gear comes with the trip?
Camping equipment is included, including double-size tents, camp chairs, a toilet tent, sleeping bags, pillows, and a mattress. Trekking gear includes headlamp and trekking poles and sticks.
What should I bring since it’s not included?
You should bring trekking shoes, long pants, and gloves. A small bag or day pack is also something you’ll want, since it’s not included.