REVIEW · LOMBOK
Hiking Rinjani Volcano To Crater rim Senaru 2 Days, Group – Syam Trekker
Book on Viator →Operated by Syam Trekker · Bookable on Viator
Crater rim sunrise on Lombok is the whole point. This 2-day Mount Rinjani hike from Senaru adds a proper camp night so you can watch the sunrise over the volcano area. The trail also gives you that slow-building rhythm: tea at altitude, lunch at a forest post, then a big payoff at Senaru crater rim.
I like that Syam Trekker keeps the group small, with a maximum of 6 travelers, so you’re not stuck in a long line. You also get an experienced English-speaking guide plus professional porters, which matters on a trek where footing and pacing really count.
One thing to consider: even though it’s only two days, you still climb and then face a long rainforest descent (about 5 hours). If you’re not comfortable walking for that time at higher altitude, you’ll want to plan for a slower pace and extra breaks.
In This Review
- Key highlights from this Senaru crater rim trek
- What you’re really buying: a 2-day challenge with a big view payoff
- Day 1: Senaru trail, Post stops, and camp at 2,641 m
- Day 2: sunrise, rainforest descent, and finishing in Senaru village
- Guides and porters: why the small group feels safer
- Gear and camp comfort: included equipment that actually matters
- Food and water: what’s covered (and what you should still plan for)
- Price and value: why $217 can be a fair deal for what’s included
- A realistic packing and fitness checklist for this exact route
- Who should book this Senaru crater rim hike—and who might skip it
- Should you book Syam Trekker for the 2D1N crater rim route?
- FAQ
- How many people are in the group?
- What time does the trek start from Senaru?
- What altitude does the trek reach?
- What’s included in the price?
- What is not included?
- Is travel insurance included?
- What if weather is bad?
Key highlights from this Senaru crater rim trek
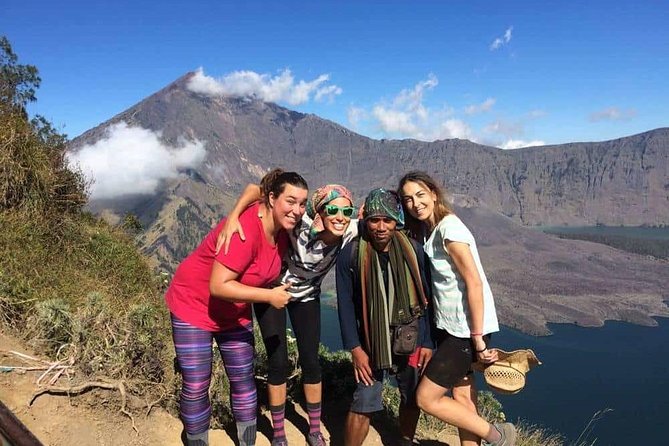
- Maximum 6 people keeps the hike feeling personal, not crowded
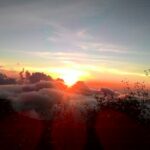
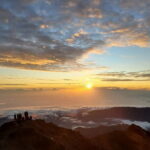
- Crater-rim camping night means sunset views and a calm sunrise schedule
- Real guide time on the trail, with help on safer ascents and descents
- Tea-and-biscuits stop at Post 2 (around 1,500 m) is a nice morale boost
- Camping gear is included, down to sleeping bags and toilet tents
- Meals and water are covered, including snacks, fruit, and 3 liters of mineral water per day
What you’re really buying: a 2-day challenge with a big view payoff
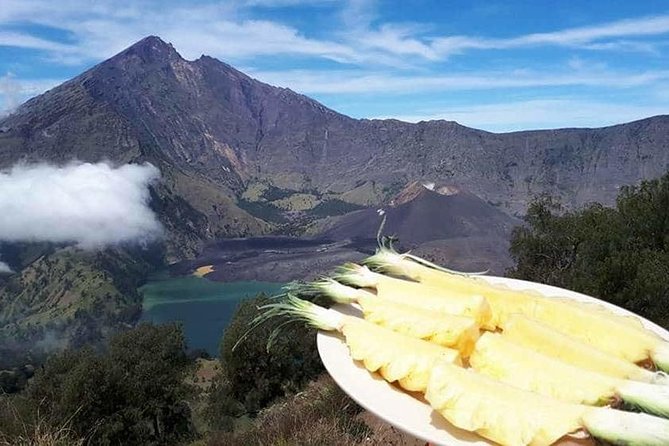
This is a focused Mt. Rinjani hike to the Senaru crater rim with a one-night camp. The itinerary is built around two moments: a sunset that sets the mood, and a sunrise that makes the hard parts feel worth it. If you’re aiming for one of Lombok’s most dramatic high viewpoints without a longer multi-day trek, this format fits.
Syam Trekker also bundles a lot of the “logistics weight” into the price. You’re not carrying camping gear. You’re not arranging park entry. You’re not wondering where meals will come from at each stop. For many hikers, that’s the real value: less time worrying, more time moving and enjoying the trail.
You’ll still feel the effort. The walk is not a flat stroll, and the altitude zone is part of the experience. The good news is that the day structure is timed with breaks at specific posts—Post 2 and Post 3 on Day 1—and you camp close to the view zone for the night.
You can also read our reviews of more tours and experiences in Lombok.
Day 1: Senaru trail, Post stops, and camp at 2,641 m
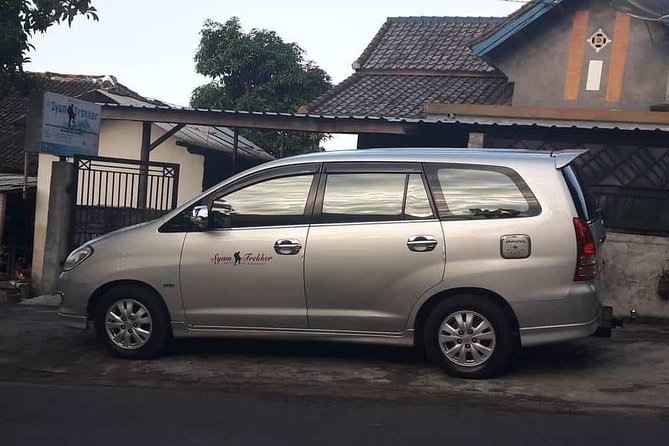
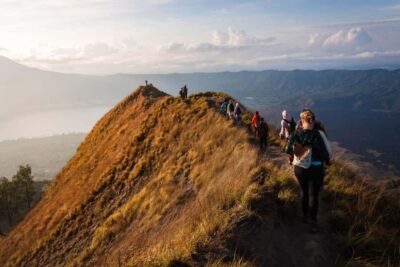
The trek starts around 08:00 (with the meeting time at 7:00 am), leaving from the Senaru area. Day 1 begins in dense tropical forest. This is where the hike feels most alive: you’re surrounded by varied plants, bird life, and butterflies. It’s a good setup for your first day because the forest section gives you a mental warm-up before the bigger height changes.
A key morale moment comes at Post 2 Montong SATAS shelter (1,500 m). You’ll stop for tea and biscuits. It sounds simple, but on a climb, a hot drink and a quick snack reset your energy fast. You also get a natural checkpoint for pacing—no rushing required.
From Post 2, you continue up for about two hours to Post 3 Mondokan Lolak (2,000 m). This is another break, plus lunch. Lunch here matters because it’s timed before the final push to the rim. It also keeps you from burning energy too early when the trail begins to feel steeper.
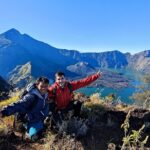
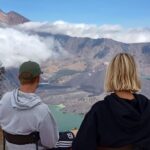
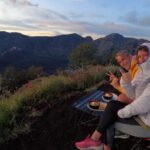
After lunch, you head to Senaru crater rim (2,641 m) for about two hours. This is the “payoff” stage of Day 1. You’re walking into the viewpoint zone, and you’ll feel it in your body—breath, legs, and concentration all get more important. Once you arrive, you camp and enjoy sunset. The views are described as spectacular, including sightlines toward Mount Agung in Bali and the smoke from a newer volcano edge near the lake.
Practical note: sunset at altitude can bring cooler air than you expect. Even in the tropics, plan for a temperature drop after you stop moving.
Day 2: sunrise, rainforest descent, and finishing in Senaru village
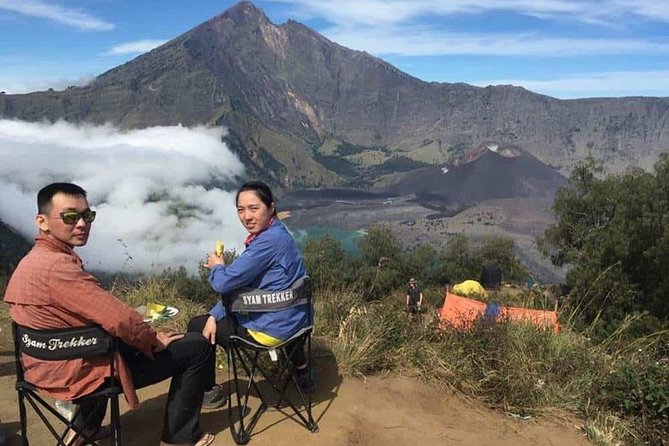
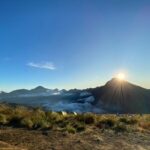
Day 2 starts with breakfast and sunrise. This is one of the best parts of the whole format: you’re not rushing out at dawn to make a bus. You wake up already in position, so you can take your time watching the sky change and the mountain glow shift.
After that, you begin the long descent toward Senaru village through the rainforest. The itinerary estimates about 5 hours for this section. That’s a real chunk of walking time, so think of Day 2 as “finish strong” rather than “hero mode.” The rainforest environment also tends to mean slippery spots, mud, and thick ground cover, so your footing skills matter more than speed.
You’ll take lunch along the way. Having lunch on the descent is smart because many people burn more energy than they planned during downhill walking—knees fatigue, and balance takes more effort than it looks like on paper.
When you reach Senaru village, the service ends. The day is straightforward: sunrise, then focus on a safe, steady walk down.
Guides and porters: why the small group feels safer
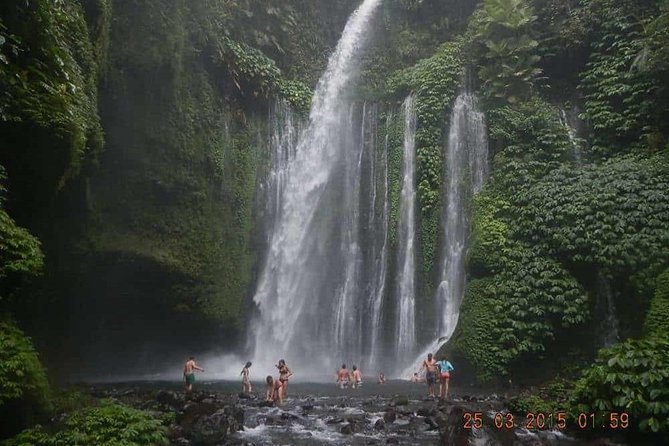
The trek runs with an experienced English-speaking guide and professional porters. That combination is what makes a volcanic hike feel manageable instead of chaotic. On a route like this—higher altitude, changing trail conditions, and a long descent—your guide’s job isn’t just “lead the way.” It’s managing pace, keeping you upright, and making sure you don’t overcook yourself.
Syam Trekker also caps the group at 6 travelers, which changes the vibe. When the group is bigger, you end up matching the slowest pace and stopping in awkward places. With a smaller group, you can usually keep a steadier rhythm, take breaks without bottlenecks, and feel less pressured.
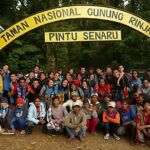
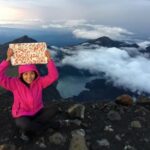
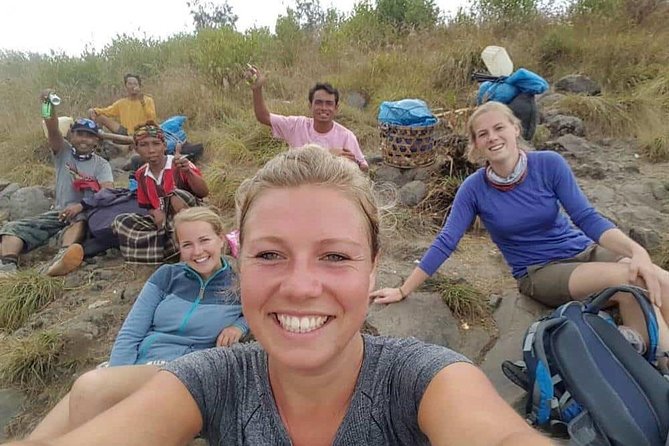
The names that show up around the experience—Rahmin, Amin, Awal, Ari, and Anto—point to something important: you’re likely getting guides who are not only competent, but also good with people. In practice, that means a guide who can explain what you’re seeing and keep morale up when you’re breathing hard on the incline. Some hikers also note that guides can help with photos, and that kind of extra attention is a small thing that becomes a big souvenir later.
Gear and camp comfort: included equipment that actually matters
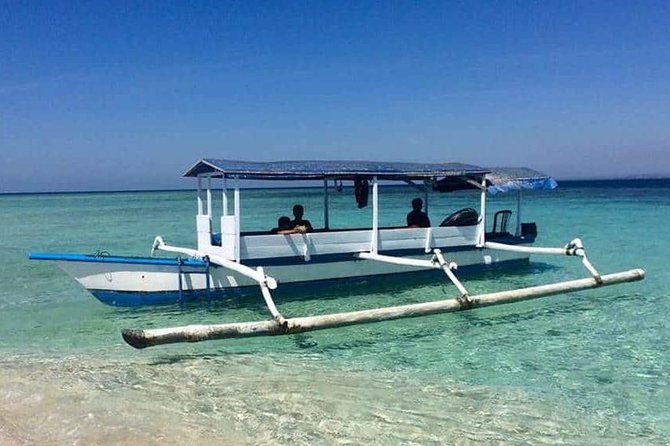
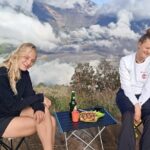
Syam Trekker includes a full set of camping items: tents, sleeping mats (5 cm thick), sleeping bags, a camping chair, toilet tents, and a pillow. That’s a lot of weight you don’t have to bring. It also removes uncertainty—when gear is provided and looked after, you spend less time worrying about what you forgot.
The sleeping setup is practical, but keep expectations grounded. A 5 cm mat is fine for many people, yet it’s not the same as a thick camping pad. If you’re sensitive to cold or pressure, bring your own extra layer for warmth and consider a liner if you usually use one.
Toilet tents are included, which makes the camp night easier than it might be otherwise. You’ll still want to be smart about hygiene habits, especially if the camp sits on a windy, high-altitude spot. Bring hand sanitizer and keep tissues or wipes in your daypack.
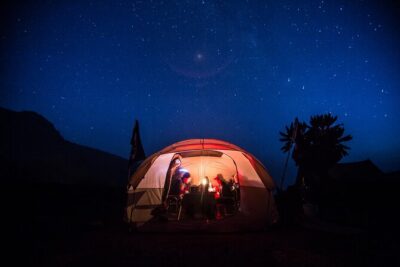
Camp is also your view platform. Since you’re camping at the rim area, the night is part of the experience, not just a stopover. The included gear helps you settle faster—so you can actually enjoy the sunset-to-sunrise cycle instead of spending half the evening figuring out equipment.
Food and water: what’s covered (and what you should still plan for)
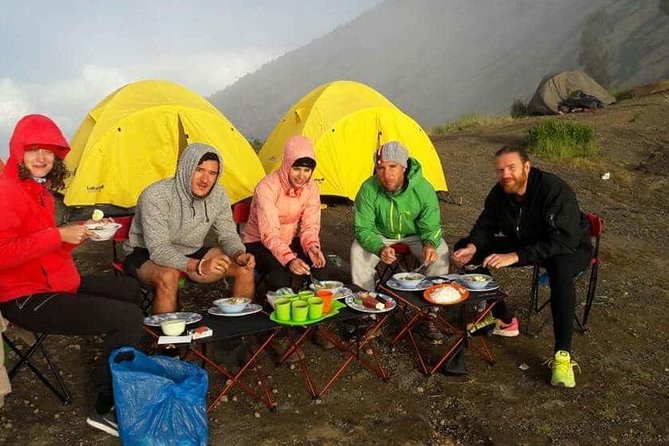
You get 3 meals a day, plus snacks and fruit, with 3 liters of mineral water per day. Drinks during the trek are also included. This kind of coverage is huge for value, because it prevents the common “bring everything or suffer” problem that comes with DIY hikes.
Food matters on Day 2 most of all, since you’re doing that longer descent. When your meals are timed and you’re not rationing energy, you can keep your pace steady and reduce the chance of running out of steam halfway down.
I’d still recommend bringing a few personal extras if that’s your style—things like salty snacks you love or your own energy bars. You won’t need them to survive, but they can help if you have a specific craving or dietary preference.
One more small tip: drink water even when you don’t feel thirsty. At altitude, dehydration sneaks up fast.
Price and value: why $217 can be a fair deal for what’s included
This trek costs $217 per person for about 2 days. On paper, that might look like a “tour price.” In practice, it’s closer to paying for a complete package: the guide and porters, park entrance fees, travel insurance, your camping gear, and meals with water.
If you were to price those pieces separately, the total often climbs quickly—especially once you factor in entrance fees and equipment. Here, those costs are already handled. That makes the price feel more balanced, because the expensive, annoying parts are not on you.
The trade-off is that a few items are not included: personal expenses and tipping for the guide and porter. If you’re budgeting, treat tipping as part of your trip math, not an afterthought.
Also, the experience requires good weather, and if it’s canceled due to conditions, you’ll be offered a different date or a full refund. Weather dependency is normal for volcano treks. The key is knowing this upfront so you don’t build your entire Lombok schedule around one fixed day.
A realistic packing and fitness checklist for this exact route
This trek is listed for moderate physical fitness. That’s honest. You’re not doing a marathon, but you are hiking enough hours over changing terrain that you should come prepared.
Here’s what I’d focus on for your comfort and safety—based on the climb-and-descent rhythm you’ll do:
- Footwear with grip for forest and possible slippery downhill sections
- Warm layers for sunrise and camp time at higher altitude
- A daypack for your personal items while porters handle the camp setup
- Rain protection since rainforest conditions can switch fast
- Pacing discipline: you don’t win this hike by going fast on Day 1
Also plan your expectations for the rim experience. You’re climbing to 2,641 m, then spending the night near that viewpoint zone. That’s part of the magic. It’s also why the sunrise is worth waking up early.
If you’re prone to sore knees, consider trekking poles. They aren’t listed as included, so you’d need to bring your own if you use them.
Who should book this Senaru crater rim hike—and who might skip it
This hike is a great fit if you want:
- a 2-day Mount Rinjani experience with a camp night
- a crater-rim sunrise and sunset setup
- a small-group trek (up to 6 people) with a guide who keeps you safe on the ascent and descent
- included gear and meals so you can hike more lightly
It might not be the best choice if:
- you’re dealing with significant mobility limitations, because you’ll still hike on Day 2 for about 5 hours
- you only want short walks and quick viewpoints
- you’re not comfortable hiking at higher elevation areas (even if the fitness level is listed as moderate)
If you’re the type who likes a “real hike with real payoffs,” you’ll probably love this format. If you’re looking for a laid-back nature stroll, you might feel underprepared.
Should you book Syam Trekker for the 2D1N crater rim route?
I’d book it if you want a well-run, small-group Mount Rinjani hike that’s built around one-night camping and strong food-and-gear support. The value comes from what’s handled for you: camping setup, park entrance, meals, water, and an experienced guide team. You also get a trek schedule that doesn’t just show you views—it positions you for sunset and sunrise.
I’d hesitate only if you’re worried about a longer downhill day or you’re expecting “easy walking.” This is manageable with moderate fitness, but it still asks you to hike and pay attention to your footing.
If you can walk for multiple hours, bring warm layers, and plan for weather, this crater rim experience is the kind of Lombok trip that stays in your photos—and in your memory.
FAQ
How many people are in the group?
The tour has a maximum of 6 travelers, so it stays small and paced for the group.
What time does the trek start from Senaru?
The meeting time is 7:00 am, and the trek starts from the Rinjani Trek Center Senaru around 08:00.
What altitude does the trek reach?
It goes up to the Senaru crater rim at 2,641 m, with stops earlier on at Post 2 (around 1,500 m) and Post 3 (around 2,000 m).
What’s included in the price?
Included are camping gear (tents, sleeping mats, sleeping bags, chair, toilet tents, pillow), an experienced English-speaking guide and professional porters, 3 meals a day, snacks and fruit, 3 liters of mineral water per day, travel insurance, and Mount Rinjani National Park entrance fees.
What is not included?
Personal expenses and tipping for the guide and porter are not included.
Is travel insurance included?
Yes, travel insurance is included in the tour package.
What if weather is bad?
The experience requires good weather. If it’s canceled due to poor weather, you’ll be offered a different date or a full refund.